Nissan Quest (2017 year). Instruction - part 9
2-44
Instruments and controls
— Electrical appliances which have
a switching power frequency
(clocks etc.)
— Electrical appliances that mea-
sure precise data (measuring
equipment etc.)
— Certain other electrical appli-
ances (electric blankets etc.)
. Depending on the electrical appli-
ance that is in use, some distorted
noise may be audible when using
the TV or radio.
. Be sure to turn the power switch of
the electrical appliance used off
before removing the plug from the
power outlet.
. Do not use an extension cord with
multiple outlets.
CUP HOLDERS
CAUTION
. Avoid abrupt starting and braking
when the cup holder is being used
to prevent spilling the drink. If the
liquid is hot, it can scald you or your
passenger.
. Use only soft cups in the cup holder.
Hard objects can injure you in an
accident.
SIC4726
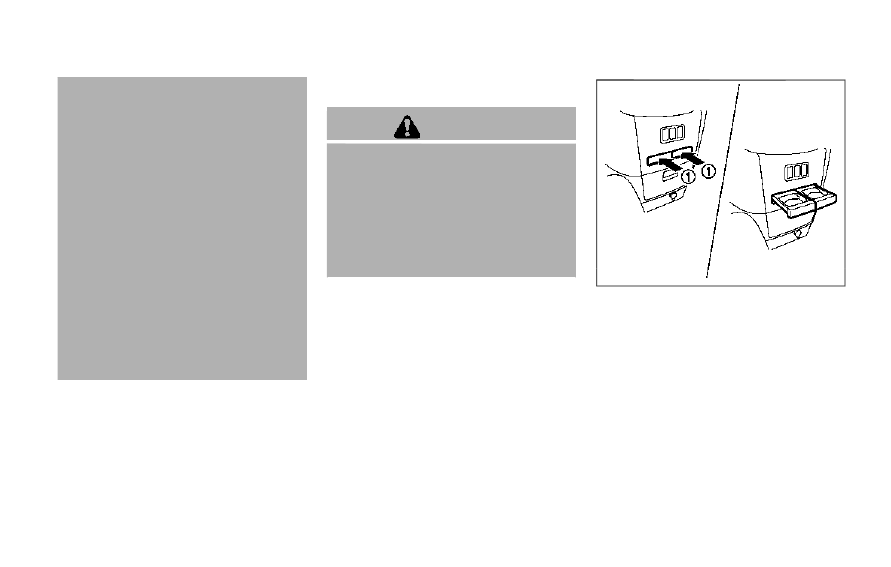
Instrument panel
Front
Instrument panel:
To open the cup holder, push the instrument
panel
*
1
.
STORAGE