Nissan Qashqai (2018 year). Instruction - part 20
5-30
Starting and driving
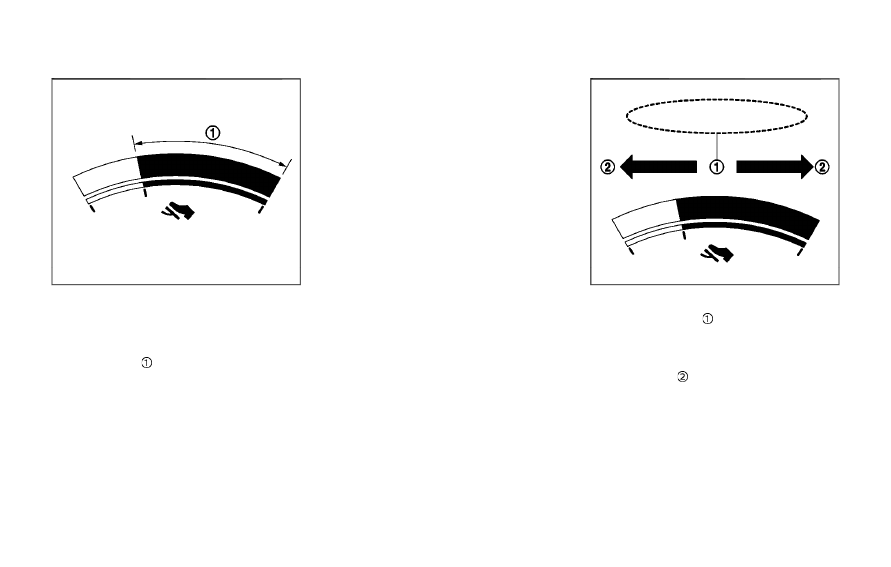
JVS0201X
ECO PEDAL GUIDE FUNCTION
Use the ECO Pedal Guide function for
improving fuel economy.
When the ECO Pedal Guide bar is in the
green range
, it indicates that the
vehicle is driven within range of economy
drive.
If the ECO Pedal Guide bar is out of the
green range, it indicates that the accel-
erator pedal is depressed over the range
of economy drive.
The ECO Pedal Guide bar is not displayed
when:
. The cruise control system (if so
equipped) is operating.
. The Intelligent Cruise Control (ICC)
system (if so equipped) is operating.
. The vehicle speed is less than approxi-
mately 2 MPH (4 km/h).
. The shift lever is in the P (Park) (CVT
model), N (Neutral) or R (Reverse)
position.
To activate or deactivate the ECO Pedal
Guide function, see “Settings” (P.2-19).
JVS0200X
AMBIENT ECO
The ambient ECO
is displayed accord-
ing to the accelerator pedal operation,
while driving the vehicle in ECO mode.
The ambient ECO will illuminate in the
directions of
as the driving pattern
becomes more ECO friendly.
To activate or deactivate the ambient
ECO, see “Settings” (P.2-19).
The ambient ECO is not displayed in the
following conditions
. The vehicle speed is under 6 MPH (10
km/h).
. The shift lever is in the P (Park) (CVT
model), N (Neutral) or R (Reverse)