Nissan Quest E52. Manual - part 898
MIR-56
< REMOVAL AND INSTALLATION >
[WITHOUT ADP]
DOOR MIRROR
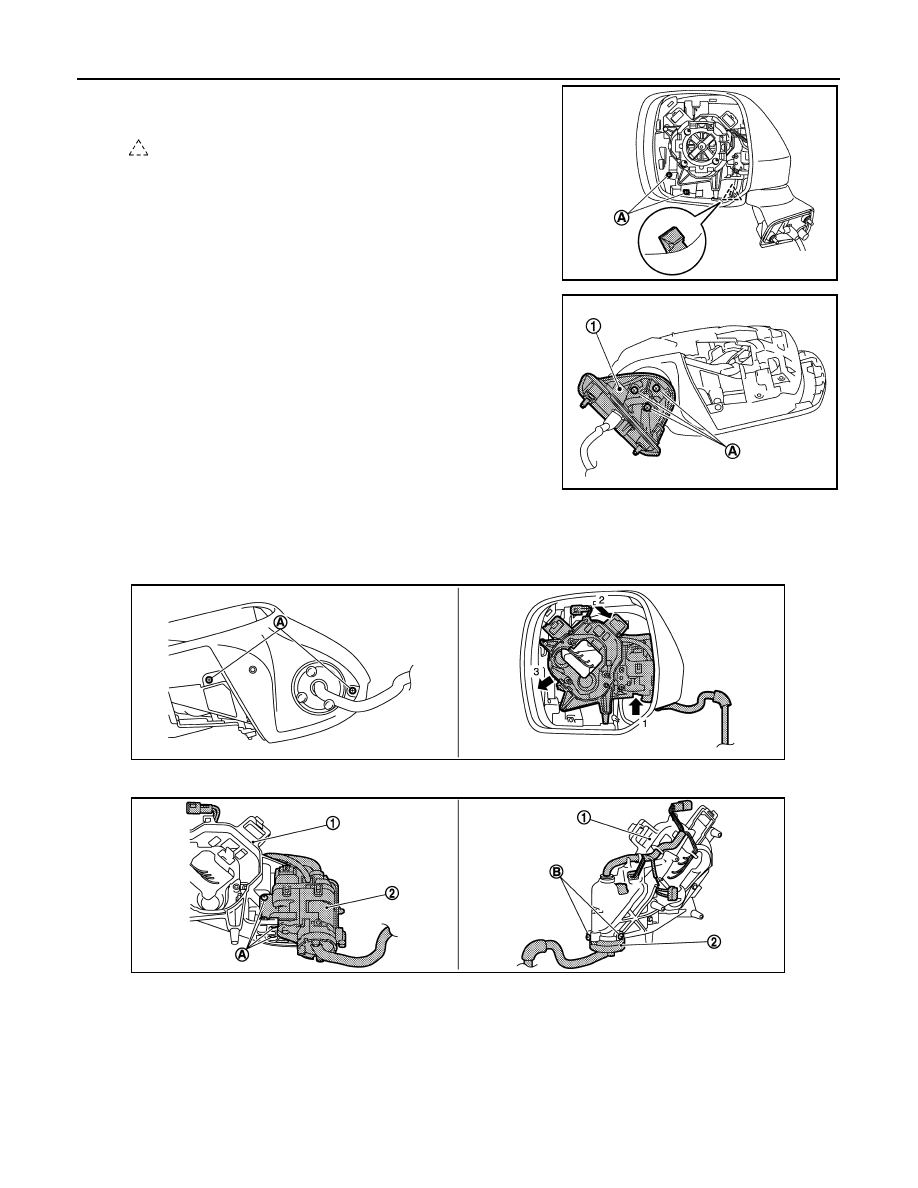
b.
Remove door mirror under cover mounting screws (A) and dis-
engage the fixing pawl.
9.
Remove the mounting bolts (A) and remove door mirror base
from door mirror housing.
10. Remove power fold unit.
a.
Remove power fold unit assembly fixing screws (A).
b.
Remove power fold unit assembly from door mirror housing according to the numerical order shown in the
figure below.
11. Remove the mounting bolts (A) and (B), and then remove actuator bracket (1) from power fold unit (2).
ASSEMBLY
Assemble in the reverse order of disassemble.
GLASS MIRROR
GLASS MIRROR : Removal and Installation
INFOID:0000000009652733
REMOVAL
: Pawl
JMLIA2190ZZ
JMLIA1441ZZ
JMLIA0923ZZ
JMLIA0924ZZ