Nissan Versa Note. Manual - part 130


  Index      Nissan     Nissan Versa Note (2014 year) - Service and Repair Manual


Search            


Content   ..  128  129  130  131   ..


Nissan Versa Note. Manual - part 130


BRC-84

< DTC/CIRCUIT DIAGNOSIS >

[VDC/TCS/ABS]

C1164, C1165, C1166, C1167 CV/SV SYSTEM

C1164, C1165, C1166, C1167 CV/SV SYSTEM

DTC Logic

INFOID:0000000009637531
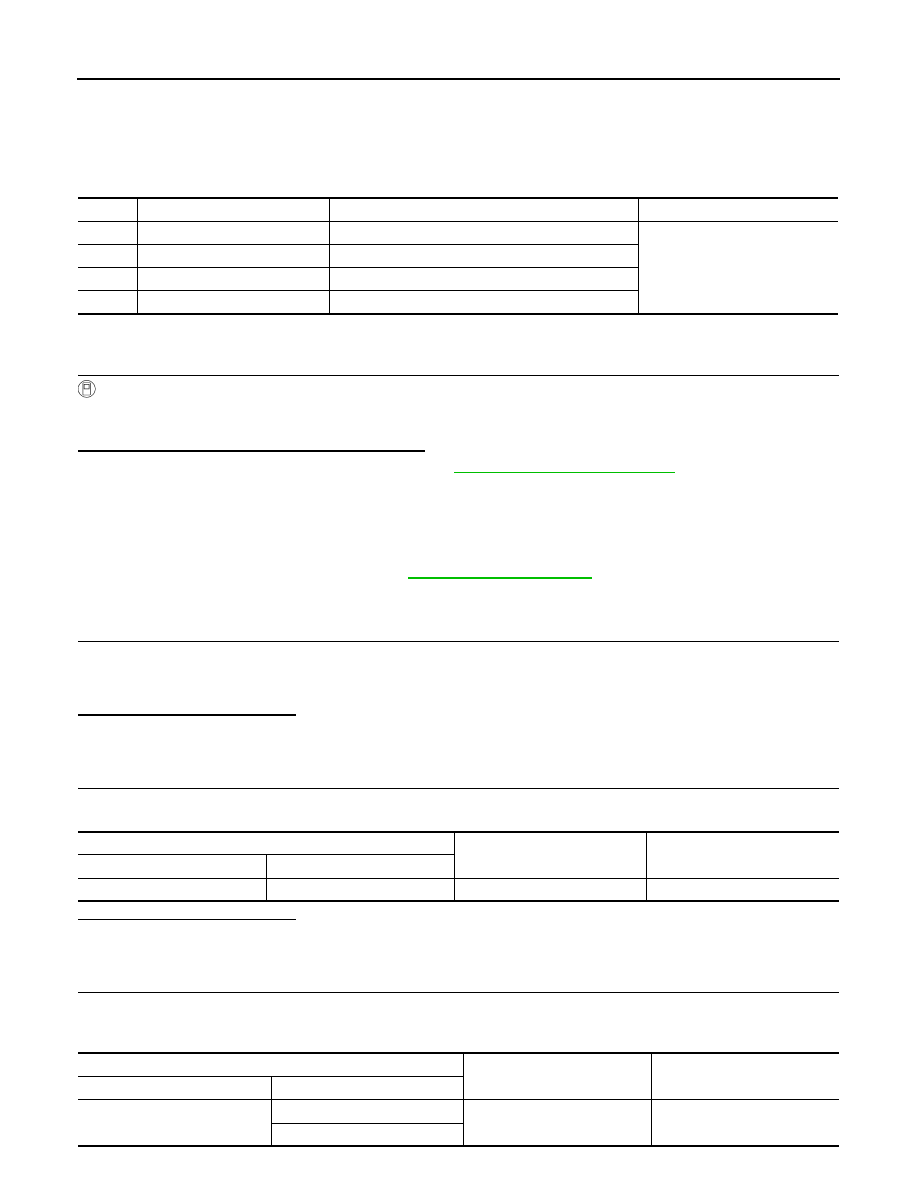
DTC DETECTION LOGIC

DTC CONFIRMATION PROCEDURE

1.

CHECK SELF DIAGNOSTIC RESULT

With CONSULT.

1. Turn ignition switch OFF to ON.

2. Perform self diagnostic result.
Is DTC C1164, C1165, C1166 or C1167 detected?

YES

>> Proceed to diagnosis procedure. Refer to 

BRC-84, "Diagnosis Procedure"

.

NO

>> Inspection End.

Diagnosis Procedure

INFOID:0000000009637532

Regarding Wiring Diagram information, refer to 

BRC-43, "Wiring Diagram"

.

1.

CONNECTOR INSPECTION

1. Turn ignition switch OFF.

2. Disconnect ABS actuator and electric unit (control unit) connector.

3. Check connector and terminals for deformation, disconnection, looseness or damage.
Is the inspection result normal?

YES

>> GO TO 2

NO

>> Repair or replace as necessary.

2.

CHECK ABS ACTUATOR AND ELECTRIC UNIT (CONTROL UNIT) BATTERY POWER SUPPLY

Check voltage between ABS actuator and electric unit (control unit) connector E33 terminal 25 and ground.

Is the inspection result normal?

YES

>> GO TO 3.

NO

>> Repair or replace malfunctioning components.

3.

CHECK ABS ACTUATOR AND ELECTRIC UNIT (CONTROL UNIT) GROUND CIRCUIT

Check continuity between ABS actuator and electric unit (control unit) connector E33 terminals 13, 38 and

ground.

DTC

Display Item

Malfunction detected condition

Possible causes

C1164

CV 1

When a malfunction is detected in cut valve 1.

• Harness or connector
• ABS actuator and electric unit 

(control unit)

• Fusible link
• Battery power supply system

C1165

CV 2

When a malfunction is detected in cut valve 2.

C1166

SV 1

When a malfunction is detected in suction valve 1.

C1167

SV 2

When a malfunction is detected in suction valve 2.

ABS actuator and electric unit (control unit)

Voltage

(Approx.)

Connector

Terminal

E33

25

Ground

Battery voltage

ABS actuator and electric unit (control unit)

Continuity

Connector

Terminal

E33

13

Ground

Yes

38

C1164, C1165, C1166, C1167 CV/SV SYSTEM

BRC-85

< DTC/CIRCUIT DIAGNOSIS >

[VDC/TCS/ABS]

C

D

E

G

H

I

J

K

L

M

A

B

BRC

N

O

P

Is the inspection result normal?

YES

>> Replace ABS actuator and electric unit (control unit). Refer to 

BRC-109, "Removal and Installa-

tion"

.

NO

>> Repair or replace malfunctioning components.

BRC-86

< DTC/CIRCUIT DIAGNOSIS >

[VDC/TCS/ABS]

U1000 CAN COMM CIRCUIT

U1000 CAN COMM CIRCUIT

DTC Logic

INFOID:0000000009637533

DTC DETECTION LOGIC

Diagnosis Procedure

INFOID:0000000009637534

1.

CHECK DTC DETECTION

With CONSULT.

1. Turn ignition switch ON.

2. Perform self diagnostic result.
Is DTC U1000 detected?

YES

>> Proceed to diagnosis procedure. Refer to 

LAN-15, "Trouble Diagnosis Flow Chart"

.

NO

>> Refer to 

GI-41, "Intermittent Incident"

.

DTC

Display Item

Malfunction detected condition

Possible causes

U1000

CAN COMM CIRCUIT

When CAN communication signal is not continuously 
received for 2 seconds or more

CAN communication system mal-
function

U1002 SYSTEM COMM (CAN)

BRC-87

< DTC/CIRCUIT DIAGNOSIS >

[VDC/TCS/ABS]

C

D

E

G

H

I

J

K

L

M

A

B

BRC

N

O

P

U1002 SYSTEM COMM (CAN)

DTC Logic

INFOID:0000000009637535

DTC DETECTION LOGIC

DTC CONFIRMATION PROCEDURE

1.

PRECONDITIONING

If “DTC CONFIRMATION PROCEDURE” has been previously conducted, always turn ignition switch OFF and

wait at least 10 seconds before conducting the next test.

>> GO TO 2.

2.

DTC REPRODUCTION PROCEDURE

With CONSULT

1. Turn the ignition switch ON.

2. Perform self diagnosis for “ABS”.
Is DTC “U1002” detected?

YES

>> Proceed to 

BRC-87, "Diagnosis Procedure"

.

NO

>> Inspection End.

Diagnosis Procedure

INFOID:0000000009637536

CAUTION:

• Never apply 7.0 V or more to the measurement terminal.

• Use a tester with open terminal voltage of 7.0 V or less.

• Turn the ignition switch OFF and disconnect the battery cable from the negative terminal when

checking the harness.

1.

CHECK CAN DIAGNOSIS SUPPORT MONITOR

1. Select “ABS” and “CAN Diagnosis Support Monitor” in order with CONSULT.

2. Check malfunction history between each control unit connected to ABS actuator and electric unit (control

unit).

Check the result of “PAST”?

All items are “OK”>>Refer to 

GI-41, "Intermittent Incident"

.

“TRANSMIT DIAG” is other than “OK”>>GO TO 2.

A control unit other than ABS actuator and electric unit (control unit) is anything other than “OK”>>GO TO 3.

2.

CHECK TRANSMITTING SIDE UNIT

Check the ABS actuator and electric unit (control unit) harness connector terminals 10 and 11 for damage or

loose connection.
Is the inspection result normal?

YES

>> Erase self-diagnosis results. Then perform self-diagnosis for “ABS” with CONSULT.

NO

>> Recheck terminals for damage or loose connection.

3.

CHECK APPLICABLE CONTROL UNIT

Check damage or loose connection of each CAN communication line harness connector terminals.
Is the inspection result normal?

YES

>> Erase self-diagnosis results. Then perform self-diagnosis for applicable control unit with CON-

SULT.

NO

>> Recheck terminals for damage or loose connection.

DTC

Display item

Malfunction detected condition

Possible cause

U1002

SYSTEM COMM(CAN)

When ABS actuator and electric unit (control unit) is not 
transmitting or receiving CAN communication signal for 2 
seconds or less.

• CAN communication line
• ABS actuator and electric unit 

(control unit)


Content   ..  128  129  130  131   ..