Nissan Leaf. Manual - part 862
ROOM LAMP
INL-53
< REMOVAL AND INSTALLATION >
C
D
E
F
G
H
I
J
K
M
A
B
INL
N
O
P
ROOM LAMP
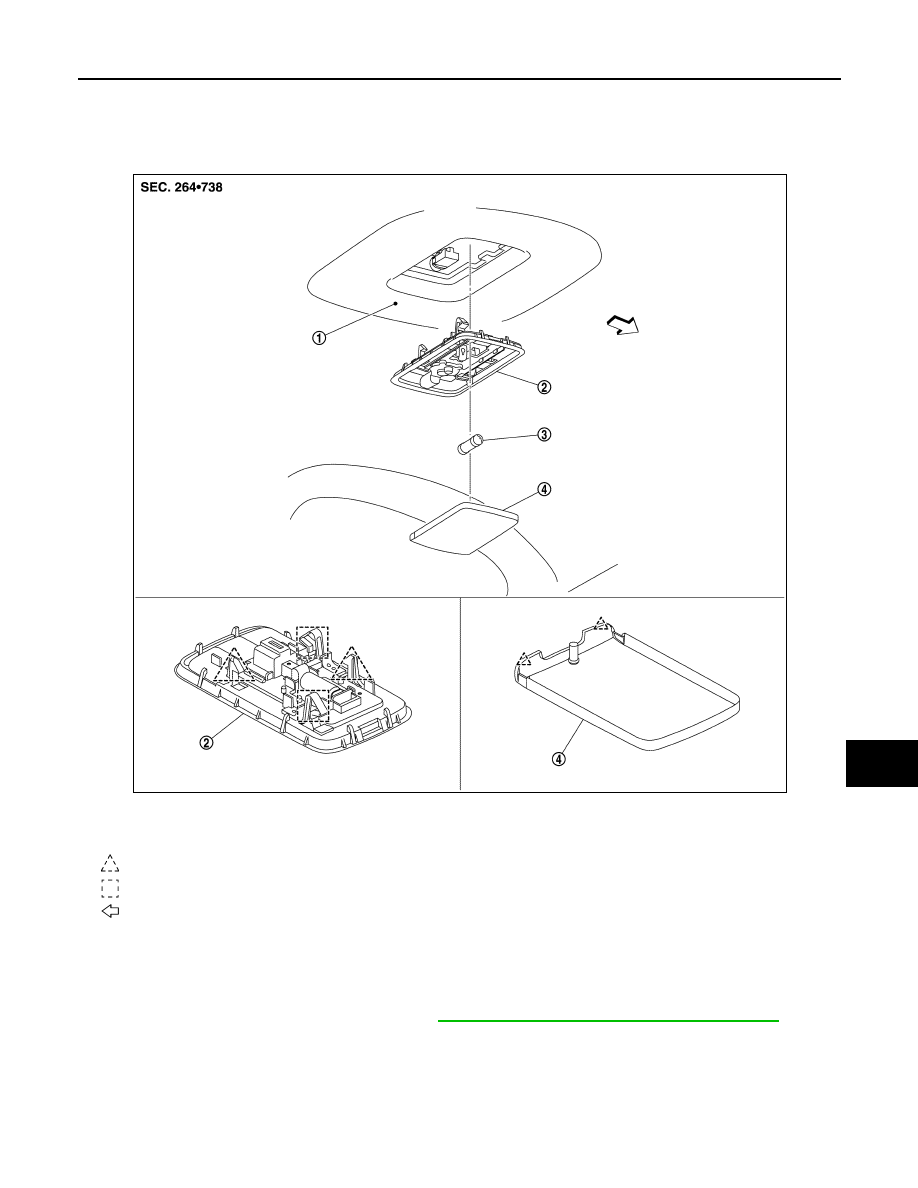
Exploded View
INFOID:0000000010122286
Removal and Installation
INFOID:0000000010122287
CAUTION:
• Disconnect the 12V battery negative terminal or remove power circuit fuse while performing the
operation to prevent electric leakage. Refer to
INL-3, "Precaution for Removing 12V Battery"
• Never touch the glass surface of the bulb with bare hands or allow oil or grease to get on it to pre-
vent damage to the bulb.
• Never touch the glass surface of the bulb with bare hands because the surface is very hot just after
the lamp is turned OFF to prevent a burns.
REMOVAL
1.
Headlining
2.
Room lamp assembly
3.
Bulb
4.
Lens
: Pawl
: Metal clip
: Vehicle front
JMLIA2091ZZ