Nissan Primera P11. Manual - part 403
b.
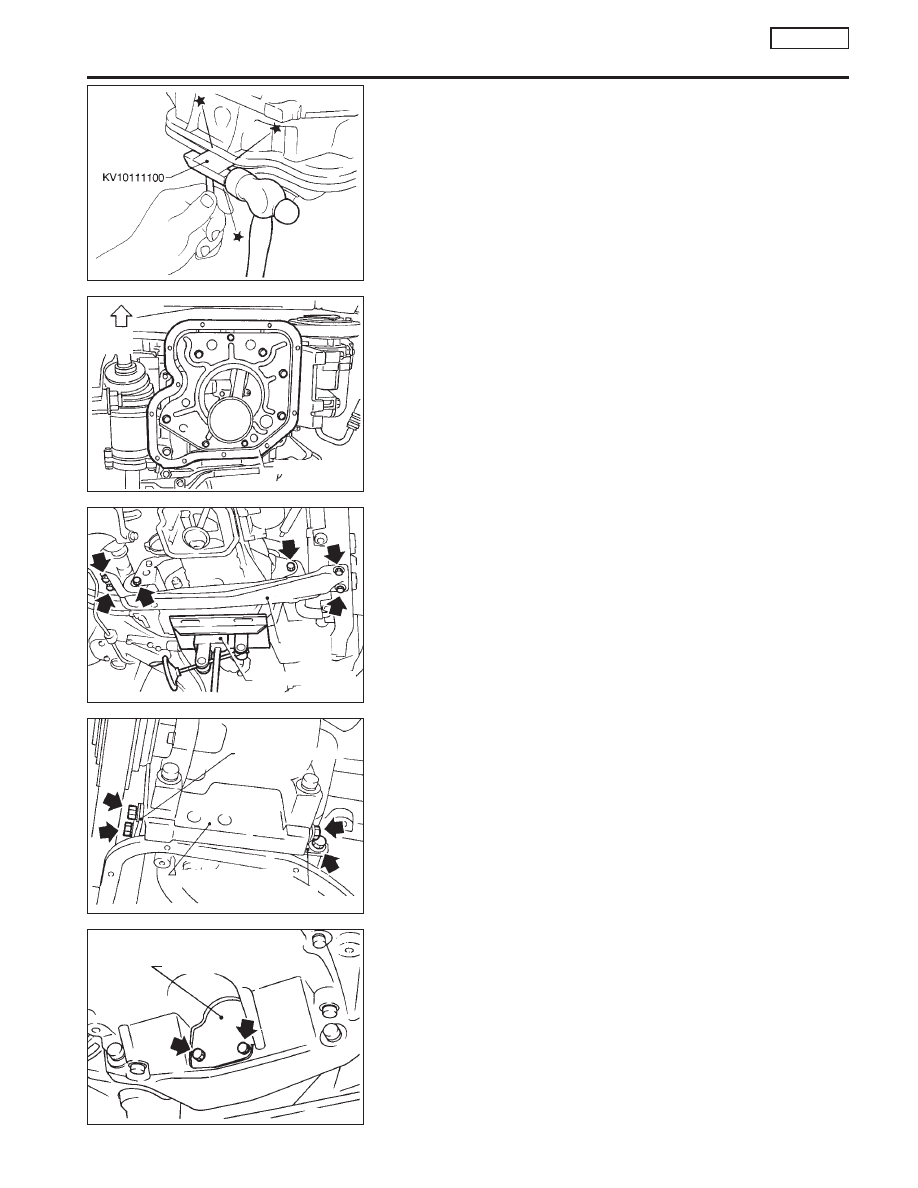
Slide Tool by tapping on the side of the Tool with a hammer.
c.
Remove steel oil pan.
d.
Remove baffle plate.
5.
Remove front exhaust tube.
6.
Set a suitable transmission jack under transaxle and hoist
engine with engine slinger.
7.
Remove center member.
8.
Remove compressor gussets.
9.
Remove rear cover plate.
SEM603E
NEM219
.
Engine
front
.
Baffle plate
SEM045D
Center
member
Transmission jack
.
SEM048D
Front compressor
gusset
Compressor bracket
Rear compressor
gusset
SEM043D
Rear cover plate
OIL PAN
SR20DE
Removal (Cont’d)
EM-71