Nissan Frontier D22. Manual - part 345
DTC P1448 EVAP CANISTER VENT CONTROL VALVE
EC-483
[KA24DE]
C
D
E
F
G
H
I
J
K
L
M
A
EC
11. Make sure of the following.
If the result is NG, go to
EC-483, "Diagnostic Procedure"
If the result is OK, go to “Diagnostic Procedure” for DTC P0442,
Overall Function Check
UBS00DBP
Use this procedure to check the overall function of the EVAP canister vent control valve circuit. During this
check, a 1st trip DTC might not be confirmed.
WITH GST
1.
Disconnect hose from water separator.
2.
Disconnect EVAP canister vent control valve harness connector.
3.
Verify the following.
If the result is NG, go to
EC-483, "Diagnostic Procedure"
If the result is OK, perform trouble diagnosis for DTC P0442.
Refer to
Diagnostic Procedure
UBS00DBQ
1.
CHECK RUBBER TUBE
1.
Turn ignition switch OFF.
2.
Check disconnection or obstruction of rubber tube connected to EVAP canister vent control valve.
OK or NG
OK
>> GO TO 2.
NG
>> Repair or clean rubber tube.
2.
CHECK EVAP CANISTER VENT CONTROL VALVE-I
1.
Remove EVAP canister vent control valve from EVAP canister.
2.
Check portion B of EVAP canister vent control valve for being
rusted.
OK or NG
OK
>> GO TO 3.
NG
>> Replace EVAP canister vent control valve.
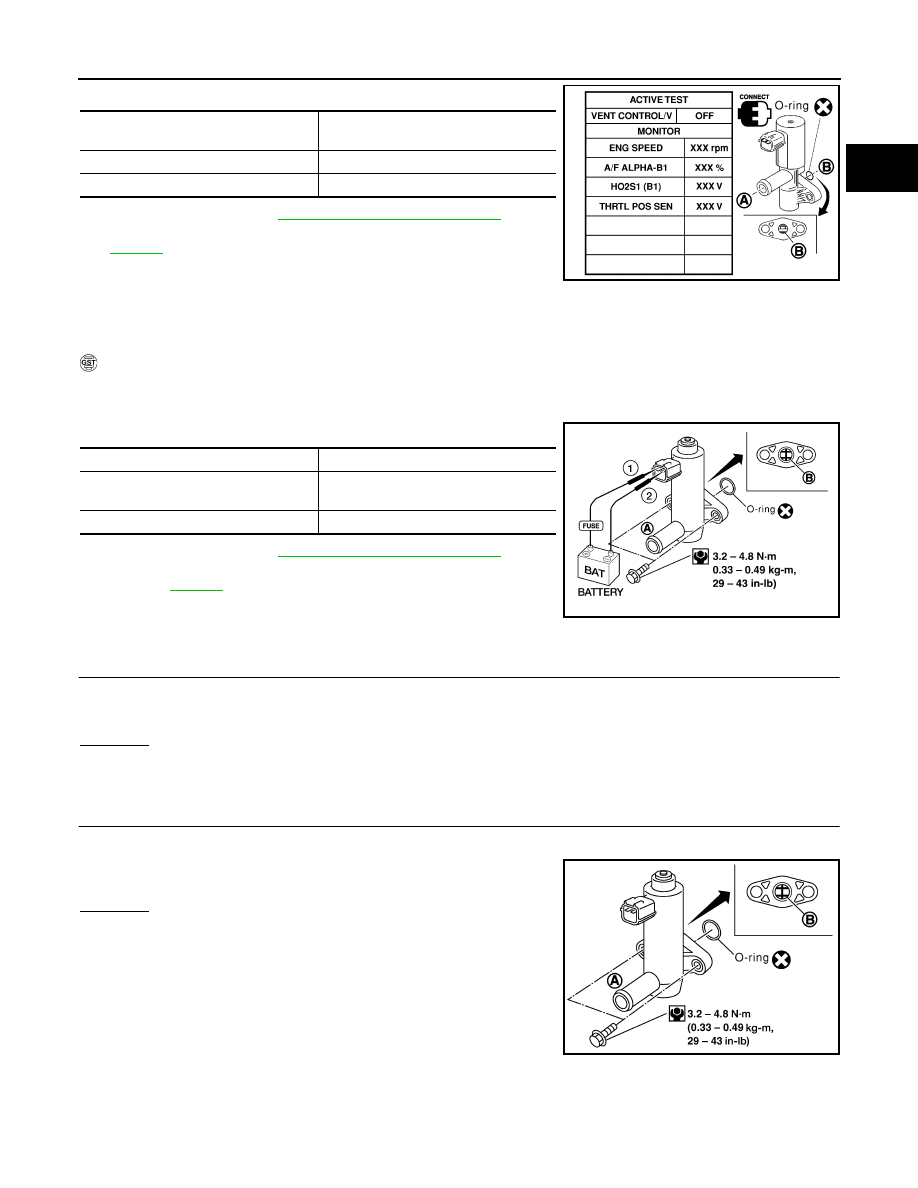
Condition
Air passage continuity between A and
B
Touching “ON”
No
Touching “OFF”
Yes
SEF805Y
Condition
Air passage continuity
12V direct current supply between ter-
minals 1 and 2
No
No supply
Yes
BBIA0309E
BBIA0308E