Nissan Frontier D22. Manual - part 99
TROUBLE DIAGNOSES FOR SYMPTOMS
AT-365
[RE4R01A]
D
E
F
G
H
I
J
K
L
M
A
B
AT
3.
CHECK LINE PRESSURE
Check line pressure at idle with selector lever in R position. Refer to
.
OK or NG
OK
>> GO TO 4.
NG
>> 1. Remove control valve assembly. Refer to
2. Check the following items:
–
Valves to control line pressure (Pressure regulator
valve, pressure modifier valve, pilot valve and pilot fil-
ter)
–
Line pressure solenoid valve
3. Disassemble A/T.
4. Check the following items:
–
Oil pump assembly
4.
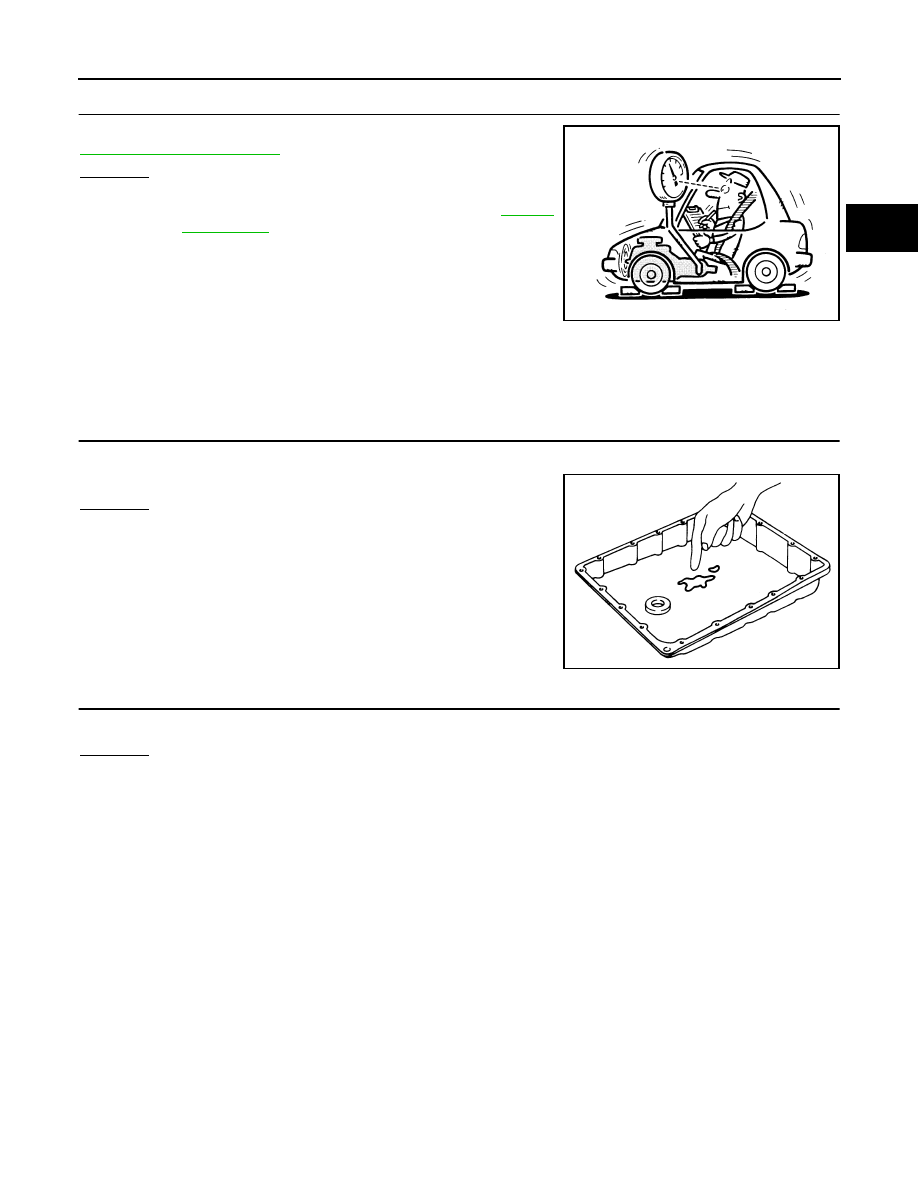
CHECK A/T FLUID CONDITION
1.
Remove oil pan.
2.
Check A/T fluid condition.
OK or NG
OK
>> GO TO 5.
NG
>> GO TO 6.
5.
CHECK SYMPTOM
Check again.
OK or NG
OK
>> INSPECTION END.
NG
>> 1. Perform TCM input/output signal inspection.
2. If NG, recheck TCM pin terminals for damage or loose connection with harness connector.
SAT494G
SAT171B