Nissan Xterra. Manual - part 693
OIL PUMP
TM-285
< UNIT DISASSEMBLY AND ASSEMBLY >
[5AT: RE5R05A]
C
E
F
G
H
I
J
K
L
M
A
B
TM
N
O
P
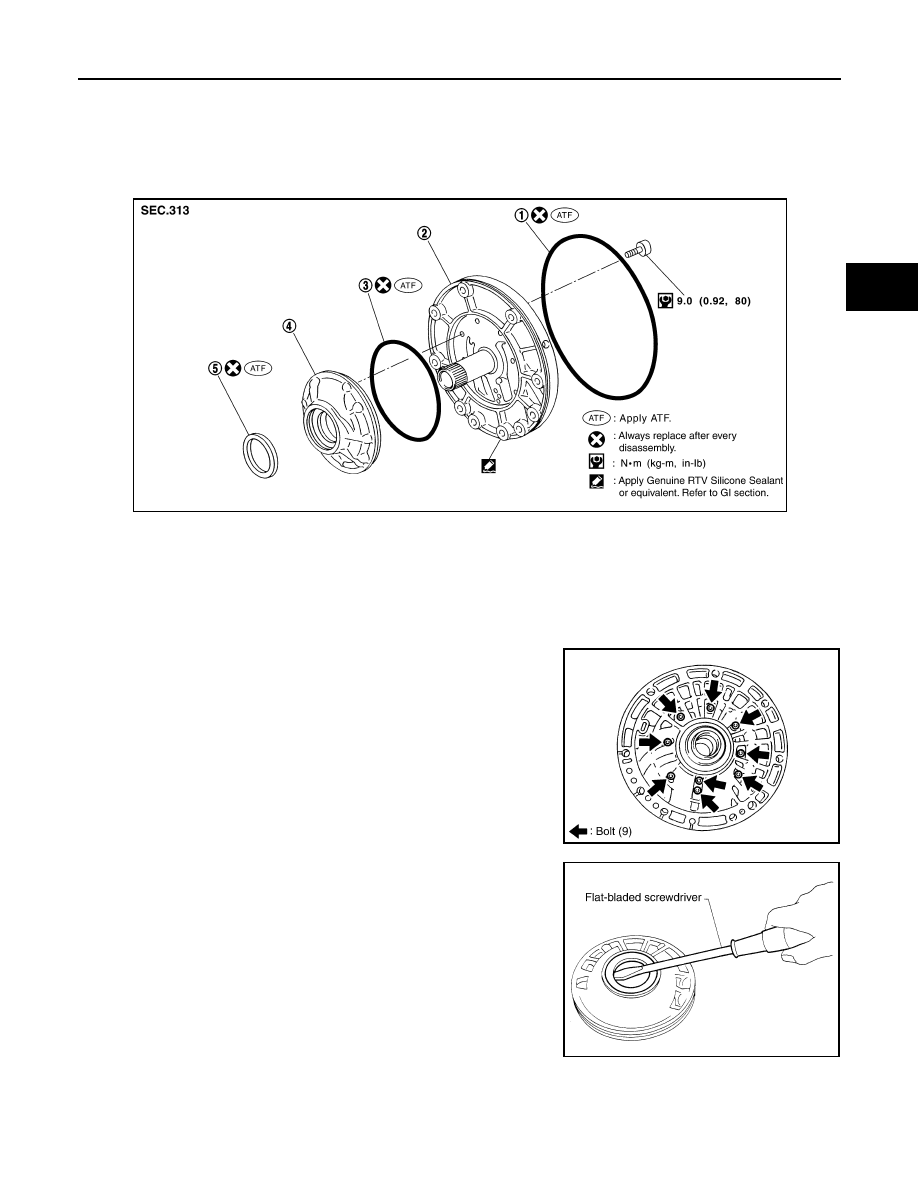
OIL PUMP
Exploded View
INFOID:0000000009485618
Oil Pump
Disassembly and Assembly
INFOID:0000000009485619
DISASSEMBLY
1. Remove oil pump housing from oil pump cover.
2. Remove oil pump housing oil seal using suitable tool.
CAUTION:
Do not scratch oil pump housing.
1.
O-ring
2.
Oil pump cover
3.
O-ring
4.
Oil pump housing
5.
Oil pump housing oil seal
SCIA5227E
SCIA5228E
SCIA2840E