Nissan March K13. Manual - part 61


  Index      Nissan     Nissan March K13 - Service and Repair Manual)


Search            


Content   ..  59  60  61  62   ..


Nissan March K13. Manual - part 61


CO-8

< SYMPTOM DIAGNOSIS >

[HR12DE]

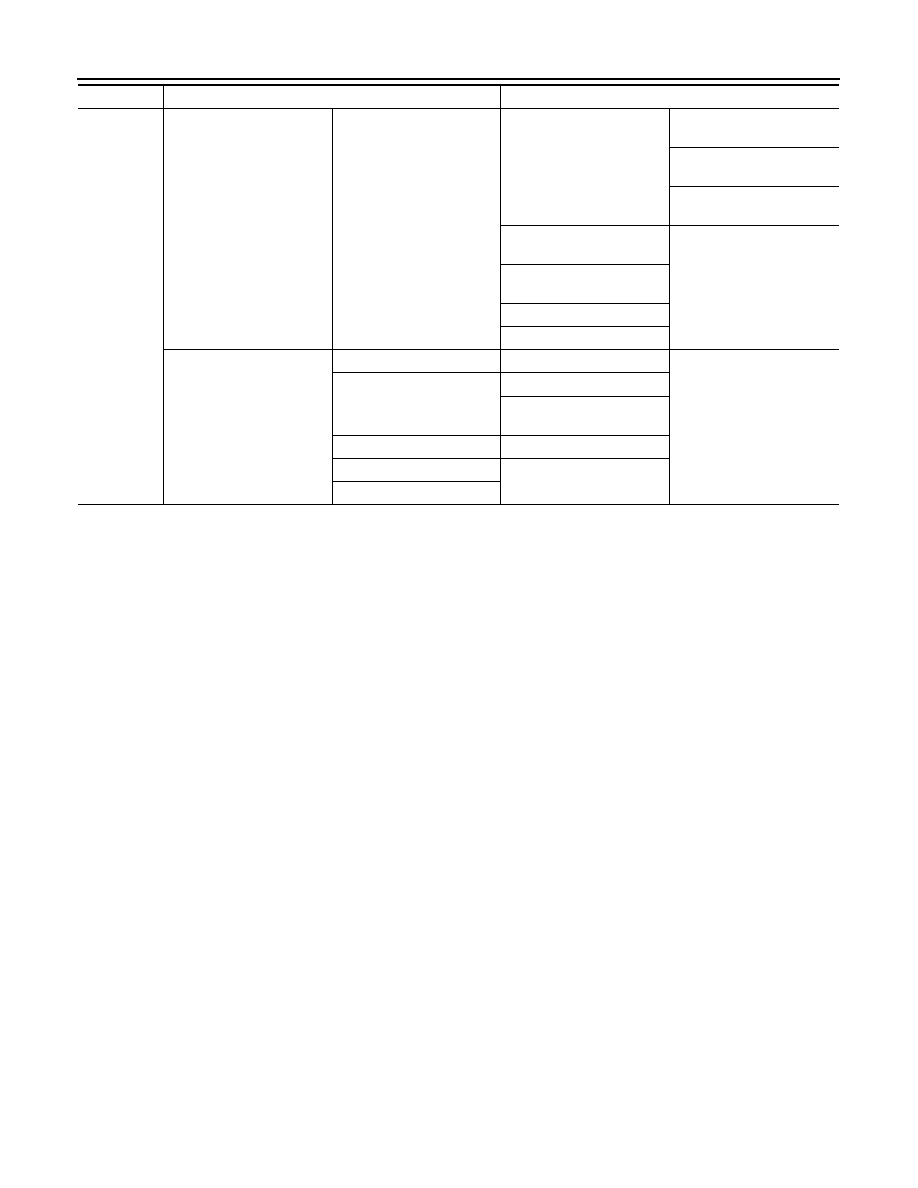
OVERHEATING CAUSE ANALYSIS

Except cool-
ing system 
parts mal-
function

Overload on engine

Abusive driving

High engine rpm under no 
load

Driving in low gear for ex-
tended time

Driving at extremely high 
speed

Power train system mal-
function

Installed improper size 
wheels and tires

Dragging brakes

Improper ignition timing

Blocked or restricted air 
flow

Blocked bumper

Blocked radiator grille

Installed car brassiere

Mud contamination or paper 
clogging

Blocked radiator

Blocked condenser

Blocked air flow

Installed large fog lamp

Symptom

Check items

ENGINE COOLANT

CO-9

< PERIODIC MAINTENANCE >

[HR12DE]

C

D

E

F

G

H

I

J

K

L

M

A

CO

N

P

O

PERIODIC MAINTENANCE

ENGINE COOLANT

Inspection

INFOID:0000000005988456

LEVEL 

• Check that the reservoir tank engine coolant level is within the

“MIN” to “MAX” when the engine is cool.

• Adjust the engine coolant level if necessary.

LEAKAGE

• To check for leakage, apply pressure to the cooling system with the

radiator cap tester (commercial service tool) (A) and the radiator
cap tester adapter (commercial service tool) (B).

WARNING:

Never remove radiator cap when engine is hot. Serious burns
may occur from high-pressure engine coolant escaping from
radiator.

CAUTION:

Higher test pressure than specified may cause radiator dam-
age.
NOTE:
In a case that engine coolant decreases, replenish radiator with engine coolant.

• If anything is found, repair or replace damaged parts.

Draining

INFOID:0000000005988457

WARNING:

• Never remove radiator cap when engine is hot. Serious burns may occur from high-pressure engine

coolant escaping from radiator. 

• Wrap a thick cloth around the radiator cap. Slowly turn it a quarter of a turn to release built-up pres-

sure. Then turn it all the way.

1.

Open radiator drain plug (A) at the bottom of radiator, and then
remove radiator cap. 

CAUTION:

Perform this step when engine is cold.
• When draining all of engine coolant in the system, open water

drain plugs on cylinder block. Refer to EM.

2.

Remove reservoir tank if necessary, and drain engine coolant and clean reservoir tank before installing.
Refer to 

CO-14, "Exploded View"

.

3.

Check drained engine coolant for contaminants such as rust, corrosion or discoloration. If contaminated,
flush the engine cooling system. Refer to 

CO-11, "Flushing"

.

A

:  MAX

B

:  MIN

JPBIA0102ZZ

Testing pressure: Refer to 

CO-26, "Radiator"

.

PBIC5121J

: Vehicle front

JPBIA3336ZZ

CO-10

< PERIODIC MAINTENANCE >

[HR12DE]

ENGINE COOLANT

Refilling

INFOID:0000000005988458

1.

Install reservoir tank if removed and radiator drain plug.

CAUTION:

Be sure to clean drain plug and install with new O-ring.

• If water drain plugs on cylinder block are removed, close and tighten them. Refer to EM.

2.

Check that each hose clamp has been firmly tightened.

3.

Remove air duct inlet and air cleaner assembly. Refer to 

EM-24, "Removal and Installation"

.

4.

Disconnect heater hose (1) at position (

) in the figure.

• Enhance heater hose as high as possible.

5.

 Fill radiator (1) to specified level.

CAUTION:

Never adhere the engine coolant to electronic equipments
(alternator etc.).
• Pour coolant slowly of less than 2   (2-1/8 US qt, 1-3/4

Imp qt) a minute to allow air in system to escape.

• When engine coolant overflows disconnected heater

hose, connect heater hose, and continue filling the engine
coolant. 

• Use Genuine NISSAN Engine Coolant or equivalent in its

quality mixed with water (distilled or demineralized). Refer
to 

MA-8, "Fluids and Lubricants"

.

6.

Refill reservoir tank to “MAX” level line with engine coolant.

7.

Install air duct (between air cleaner case and electric throttle control actuator). Refer to 

EM-24, "Removal

and Installation"

.

8.

Install radiator cap.

9.

Warm up engine until opening thermostat. Standard for warming-up time is approximately 10 minutes at
3,000 rpm.
• Check thermostat opening condition by touching radiator hose (lower) to see a flow of warm water.

Radiator drain plug

Refer to 

CO-14, "Exploded View"

.

: Vehicle front

JPBIA3337ZZ

Engine coolant capacity
(With reservoir tank at “MAX” level)

 Refer to 

CO-26, "Periodical Maintenance Specifica-

tion"

.

JPBIA0819ZZ

A

:  MAX

B

:  MIN

Reservoir tank engine coolant capacity 
(At “MAX” level)

Refer to 

CO-26, "Periodical Maintenance Specification"

.

JPBIA0102ZZ

ENGINE COOLANT

CO-11

< PERIODIC MAINTENANCE >

[HR12DE]

C

D

E

F

G

H

I

J

K

L

M

A

CO

N

P

O

CAUTION:

Watch water temperature gauge so as not to overheat engine.

10. Stop the engine and cool down to less than approximately 50

°

C (122

°

F).

• Cool down using fan to reduce the time.
• If necessary, refill radiator up to filler neck with engine coolant.

CAUTION:

Never adhere the engine coolant to electronic equipments (alternator etc.).

11. Refill reservoir tank to “MAX” level line with engine coolant.

12. Repeat steps 5 through 10 two or more times with radiator cap installed until engine coolant level no

longer drops. 

13. Check cooling system for leakage with engine running.

14. Warm up the engine, and check for sound of engine coolant flow while running engine from idle up to

3,000 rpm with heater temperature controller set at several position between “COOL” and “WARM”.
• Sound may be noticeable at heater unit.

15. Repeat step 14 three times.
16. If sound is heard, bleed air from cooling system by repeating step 5 through 10 until reservoir tank level no

longer drops. 

Flushing

INFOID:0000000005988459

1.

Install reservoir tank if removed and radiator drain plug.

CAUTION:

Be sure to clean drain plug and install with new O-ring.

• If water drain plugs on cylinder block are removed, close and tighten them. Refer to EM.

2.

Remove air duct inlet and air cleaner case assembly. Refer to 

EM-24, "Removal and Installation"

.

3.

Disconnect heater hose (1) at position (

) in the figure.

• Enhance heater as high as possible.

4.

Fill radiator and reservoir tank with water and reinstall radiator cap.
• When engine coolant over flows disconnected heater hose, connect heater hose, and continue filling the

engine coolant.

5.

Install air duct (between air cleaner case and electric throttle control actuator). Refer to 

EM-24, "Removal

and Installation"

.

6.

Run the engine and warm it up to normal operating temperature.

7.

Rev the engine two or three times under no-load.

8.

Stop the engine and wait until it cools down.

9.

Drain water from the system. Refer to 

CO-9, "Draining"

.

10. Repeat steps 1 through 9 until clear water begins to drain from radiator.

Radiator drain plug

: Refer to 

CO-14, "Exploded View"

.

: Vehicle front

JPBIA3337ZZ


Content   ..  59  60  61  62   ..