Nissan Pathfinder (2010 year). Manual - part 473
INTERIOR ROOM LAMP
INL-67
< ON-VEHICLE REPAIR >
C
D
E
F
G
H
I
J
K
M
A
B
INL
N
O
P
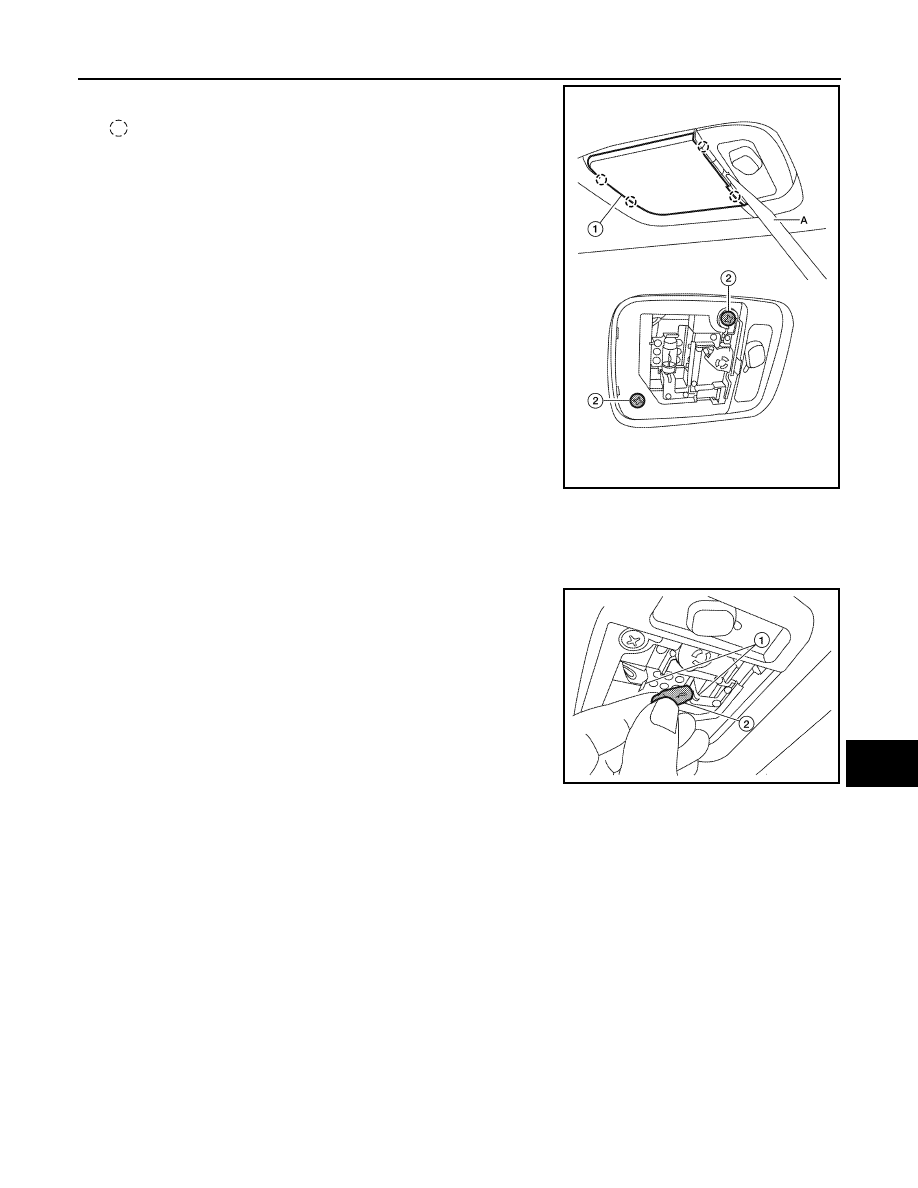
1. Using a suitable tool (A), release the pawls and remove the
cargo lamp lens (1).
: Pawl
CAUTION:
Wrap a cloth around tool to protect the housing and lens.
2. Remove cargo lamp screws (2).
3. Disconnect the connector, then remove cargo lamp.
Installation
Installation is in the reverse order of removal.
Bulb Replacement
1. Using a suitable tool, release the pawls and remove the cargo lamp lens.
2. Release the cargo lamp bulb retainers (1), then pull bulb (2)
straight out to remove.
CARGO LAMP
Removal
AWLIA1670ZZ
Room lamp bulb
: 12V - 8W
ALLIA0326ZZ
2010 Pathfinder