Nissan Teana J32. Manual - part 40
AV
DIAGNOSIS SYSTEM (AUDIO UNIT)
AV-15
< FUNCTION DIAGNOSIS >
[AUDIO SYSTEM]
C
D
E
F
G
H
I
J
K
L
M
B
A
O
P
DIAGNOSIS SYSTEM (AUDIO UNIT)
Diagnosis Description
INFOID:0000000003765592
Self-diagnosis mode can perform the following items.
• Versions display
• Channel check diagnosis
• Key check diagnosis
• AV communication diagnosis
VERSIONS DISPLAY FUNCTION
1.
Turn ignition switch ON.
2.
Turn the audio unit off.
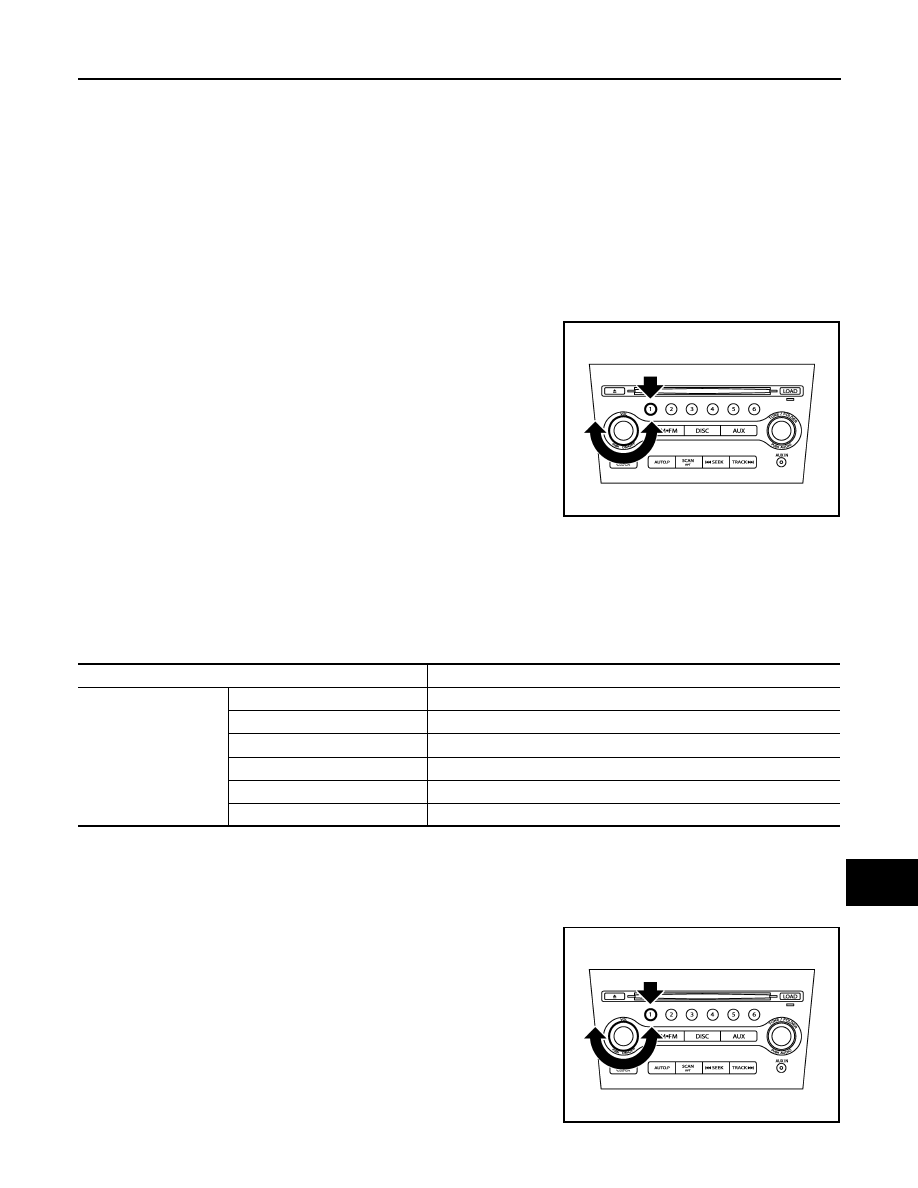
3.
While pressing “1” button, turn volume control dial clockwise or
counterclockwise for 30 clicks or more.
4.
Diagnosis default screen of audio display unit is displayed.
NOTE:
Diagnosis default screen = All icons and segments of the audio display unit are turned on.
5.
Pressing the AUDIO switch briefly displays the version display mode. Pressing the AUDIO switch briefly
switches to each version display. Pressing and holding the AUDIO switch when displaying each software
version returns to the diagnosis default screen.
Version display item
6.
Self-diagnosis mode is canceled when the ignition switch is turned OFF.
CHANNEL CHECK DIAGNOSIS FUNCTION
1.
Turn ignition switch ON.
2.
Turn the audio unit off.
3.
While pressing the “1” button, turn the volume control dial clock-
wise or counterclockwise for 30 clicks or more.
JSNIA1334GB
Mode
Description
Versions display
Software V######
Audio unit software version is displayed.
Hardware V######
Audio unit hardware version is displayed.
Disp HW V######
Display unit hardware version is displayed.
CD Mech V######
Audio unit CD mechanism version is displayed.
EEPROM V######
Audio unit EEPROM version is displayed.
Disp SW V######
Display unit software version is displayed.
JSNIA1334GB