Nissan X-Trail 32. Manual - part 480


  Главная      Nissan     Nissan X-Trail 32 - Service Manual


поиск по сайту            


содержание   ..  478  479  480  481   ..


Nissan X-Trail 32. Manual - part 480
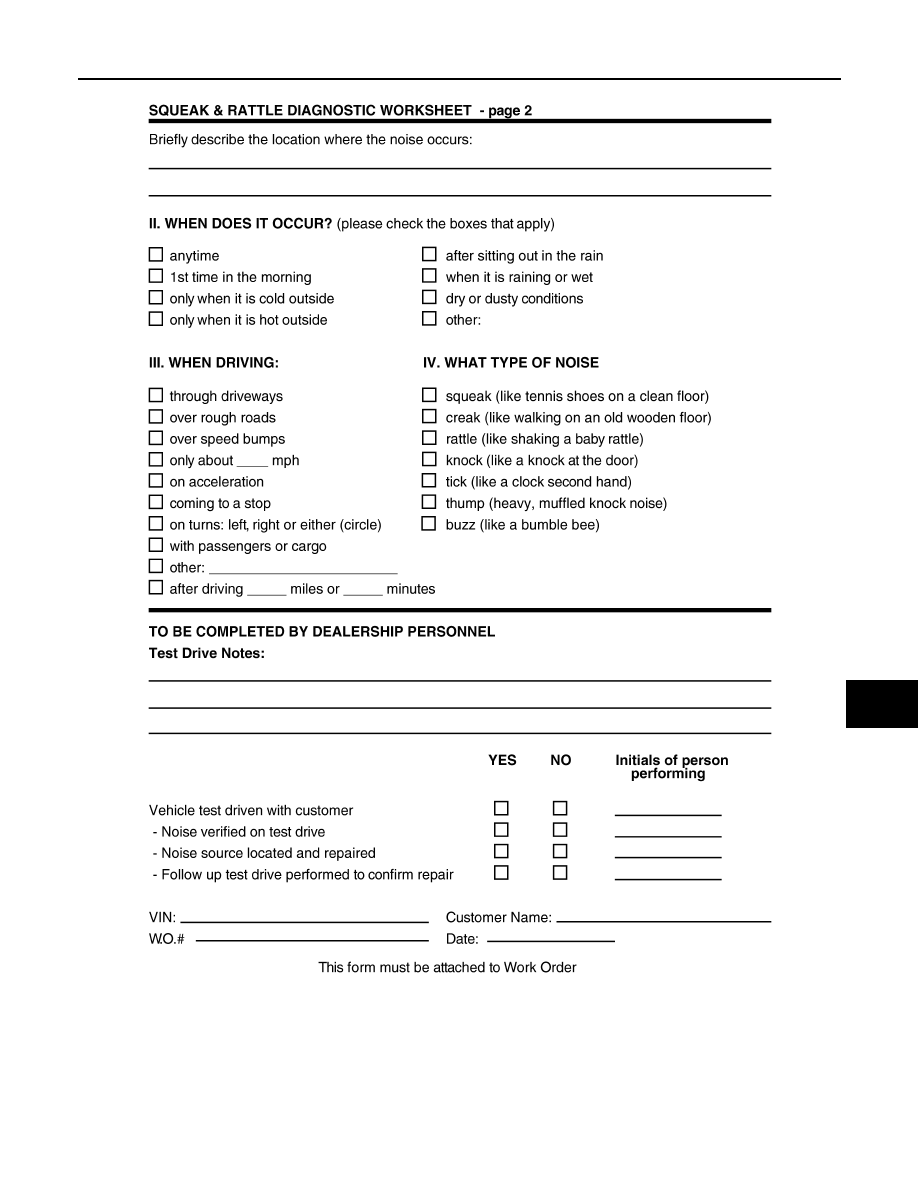


SQUEAK AND RATTLE TROUBLE DIAGNOSES

DLK-261

< SYMPTOM DIAGNOSIS >

[TYPE 1]

C

D

E

F

G

H

I

J

L

M

A

B

DLK

N

O

P

PIIB8742E

DLK-262

< REMOVAL AND INSTALLATION >

[TYPE 1]

HOOD

REMOVAL AND INSTALLATION

HOOD

Exploded View

INFOID:0000000010708248

HOOD ASSEMBLY

HOOD ASSEMBLY : Removal and Installation

INFOID:0000000010708249

CAUTION:

• Perform work with 2 workers, because of its heavy weight.
• Use protective tape or shop cloth to protect from damage during removal and installation.

REMOVAL

1.

Support hood assembly with the proper material to prevent it from falling.

WARNING:

Injury may occur if hood assembly is not supported with appropriate material when removing
hood assembly.

2.

Remove hood assembly mounting nuts, and then remove hood assembly.

INSTALLATION

Note the following items, and then install in the reverse order of removal.

CAUTION:

Hood assembly

Bumper rubber

Hood rod grommet

Radiator core seal

Radiator core seal RH

Radiator core seal

Radiator core seal LH

Hood insulator

Hood bumper rubber

Hood hinge

Hood rod clamp

Hood support rod

: Pawl

: Body grease

JMKIB2689ZZ

HOOD

DLK-263

< REMOVAL AND INSTALLATION >

[TYPE 1]

C

D

E

F

G

H

I

J

L

M

A

B

DLK

N

O

P

• Before installation of hood, apply anticorrosive agent onto the mounting surface of the hood hinge.
• After installing, perform hood fitting adjustment. Refer to 

DLK-263, "HOOD ASSEMBLY : Adjust-

ment"

.

• Apply touch-up paint to the body color if the paint around the hinge is peeled off during removal.
• After installation, check that hood opens and closes normally. Refer to 

DLK-263, "HOOD ASSEMBLY

: Inspection"

.

HOOD ASSEMBLY : Inspection

INFOID:0000000010708250

1.

Open and close the hood. Check that hood hinge rotation portion moves smoothly.

2.

Check hood hinge rotating part for poor lubrication. If necessary,
apply grease.

HOOD ASSEMBLY : Adjustment

INFOID:0000000010708251

FITTING ADJUSTMENT

: Body grease

JMKIB2933ZZ

DLK-264

< REMOVAL AND INSTALLATION >

[TYPE 1]

HOOD

Fitting Adjustment Standard

Check the clearance and the surface height between hood and each part by visually and touching.
If the clearance and the surface height are out of specification, adjust them according to the procedures
shown below.

Hood assembly

Front grille

Front combination lamp

Front fender

Hood bumper rubber 

Hood hinge

Hood lock assembly

: Vehicle front

: N·m (kg-m, ft-lb)

: Body grease

JMKIB2934GB


содержание   ..  478  479  480  481   ..