Nissan Qashqai J11. Manual - part 2013


  Index      Nissan     Nissan Qashqai J11 - Service and Repair Manual


Search            


Content   ..  2011  2012  2013  2014   ..


Nissan Qashqai J11. Manual - part 2013


PG-144

< WIRING DIAGRAM >

HARNESS LAYOUT

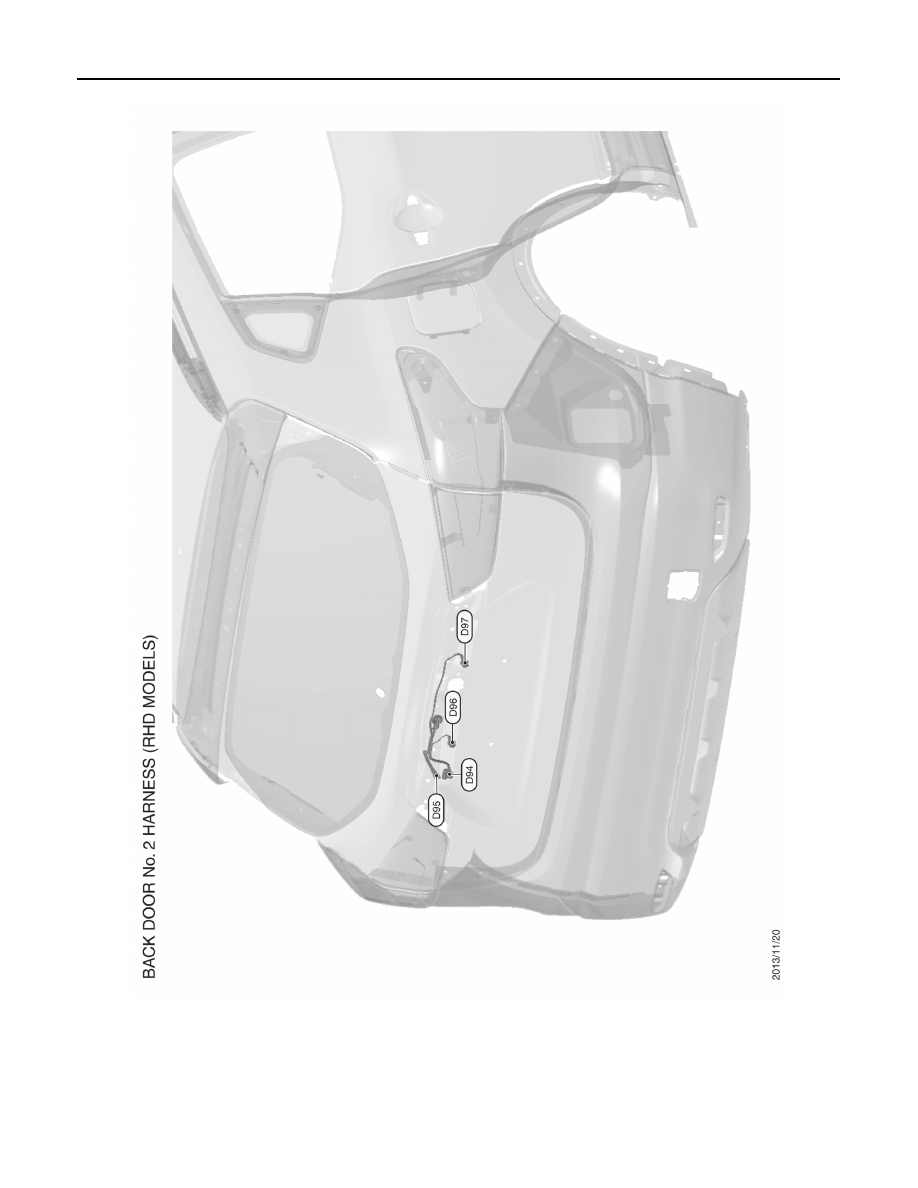
BACK DOOR No. 2 HARNESS

JRMIC4156GB

PG

HARNESS LAYOUT

PG-145

< WIRING DIAGRAM >

C

D

E

F

G

H

I

J

K

L

B

A

O

P

N

RHD : Room Lamp Harness

INFOID:0000000010464095

JRMIC4899GB

PG

BATTERY INSPECTION

PG-147

< BASIC INSPECTION >

C

D

E

F

G

H

I

J

K

L

B

A

O

P

N

Work Flow WITHOUT STOP/START SYSTEM

INFOID:0000000010464099

OVERALL SEQUENCE

DETAILED FLOW

1.

VISUAL INSPECTION

1.

Check battery case for cracks or bends.

2.

Check battery terminals for damage.

Are these inspection results normal?

YES

>> GO TO 2.

NO

>> Replace battery.

2.

CAPACITY TEST

Check battery voltage.
Is the voltage 12.35 V or more?

YES

>> GO TO 3.

NO

>> GO TO 4.

3.

DISCHARGE

1.

Check battery type and determine the specified current using the table.

2.

Perform discharge using the load tester.

Is the voltage 10 V or more?

YES

>> Ready for use.

NO

>> Replace battery.

JSMIA1006GB

Type

Current (A)

55D23L-MF

300

80D23L-MF

PG-148

< BASIC INSPECTION >

BATTERY INSPECTION

4.

CHARGE

Charge battery, following the instructions below: 
• Constant current charging may damage batteries. Therefore, charge battery by constant voltage charge

mode with the maximum voltage set at 15 V.

• Charge at least 6 hours or until the charge current becomes 4 amps or less.

>> GO TO 3.

Work Flow WITH STOP/START SYSTEM

INFOID:0000000011772993

DETAILED FLOW

1.

VISUAL INSPECTION

1.

Check battery case for cracks or bends.

2.

Check battery terminals for damage.

Are these inspection results normal?

YES

>> GO TO 2.

NO

>> Replace battery.

2.

CHECK BATTERY (USE CONSULT)

Check the battery, using CONSULT. Refer to 

ECH-316, "Diagnosis Procedure"

 (HRA2DDT), 

ECK-394, "Diag-

nosis Procedure"

 (K9K), or 

EC9-405, "Diagnosis Procedure"

 (R9M).

Is the check result normal?

YES

>> GO TO 3.

NO

>> Replace battery.

3.

CAPACITY TEST

Check battery voltage.
Is the voltage 12.35 V or more?

YES

>> GO TO 4.

NO

>> GO TO 5.

4.

DISCHARGE

1.

Check battery type and determine the specified current using the table.

2.

Perform discharge using the load tester.

Is the voltage 10 V or more?

YES

>> Ready for use.

NO

>> Replace battery.

5.

CHARGE

Charge battery, following the instructions below: 
• Constant current charging may damage batteries. Therefore, charge battery by constant voltage charge

mode with the maximum voltage set at 15 V.

• Charge at least 6 hours or until the charge current becomes 4 amps or less.

>> GO TO 4.

Type

Current (A)

L2

300

L3

300


Content   ..  2011  2012  2013  2014   ..