Content .. 1672 1673 1674 1675 ..
Nissan Qashqai J11. Manual - part 1674
INSIDE MIRROR
MIR-71
< REMOVAL AND INSTALLATION >
C
D
E
F
G
H
I
J
K
M
A
B
MIR
N
O
P
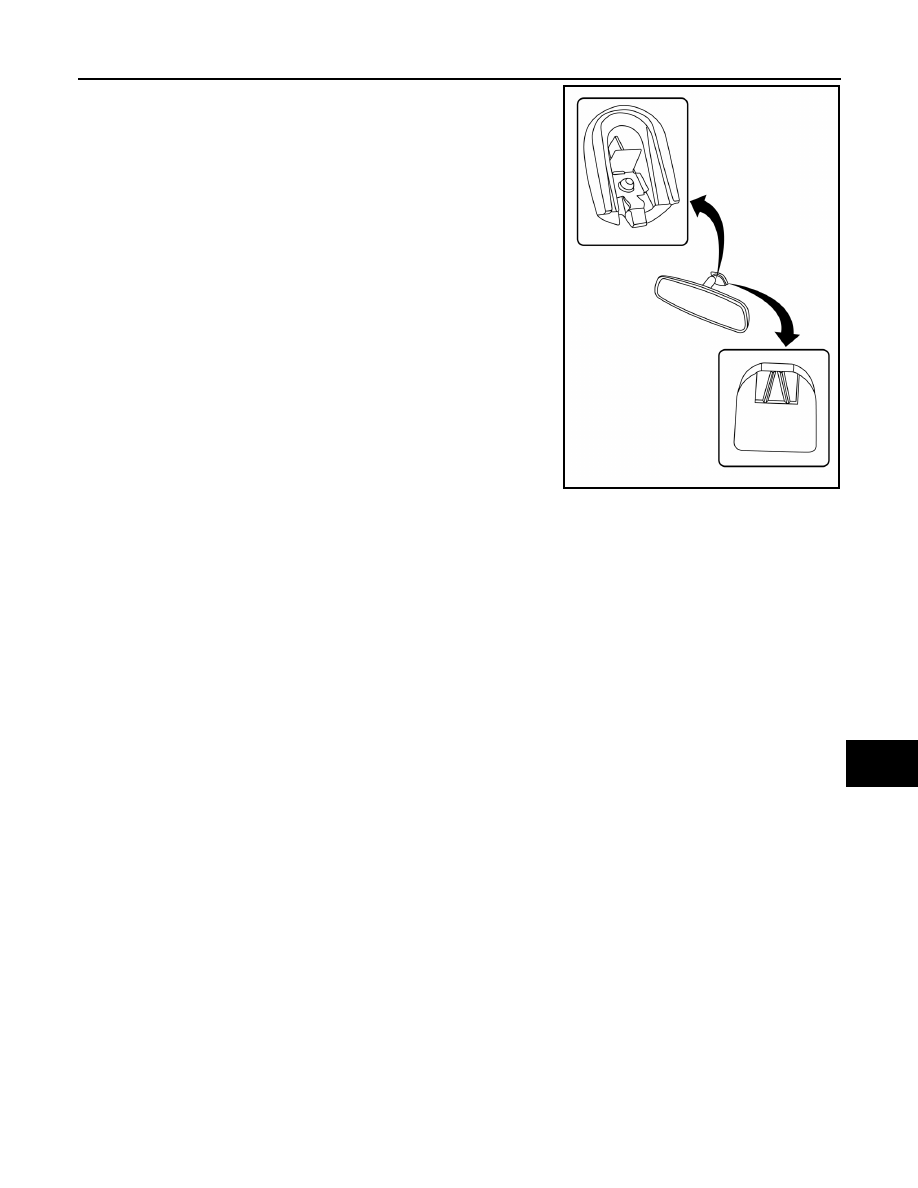
1.
Hold inside mirror at the base and push upward, while using a
suitable tool to release the pawl and remove.
CAUTION:
Use care when removing inside mirror to avoid damage to
mirror, mirror base or windshield glass.
Installation
Installation is in the reverse order of removal.
CAUTION:
Apply Genuine Mirror Adhesive or equivalent to bonding surface of mirror base if loose or removed.
AUTO ANTI-DAZZLING
Removal
1.
Remove inside mirror finisher.
2.
Disconnect the harness connector from the inside mirror.
3.
Loosen bolt and slide inside mirror upward to remove.
Installation
Installation is in the reverse order of removal.
• Calibrate compass (if equipped).
CAUTION:
Apply Genuine Mirror Adhesive or equivalent to bonding surface of mirror base if loose or removed.
NOTE:
Calibrate the compass by driving the vehicle in a complete circle three times.
ALLIA1034ZZ