Content .. 1342 1343 1344 1345 ..
Nissan Qashqai J11. Manual - part 1344
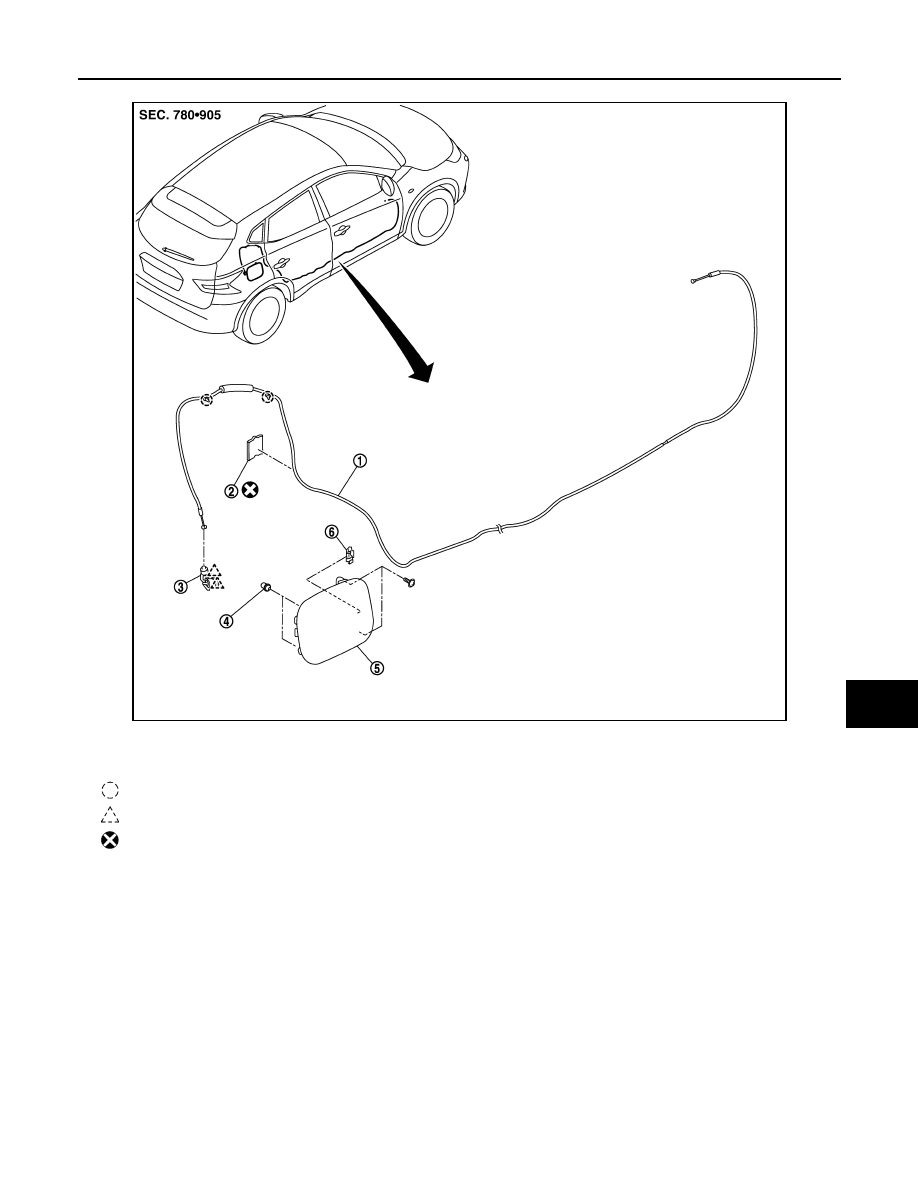
FUEL FILLER LID OPENER
DLK-645
< REMOVAL AND INSTALLATION >
[TYPE 4]
C
D
E
F
G
H
I
J
L
M
A
B
DLK
N
O
P
RHD models
FUEL FILLER LID
FUEL FILLER LID : Removal and Installation
INFOID:0000000010479462
REMOVAL
1.
Fully open fuel filler lid assembly.
JMKIB3263ZZ
1.
Fuel opener cable
2.
Cable protector
3.
Fuel filler lid lock assembly
4.
Bumper rubber
5.
Fuel filler lid assembly
6.
Fuel filler spring
: Clip
: Pawl
: Always replace after every disassembly.