Content .. 1172 1173 1174 1175 ..
Nissan Qashqai J11. Manual - part 1174
BACK DOOR TRIM
INT-31
< REMOVAL AND INSTALLATION >
C
D
E
F
G
H
I
K
L
M
A
B
INT
N
O
P
BACK DOOR TRIM
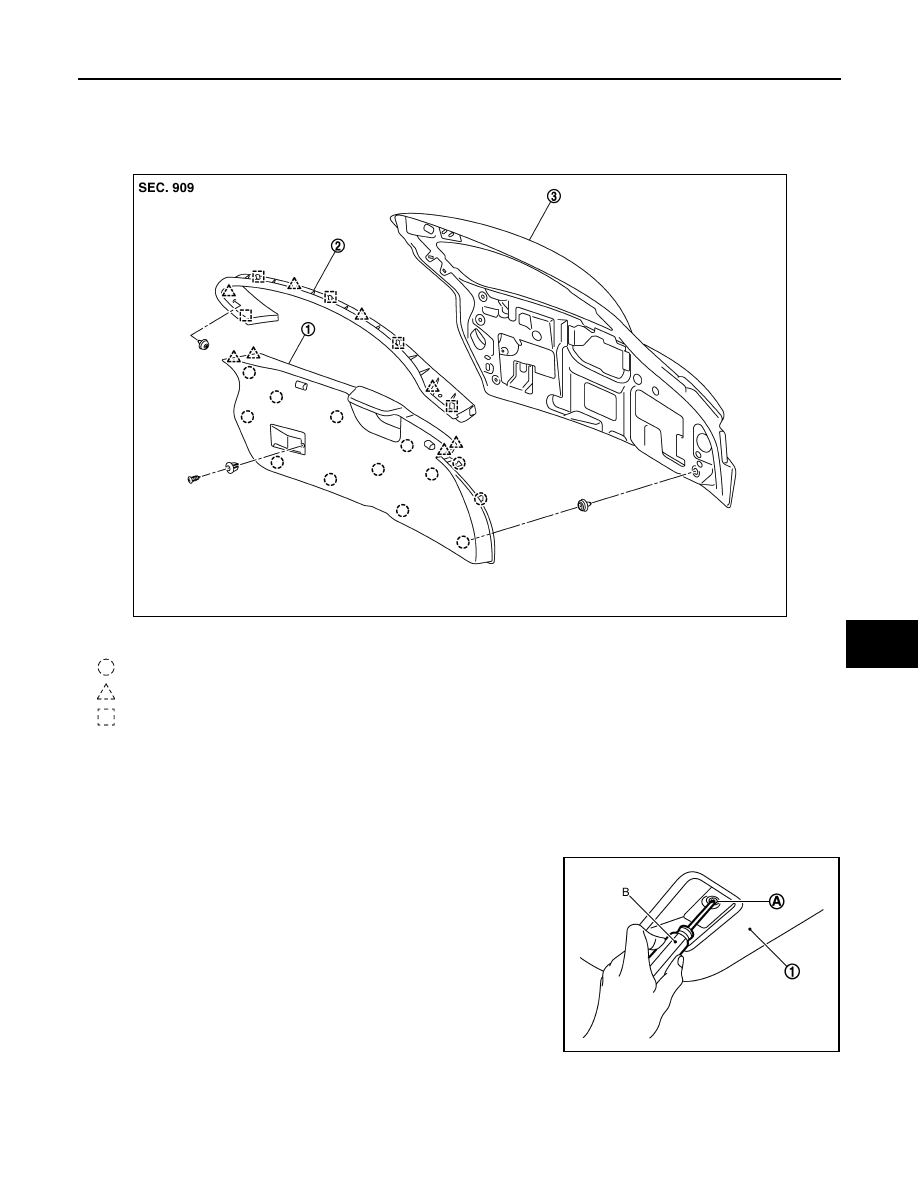
Exploded View
INFOID:0000000010350955
Removal and Installation
INFOID:0000000010350956
REMOVAL
BACK DOOR TRIM
1.
Fully open back door.
2.
Remove screw tap (A) located in back door trim finisher lower
(1) with screwdriver (B).
1.
Back door trim finisher lower
2.
Back door trim finisher upper
3.
Back door assembly
: Clip
: Pawl
: Metal clip
JMJIA0231ZZ
JMJIA0233ZZ