Nissan Qashqai J11. Manual - part 20
AIR CLEANER FILTER
EM-19
< PERIODIC MAINTENANCE >
[HRA2DDT]
C
D
E
F
G
H
I
J
K
L
M
A
EM
N
P
O
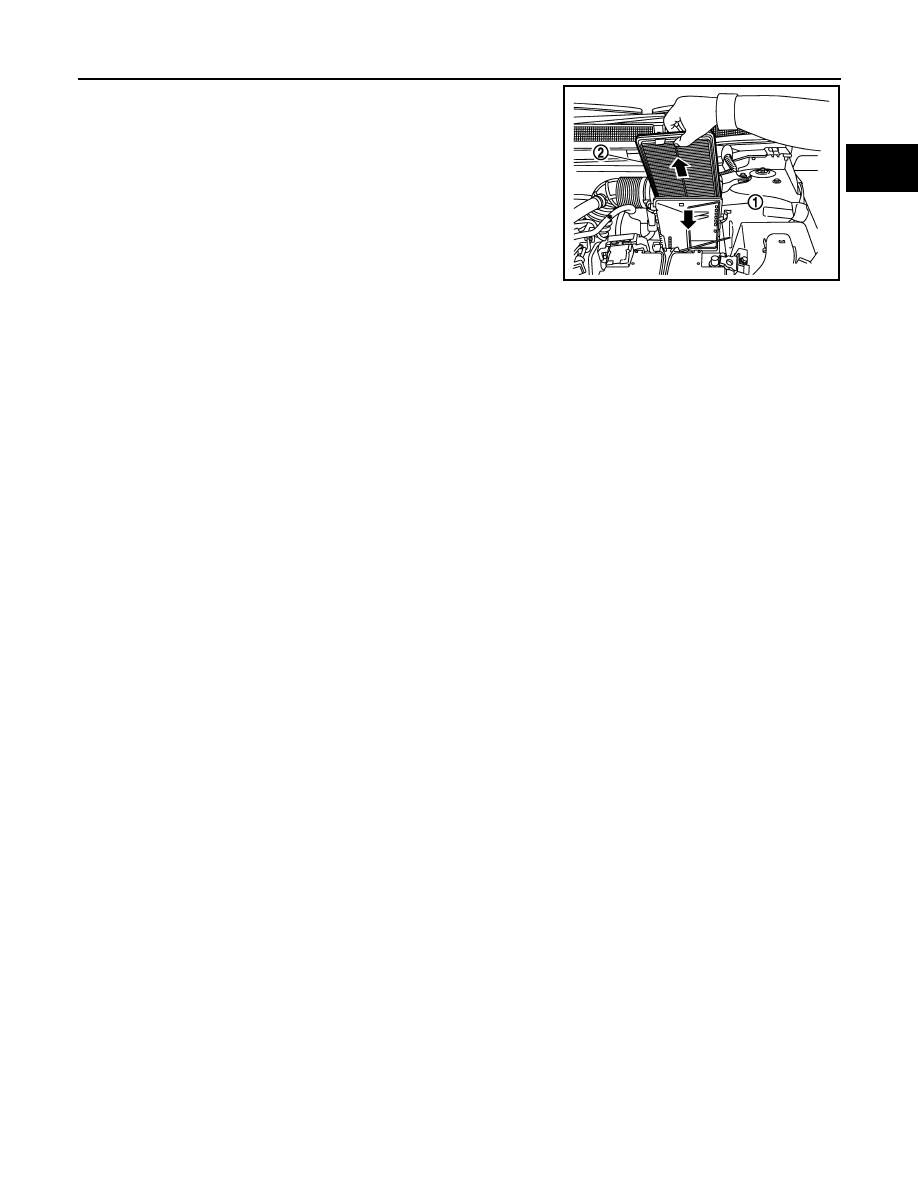
4.
Separate air cleaner filter holder (1) from air cleaner filter unit
and remove air cleaner filter (2).
INSTALLATION
Install in the reverse order of removal.
E1BIA1005ZZ