Nissan Juke F15. Manual - part 1351


  Index      Nissan     Nissan Juke F15 (2015 year) - Service and Repair Manual


Search            


Content   ..  1349  1350  1351  1352   ..


Nissan Juke F15. Manual - part 1351


VTL-10

< REMOVAL AND INSTALLATION >

DUCT AND GRILLE

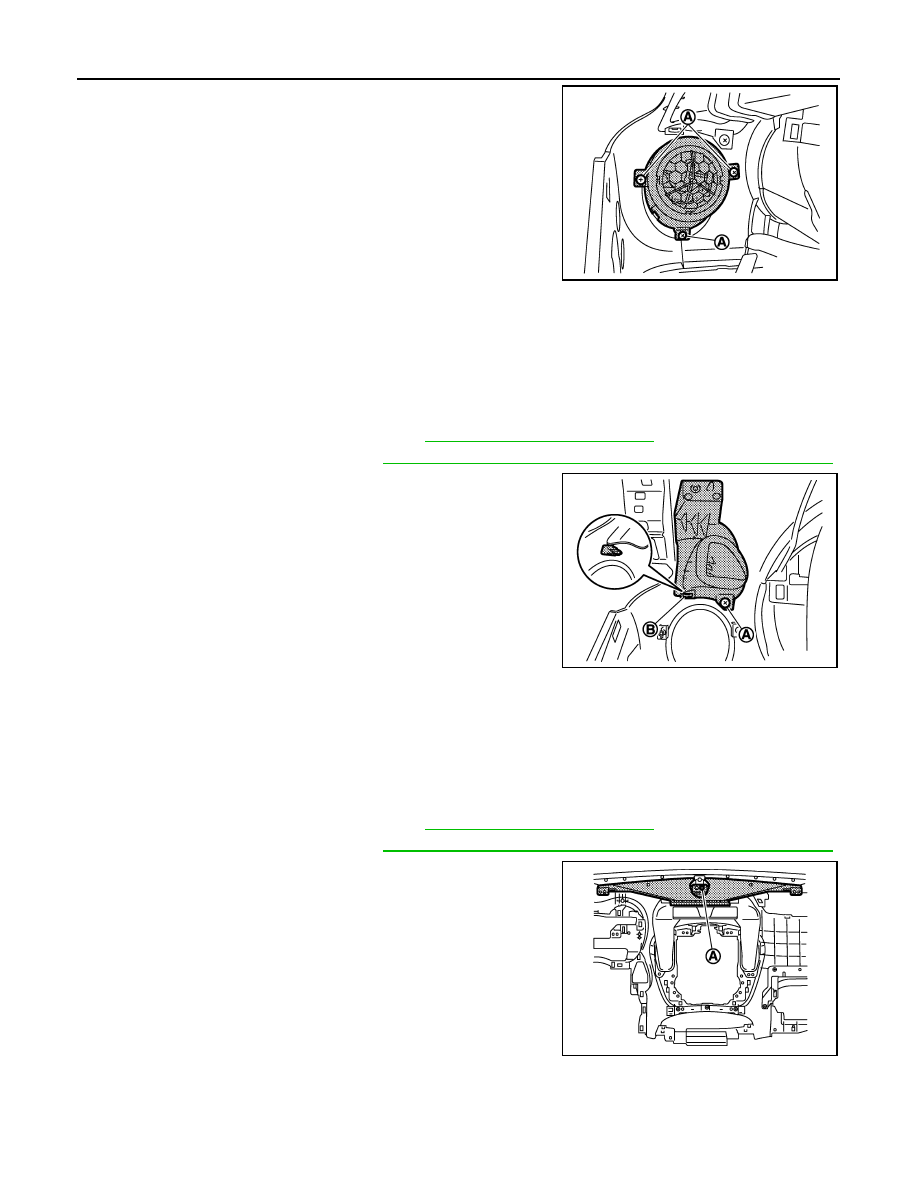
2. Remove fixing screws (A), and then remove side ventilator grille.

INSTALLATION

Install in the reverse order of removal.

SIDE DEFROSTER GRILLE
SIDE DEFROSTER GRILLE : Removal and Installation

INFOID:0000000012199144

REMOVAL

1. Remove instrument panel assembly. Refer to 

IP-13, "Removal and Installation"

.

2. Remove side defroster nozzle. Refer to 

VTL-9, "SIDE DEFROSTER NOZZLE : Removal and Installation"

.

3. Remove fixing screw (A) and disengage fixing pawl (B), and

then remove side defroster grille.

INSTALLATION

Install in the reverse order of removal.

FRONT DEFROSTER NOZZLE
FRONT DEFROSTER NOZZLE : Removal and Installation

INFOID:0000000012199145

REMOVAL

1. Remove instrument panel assembly. Refer to 

IP-13, "Removal and Installation"

.

2. Remove side defroster nozzle. Refer to 

VTL-9, "SIDE DEFROSTER NOZZLE : Removal and Installation"

.

3. Remove fixing screw (A), and then remove front defroster noz-

zle.

INSTALLATION

Install in the reverse order of removal.

CENTER VENTILATOR DUCT

JMIIA0845ZZ

JMIIA0846ZZ

JMIIA0843ZZ

DUCT AND GRILLE

VTL-11

< REMOVAL AND INSTALLATION >

C

D

E

F

G

H

J

K

L

M

A

B

VTL

N

O

P

CENTER VENTILATOR DUCT : Removal and Installation

INFOID:0000000012199146

REMOVAL

1. Remove instrument panel assembly. Refer to 

IP-13, "Removal and Installation"

.

2. Remove side defroster nozzle LH and RH. Refer to 

VTL-9, "SIDE DEFROSTER NOZZLE : Removal and

Installation"

.

3. Remove front defroster nozzle. Refer to 

VTL-10, "FRONT DEFROSTER NOZZLE : Removal and Installa-

tion"

.

4. Remove fixing screws (A), and then remove center ventilator

duct.

INSTALLATION

Install in the reverse order of removal.

SIDE VENTILATOR DUCT
SIDE VENTILATOR DUCT : Removal and Installation

INFOID:0000000012199147

REMOVAL

1. Remove instrument panel assembly. Refer to 

IP-13, "Removal and Installation"

.

2. Remove fixing screws (A), and then remove side ventilator duct.

INSTALLATION

Install in the reverse order of removal.

REAR HEATER DUCT 1
REAR HEATER DUCT 1 : Removal and Installation

INFOID:0000000012199148

REMOVAL

1. Remove center console assembly. Refer to 

IP-24, "Removal and Installation"

.

JMIIA1043ZZ

Driver side

Passenger side

JMIIA0847ZZ

VTL-12

< REMOVAL AND INSTALLATION >

DUCT AND GRILLE

2. Disengage fixing pawls, and then remove rear heater duct 1.

(Models for Canada only)

INSTALLATION

Install in the reverse order of removal.

REAR HEATER DUCT 2
REAR HEATER DUCT 2 : Removal and Installation

INFOID:0000000012199149

REMOVAL

1. Remove center console assembly. Refer to 

IP-24, "Removal and Installation"

.

2. Remove front seat assembly. Refer to 

SE-21, "Removal and Installation"

.

3. Remove front kicking plate inner and rear kicking plate inner. Refer to 

INT-19, "KICKING PLATE INNER :

Removal and Installation"

.

4. Remove center pillar lower garnish. Refer to 

INT-22, "CENTER PILLAR LOWER GARNISH : Removal

and Installation"

.

5. Remove dash side finisher. Refer to 

INT-21, "DASH SIDE FINISHER : Removal and Installation"

.

6. Remove rear heater duct 2. (Models for Canada only)

• Peel off floor carpet (1).

• Remove rear heater duct 3 (2) from rear heater duct 2 (3).

• Remove front floor spacer, and then remove rear heater duct 2

(2) from rear heater duct 1 (1).

INSTALLATION

Install in the reverse order of removal.

REAR HEATER DUCT 3
REAR HEATER DUCT 3 : Removal and Installation

INFOID:0000000012199150

REMOVAL

: Pawl

JMIIA0848ZZ

: Vehicle front

JMIIA0849ZZ

: Vehicle front

JMIIA0850ZZ

DUCT AND GRILLE

VTL-13

< REMOVAL AND INSTALLATION >

C

D

E

F

G

H

J

K

L

M

A

B

VTL

N

O

P

1. Remove center console assembly. Refer to 

IP-24, "Removal and Installation"

.

2. Remove front seat assembly. Refer to 

SE-21, "Removal and Installation"

.

3. Remove front kicking plate inner and rear kicking plate inner. Refer to 

INT-19, "KICKING PLATE INNER :

Removal and Installation"

.

4. Remove center pillar lower garnish. Refer to 

INT-22, "CENTER PILLAR LOWER GARNISH : Removal

and Installation"

.

5. Remove dash side finisher. Refer to 

INT-21, "DASH SIDE FINISHER : Removal and Installation"

.

6. Remove rear heater duct 3. (Models for Canada only)

• Peel off floor carpet (1).

• Remove rear floor spacer, and then remove rear heater duct 3

(2) from rear heater duct 2 (3).

INSTALLATION

Install in the reverse order of removal.

FOOT DUCT
FOOT DUCT : Removal and Installation

INFOID:0000000012199151

REMOVAL

Driver Side

1. Remove instrument lower panel LH. Refer to 

IP-13, "Removal and Installation"

.

2. Disconnect harness connector.
3. Remove harness connector fixing clamp.
4. Remove fixing screws, and then remove foot duct LH.

Passenger Side

1. Remove glove box assembly. Refer to 

IP-13, "Removal and Installation"

.

2. Remove fixing screws, and then remove foot duct RH.

INSTALLATION

Install in the reverse order of removal.

: Vehicle front

JMIIA0849ZZ


Content   ..  1349  1350  1351  1352   ..