Mitsubishi Lancer Evolution IX. Manual - part 362
STRUT TOWER BAR
BODY
42-9
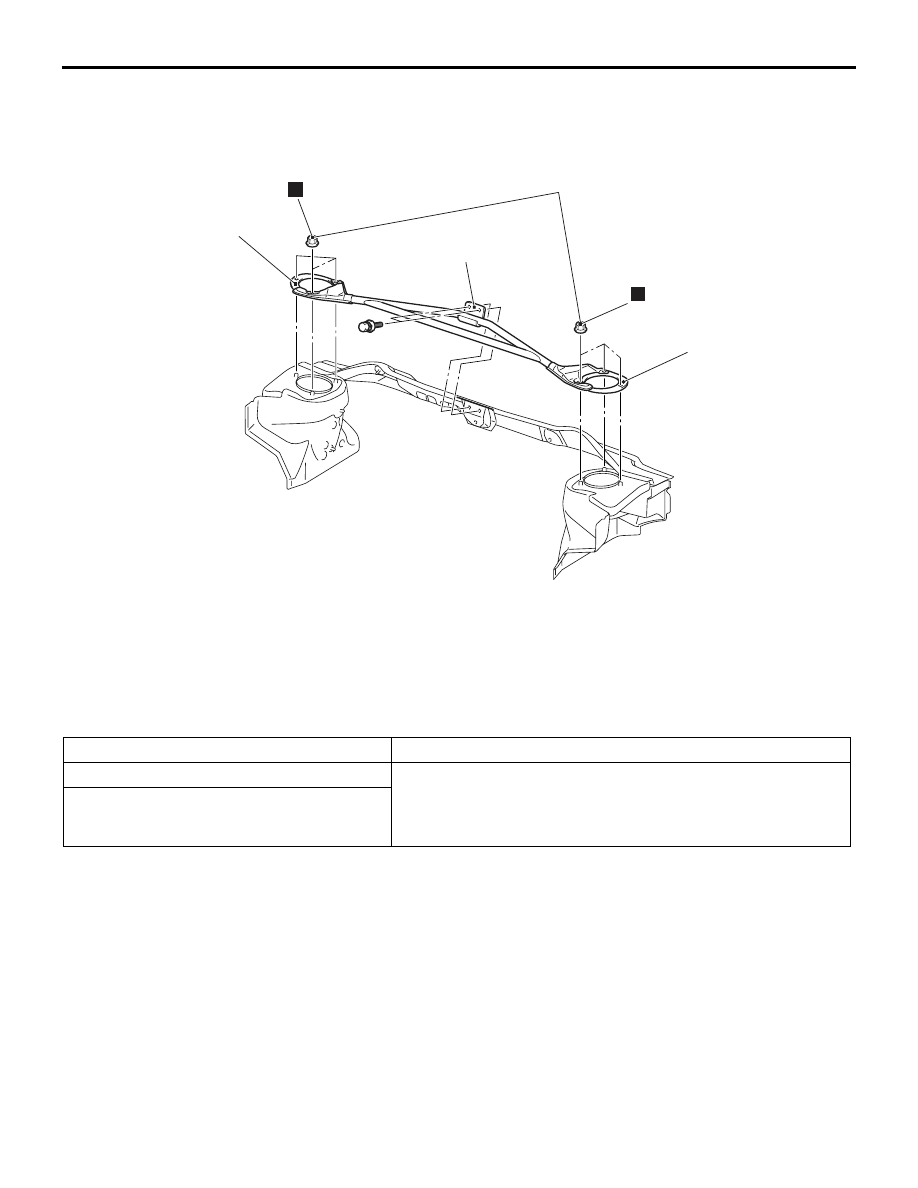
STRUT TOWER BAR
REMOVAL AND INSTALLATION
M1421005600132
AC211421
Plate
Plate
AB
Strut tower bar
44 ± 5 N·m
N
N
WINDOW GLASS
ADHESIVE
M1422000500111
Item
Specified adhesive
Windshield
3M ATD Part No.8609 Super Fast Urethane Auto Glass
Sealant or equivalent
3M ATD Part No.8608 Super Fast Urethane Primer or
equivalent
Rear window glass