Mitsubishi Grandis. Manual - part 377


  Index      Mitsubishi     Mitsubishi Grandis - service repair manual


Search            


Content   ..  375  376  377  378   ..


Mitsubishi Grandis. Manual - part 377


RADIO AND CD PLAYER

CHASSIS ELECTRICAL

54A-127

INSPECTION PROCEDURE 9: Some Noise Appears When There is Vibration or Shocks During 
Travelling.

DIAGNOSIS PROCEDURE

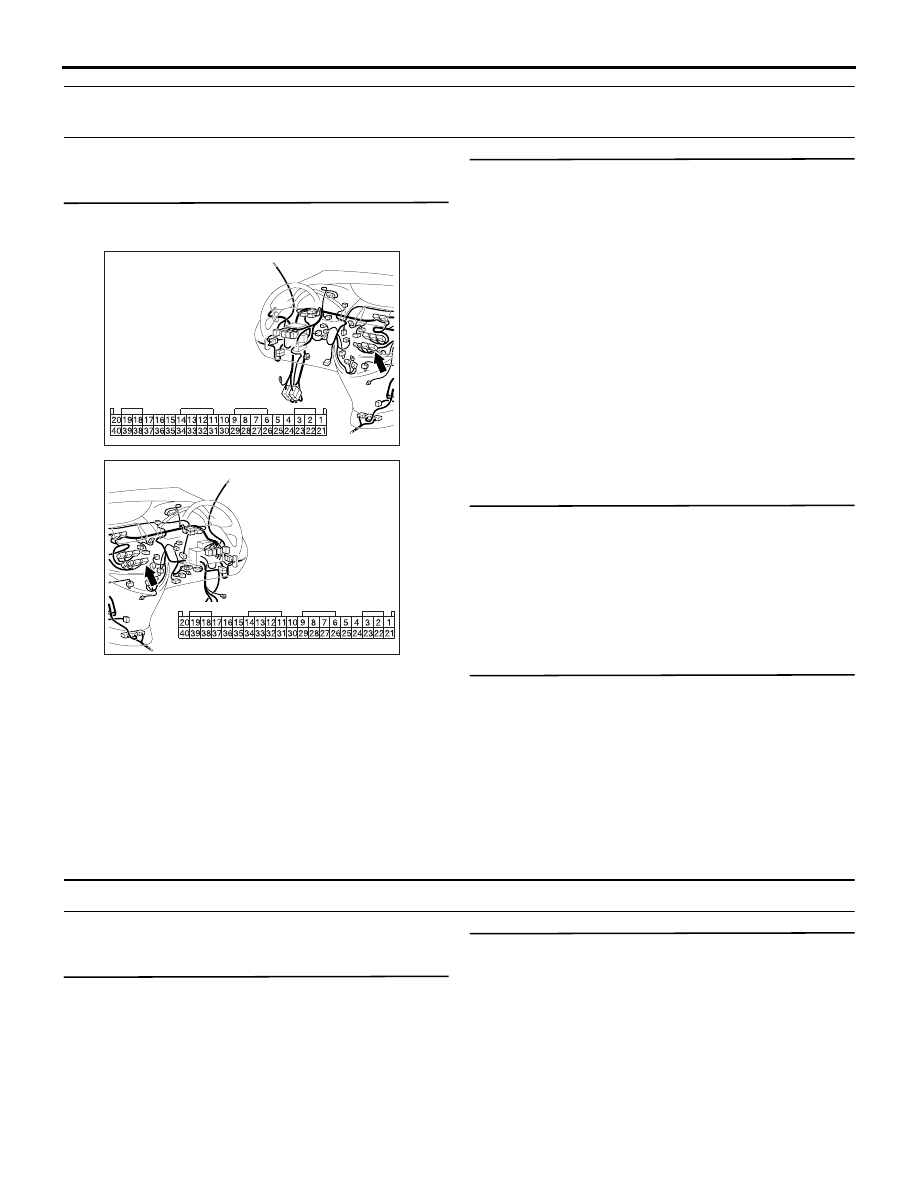
Step 1. Connector check: Radio and CD player 
connector C-20.

Q: Is radio and CD player connector C-20 in good 

condition?

YES : 

Go to Step 2.

NO : 

Repair or replace the connector. Check that 
there is no noise.

Step 2. Check that noise appear when the radio 
switch is turned on while the vehicle is stopped 
and the radio is tapped while tuned away from a 
station.
NOTE: Static electricity noise: Body static electric 
from the shock absorber rubber bushings used to 
prevent vibration, tires, etc. occurs because of 
separation from the earth, causing a buzzing noise. 
Since no measures can be taken to discharge the 
static electricity of the vehicle body. Check that there 
is no noise.

Q: Does noise appear when the radio switch is turned 

on while the vehicle is stopped and the radio is 
tapped while tuned away from a station?

YES : 

Go to Step 3.

NO : 

It may be static electricity noise.

Step 3. Check that the radio correctly earthed. 

The radio is connected to the earth with an 
assembling screw.

Q: Is the radio correctly earthed?

YES : 

Go to Step 4.

NO : 

Tighten the screw securely. Check that 
there is no noise.

Step 4. Check by replacing the radio and CD 
player.

Q:  Are operations normal when using another radio 

and CD player?

YES : 

Either repair or replace the radio and CD 

player. Check that there is no noise.

NO : 

Either repair or replace the antenna 
assembly. Check that there is no noise.

INSPECTION PROCEDURE 10: Noise Sometimes Appears on FM during Travelling.

DIAGNOSIS PROCEDURE

Step 1. Check the state of the antenna.

Q:  Is the mast antenna assembled?

YES : 

Go to Step 2.

NO : 

Assemble the mast antenna. Check that 
there is no noise.

Step 2. The check after adjusting the radio.

Q:  Readjust the radio. Is the noise eliminated?

YES : 

 Check that there is no noise.

NO : 

Go to Step 3.

AC310613

BF

Connector: C-20 <LHD>

Harness side

AC310631BB

Connector: C-20 <RHD>

Harness side

RADIO AND CD PLAYER

CHASSIS ELECTRICAL

54A-128

Step 3. Check with several broadcasting stations.
NOTE: Multipath noise and fading noise: Because of 
the frequency of FM waves in extremely high, it is 
highly susceptible to effects from geological 
formations and buildings. These effects disrupt the 
broadcast signal and obstruct reception in several 
ways.

.

Multipath noise

This describes the echo that occurs when the 
broadcast signal is reflected by a large 
obstruction and enters the receiver with a slight 
time delay relative to the direct signal (repetitious 
buzzing).

.

Fading noise

This is a buzzing noise that occurs when the 
broadcast beam is disrupted by obstructing 
objects and the signal strength fluctuates 
intricately within a narrow range.

Q:  Is the abnormality in reception generated only 

within a certain range?

YES : 

The effect of an electrical field condition 

(multipath noise, fading noise) could be the 
cause. Check that there is not noise.

NO : 

Go to Step 4.

Step 4. Check that noise appears when the radio 
switch is turned on while the vehicle is stopped.
NOTE: Static electricity noise: Body static electric 
from the shock absorber rubber bushings used to 
prevent vibration, tires, etc. occurs because of 
separation from the earth, causing a buzzing noise. 
There is no measures to discharge the static 
electricity of the vehicle body. Check that there is no 
noise.

Q: Does noise appear when the radio switch is turned 

on while the vehicle is stopped and the radio is 
tapped while tuned away from a station?

YES : 

Go to Step 5.

NO : 

It may be static electricity noise.

Step 5. Check that the radio is correctly earthed.

The radio is connected to the earth with an 
assembling screw.

Q: Is the radio correctly earthed? 

YES : 

Go to Step 6.

NO : 

Tighten the screw securely. Check that 
there is no noise.

Step 6. Check by replacing the radio and CD 
player.

Q:  Are operations normal when using another radio 

and CD player?

YES : 

Either repair or replace the radio and CD 

player. Check that there is no noise.

NO : 

Either repair or replace the antenna 
assembly. Check that there is no noise.

INSPECTION PROCEDURE 11: Ever-Present Noise.

DIAGNOSIS PROCEDURE

Noise is often created by the following factors, and 
often the radio is OK when it is checked individually.

• Travelling conditions of the vehicle

• Terrain of area traveled through

• Surrounding buildings

• Signal conditions

• Time period

For this reason, if there are still problems with noise 
even after the measures described in inspection 
procedure 4 to 10 have been taken, get information 
on the factors listed above as well as determining 
whether the problem occurs with AM or FM, the 
station names, frequencies, etc. and contact the 
radio manufacturer's service centre.

INSPECTION PROCEDURE 12: There is Noise but No Reception for Both AM and FM or No Sound 
from AM, or No Sound from FM.

DIAGNOSIS PROCEDURE

Step 1. Check the state of the antenna.

Q:  Is the mast antenna assembled?

RADIO AND CD PLAYER

CHASSIS ELECTRICAL

54A-129

YES : 

Go to Step 2.

NO : 

Assemble the mast antenna. The radio 
should sound normally.

Step 2. Check to see if inspections are taking 
place is an area exposed to special electric 
fields.

Q:  Are inspections taking place under special electric 

field conditions (underground garage, inside a 
building, etc).?

YES : 

Go to Step 3.

NO : 

Go to Step 4.

Step 3. Relocate and check.

Automatically receive in a good reception area that is 
not exposed to special electric fields.

Q:  Is reception of the strongest radio frequency 

possible within the area?

YES : 

There is no action to be taken.

NO : 

Go to Step 4.

Step 4. Tune then check.

Q:  Did the sensitivity improve after tuning?

YES : 

There is no action to be taken.

NO : 

Go to Step 5.

Step 5. Check the connection of the antenna plug 
and the radio and CD player.

Q:  Is the antenna plug thoroughly connected to the 

radio and CD player?

YES : 

Go to Step 6.

NO : 

Thoroughly connect the antenna plug and 
the radio and CD player. The radio should 
sound normally.

Step 6. Check by replacing the radio and CD 
player.

Q:  Are operations normal when using another radio 

and CD player?

YES : 

Either repair or replace the radio and CD 

player. The radio should sound normally.

NO : 

Either repair or replace the antenna 
assembly. The radio should sound normally.

INSPECTION PROCEDURE 13: Poor Reception.

DIAGNOSIS PROCEDURE

Step 1. Check the state of the antenna.

Q:  Is the mast antenna assembled?

YES : 

Go to Step 2.

NO : 

Assemble the mast antenna. Check that a 
poor reception is resolved.

Step 2. Check to see if inspections are taking 
place is an area exposed to special electric 
fields.

Q:  Are inspections taking place under special electric 

field conditions (underneath garage, inside a 
building, etc).?

YES : 

Go to Step 3.

NO : 

Go to Step 4.

Step 3. Relocate and check.

Automatically receive in a good reception area that is 
not exposed to special electric fields.

Q:  Is reception of the strongest radio frequency 

possible within the area?

YES : 

Check that a poor reception is resolved.

NO : 

Go to Step 4.

Step 4. Tune then check.

Q:  Did the sensitivity improve after tuning?

YES : 

Check that a poor reception is resolved.

NO : 

Go to Step 5.

RADIO AND CD PLAYER

CHASSIS ELECTRICAL

54A-130

Step 5. Check with several broadcasting stations.
NOTE: Multipath noise and fading noise: Because 
the frequency of FM waves is extremely high, it is 
highly susceptible to effects from geological 
formations and buildings. These effects disrupt the 
broadcast signal and obstruct reception in several 
ways. 

.

Multipath noise

This describes the echo that occurs when the 
broadcast signal is reflected by a large 
obstruction and enters the receiver with a slight 
time delay relative to the direct signal (repetitious 
buzzing).

.

Fading noise

This is a buzzing noise that occurs when the 
broadcast beam is disrupted by obstructing 
objects and the signal strength fluctuates 
intricately within a narrow range.

Q:  Is the abnormality in reception generated only 

within a certain range?

YES : 

Check that a poor reception is resolved.

NO : 

Go to Step 6.

Step 6. Check the connection of the antenna plug 
and the radio and CD player.

Q:  Is the antenna plug thoroughly connected to the 

radio and CD player?

YES : 

Go to Step 7.

NO : 

Thoroughly connect the antenna plug and 
the radio and CD player. Check that a poor 
reception is resolved.

Step 7. Check by replacing the radio and CD 
player.

Q: Does the another radio and CD player work 

normally?

YES : 

Either repair or replace the radio and CD 

player. Check that a poor reception is 
resolved.

NO : 

Either repair or replace the antenna 
assembly. Check that a poor reception is 
resolved.

INSPECTION PROCEDURE 14: Distortion on AM or on Both AM and FM.

DIAGNOSIS PROCEDURE

Step 1. Check the degree in which distortion is 
generated.

Q:  How much distortion is generated?

Occasional distortion : 

Go to Step 2.

Constant distortion : 

Go to Step 3.

Step 2. Check by the transmission antenna.

Q:  Is there distortion by the transmission antenna?

YES : 

The input from the antenna is too big.

NO : 

Go to Step 3.

Step 3. Check how the speakers are setup.

Q:  Are any cords coming in contact with the paper 

cones of the speakers?

YES : 

Move the cords so that they do not come in 

contact with the paper cones of the speaker. 
Check that a distortion is resolved.

NO : 

Go to Step 4.

Step 4. Check the speakers.

1. Remove the speakers.
2. Check to see if there is any ripping of the paper 

cones or any foreign obstacles in the paper cone.

Q:  Are the speakers normal?

YES : 

Go to Step 5.

NO : 

Repair or replace the speakers. Check that 
a distortion is resolved.

Step 5. Check how the speakers are setup.

Q:  Check to see if the speakers are setup in a 

deformed manner.

YES : 

Correct the way the speakers are setup so 

they are securely setup. Check that a 
distortion is resolved.

NO : 

Repair or replace the radio and CD player. 
Check that a distortion is resolved.


Content   ..  375  376  377  378   ..