Mazda 3 (2018 year). Instruction - part 3
▼ Child-Restraint System Types
In this owner's manual, explanation of
child-restraint systems is provided for the
following three types of popular
child-restraint systems: infant seat, child
seat, booster seat.
NOTE
Installation position is determined by
the type of child-restraint system.
Always read the manufacturer's
instructions and this owner's manual
carefully.
Due to variations in the design of
child-restraint systems, vehicle seats
and seat belts, all child-restraint systems
may not fit all seating positions. Before
purchasing a child-restraint system, it
should be tested in the specific vehicle
seating position (or positions) where it
is intended to be used. If a previously
purchased child-restraint system does
not fit, you may need to purchase a
different one that will.
Infant seat
An infant seat provides restraint by
bracing the infant's head, neck and back
against the seating surface.
Equal to Group 0 and 0 of the UNECE
44 regulation.
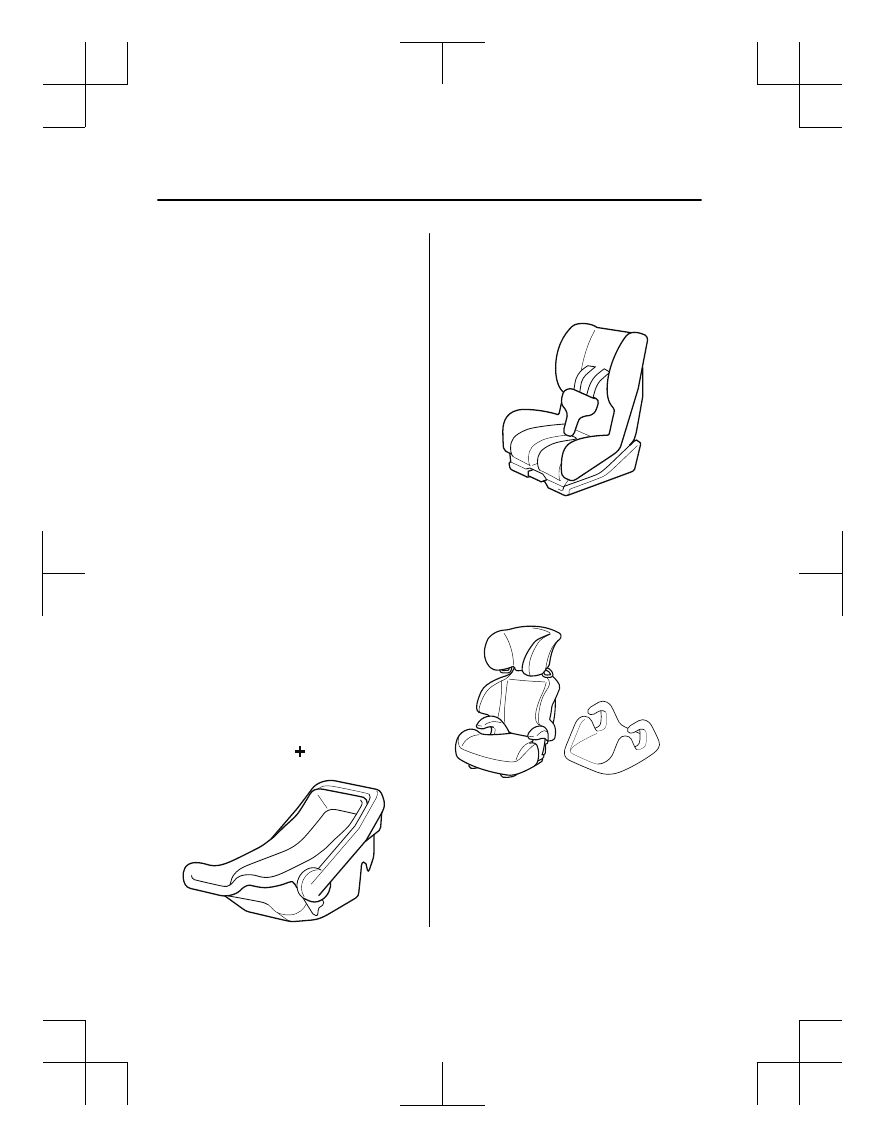
Child seat
A child seat restrains a child's body using
the harness.
Equal to Group 1 of the UNECE 44
regulation.
Booster seat
A booster seat is a child restraint
accessory designed to improve the fit of
the seat belt system around the child's
body.
Equal to Group 2 and 3 of the UNECE 44
regulation.
When using a backless booster seat, always
install the vehicle head restraint to the seat
where the backless booster seat is installed.
Backless booster seat
*
1
*
1
Essential Safety Equipment
Child-Restraint
2-26
Mazda3_8GE4-EA-17F_Edition1
2017-4-7 11:59:21