Mazda Training manual - part 53


  Index      Mazda     Mazda Training Manual


Search            


Content   ..  51  52  53  54   ..


Mazda Training manual - part 53


Using IDS 


Curriculum Training 

02-49 

• 

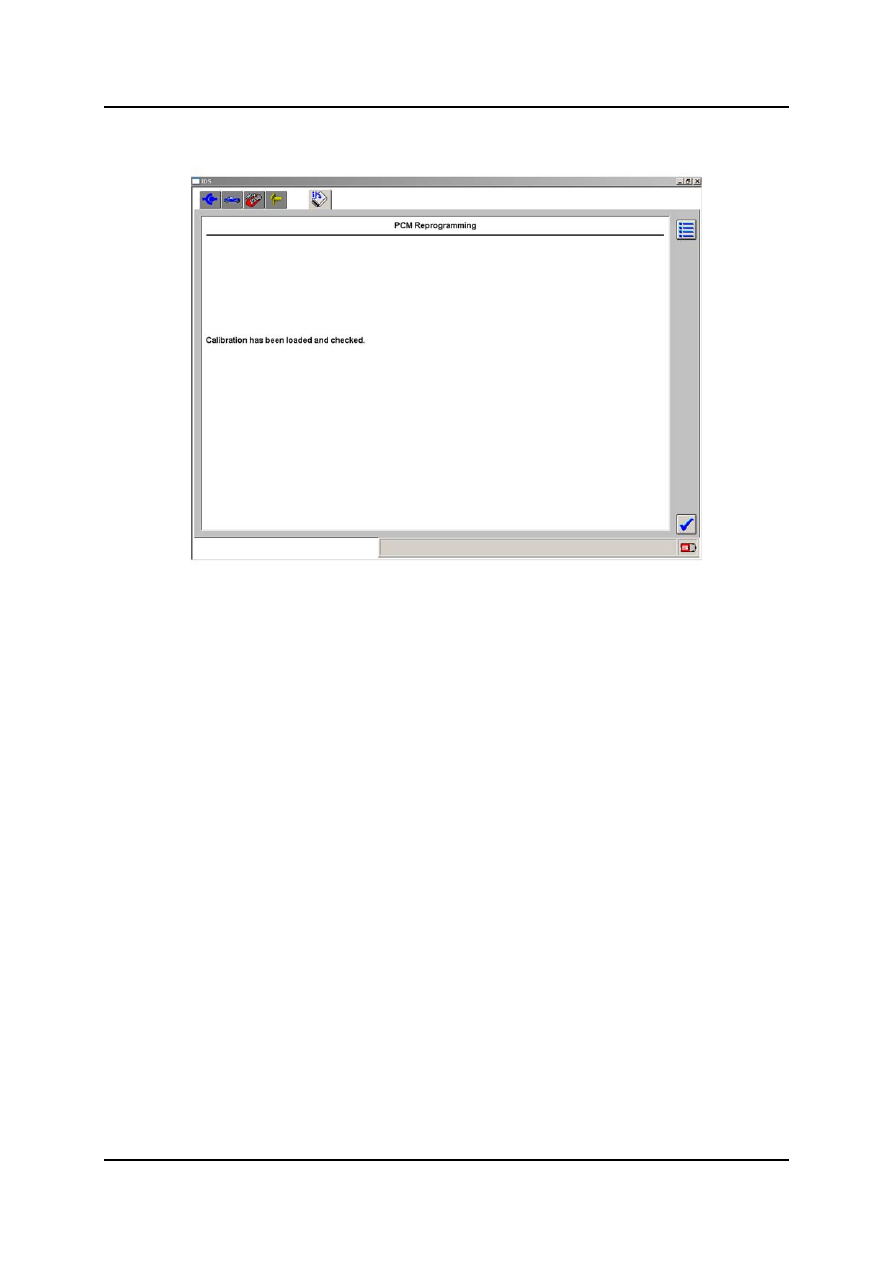
After successful module programming the IDS displays a status message.  


L1001.2_045 

Reprogramming Status Screen 

 Using 

IDS 

02-50 Curriculum 

Training 

• 

When the reprogramming process is complete, a screen will appear indicating that the 
calibration has been loaded and checked. Then the part number required to be written 
on a reprogramming label will be displayed. 


NOTE:  The part number assigned by IDS must be indelibly entered on a label, which should 

be placed on the PCM. In addition, this part number is also programmed into the 
module and can be retrieved using IDS.  


L1001.2_046 

Reprogramming Label Screen


Using IDS 


Curriculum Training 

02-51 

• 

Finally, IDS clears all CMDTCs from the PCM memory since network DTCs (marking 
“U”) may have been set during the reprogramming process.  


L1001.2_047 

Clear Fault Codes Screen 


 Using 

IDS 

02-52 Curriculum 

Training 

Programmable Parameters  

• 

This function is used when it is necessary to change specific module configuration data 
due to vehicle modification or customer preference. Certain modules support the ability 
to configure individual parameters such as tire size/axle ratio or injector correction 
factors (PCM), display interval adjustment (Instrument Cluster module) or autolamp on 
setting (GEM (Generic Electronic Module)). E.g. the configuration data of the PCM may 
have to be changed when tires with a different size are fitted.  

• 

Selecting Programmable Parameters from the main menu will call up a sub-list of all the 
items on the vehicle that can be changed. After selecting the item being changed IDS 
will present a pick list with the parameters and their current settings on the left-hand side 
of the screen. After highlighting a certain item the possible settings appear on the right-
hand side of the screen. The current setting will be indicated by an asterisk (*). Now the 
user can change the configuration data by highlighting the desired settings. 

• 

After pressing the tick button the programming process begins automatically and a bar 
graph appears indicating the progress.  


L1001.2_048 


Content   ..  51  52  53  54   ..