Mazda CX-9 Grand Touring. Manual - part 589
Substitution SST
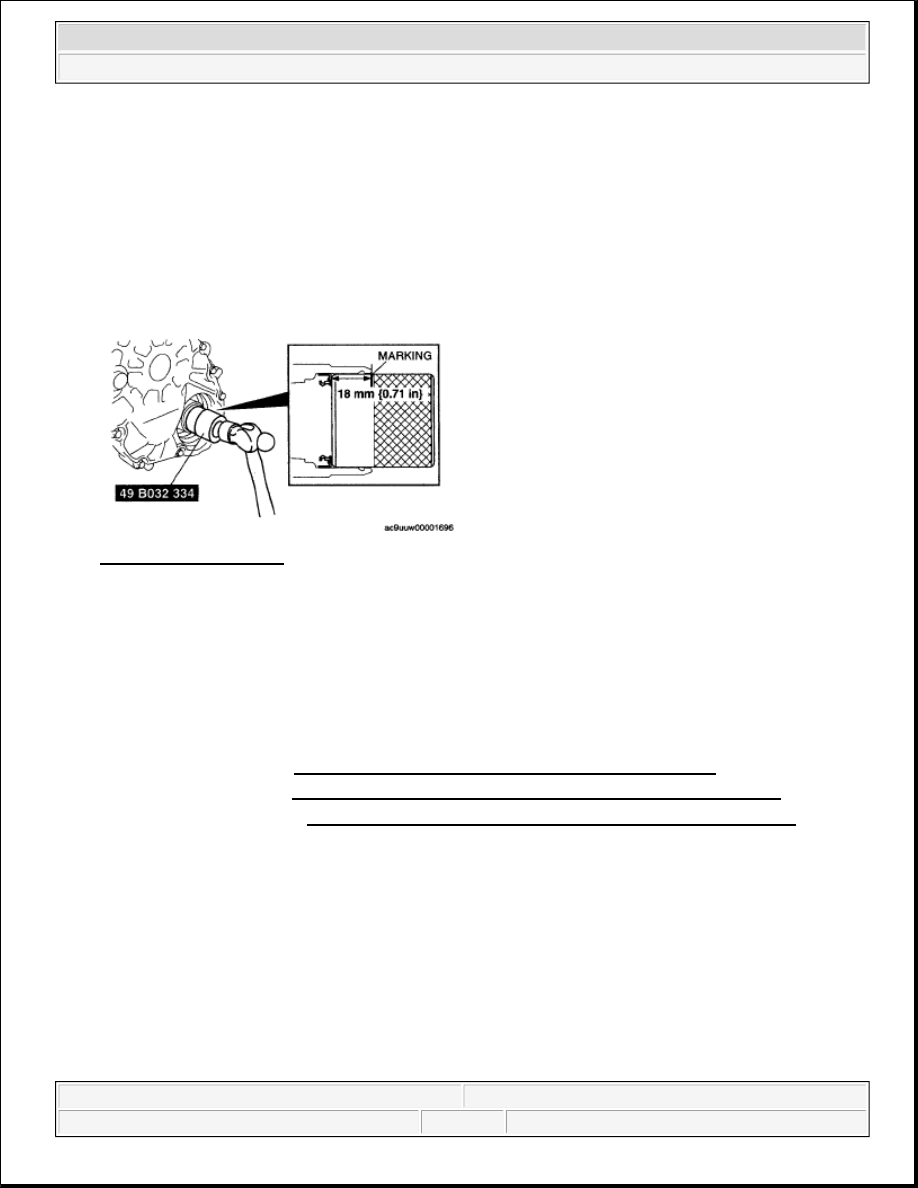
49 B032 334
Outer diameter: 38-42 mm {1.5-1.6 in}
Plate thickness: 2 mm {0.08 in} or more
8. Warm up the new deflector using a hot air blower.
Fig. 5: Tapping Oil Seal
Courtesy of MAZDA MOTORS CORP.
9. Within 10 s after warming up the deflector, install the new deflector using the SST. Substitution SST
49 B032 334
Outer diameter: 38-42 mm {1.5-1.6 in}
Plate thickness: 2 mm {0.08 in} or more
10. Install the joint shaft. (See JOINT SHAFT REMOVAL/INSTALLATION [AWD] .)
11. Install the front pipe. (See EXHAUST SYSTEM REMOVAL/INSTALLATION [MZI-3.7] .)
12. Install the middle pipe. (See EXHAUST SYSTEM REMOVAL/INSTALLATION [MZI-3.7] .)
13. Inspect for leakage of transfer oil.
2008 Mazda CX-9 Grand Touring
2008 DRIVELINE/AXLE Transfer - Mazda CX-9
Microsoft
Sunday, November 15, 2009 10:32:26 AM
Page 3
© 2005 Mitchell Repair Information Company, LLC.