Mazda CX-9 Grand Touring. Manual - part 162


  Index      Mazda     Mazda CX-9 Grand Touring - service repair manual 2008 year


Search            


Content   ..  160  161  162  163   ..


Mazda CX-9 Grand Touring. Manual - part 162


POWER LIFTGATE (PLG) TOUCH SENSOR REMOVAL/INSTALLATION 

1. Disconnect the negative battery cable.  

2. Remove the following parts: 
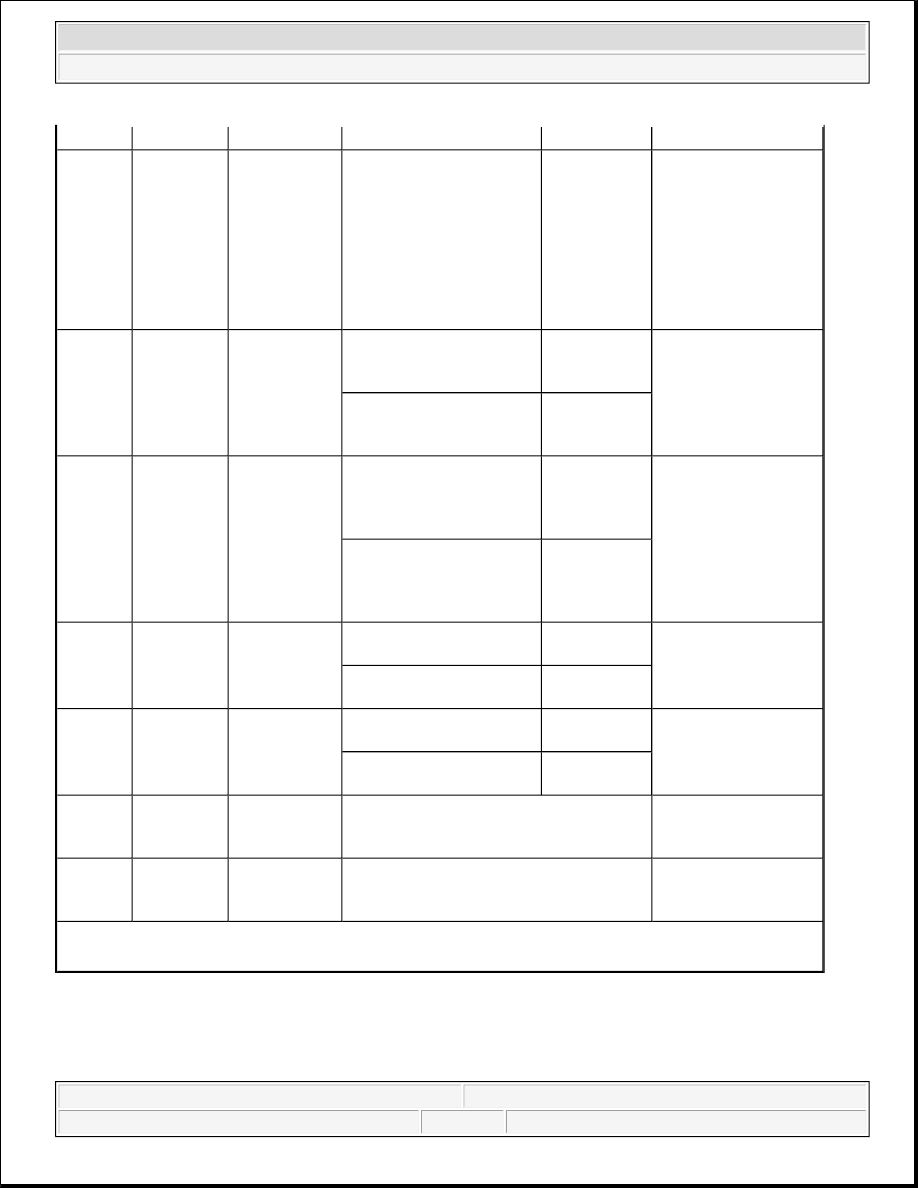
motor  

3H

Half latch 
switch

Latch position 
switch

After opening the liftgate, 
operate the closure motor 
with the liftgate half-
closed

1.0 or less --> 

B+

Liftgate latch 
and lock 
actuator 

Latch 
position 
switch  

Closure 
motor  

3N

(1)

Unlock 
signal

Passenger seat 
side lock link 
switch

Passenger seat side door is 
locked. Check the 
continuity with earth

No Continuity

Passenger seat side 
lock link switch

Passenger seat side door is 
unlocked. Check the 
continuity with earth

Continuity

3O

Liftgate 
outer handle 
switch 
signal

Liftgate outer 
handle switch

When operating the 
liftgate outer handle 
(When the liftgate outer 
handle switch is ON)

B+

Liftgate outer handle 
switch

When not operating the 
liftgate outer handle 
(When the liftgate outer 
handle switch is OFF)

1.0 or less

3Q

PLG front 
switch 
signal 
(Input)

PLG front 
switch

PLG front switch: Switch 
is at ON

B+

PLG front switch

PLG front switch: Switch 
is at OFF

1.0 or less

3R

Power 
supply to 
PLG 
switches

PLG switch

PLG front switch: Open or 
close switch is at ON

1.0 or less

PLG control module

PLG front switch: Open or 
close switch is at OFF

B+

3U

CAN_L

-

Because this terminal is for 
communication, good/no good judgment 
by terminal voltage is not possible

-

3V

CAN_H

-

Because this terminal is for 
communication, good/no good judgment 
by terminal voltage is not possible

-

(1)

When checking the operation of UNLOCK signal, position the rear door lock knobs of both sides at 
LOCK.


2008 Mazda CX-9 Grand Touring 

2008 BODY & ACCESSORIES Doors and Liftgate - Mazda CX-9


Microsoft 


Sunday, November 15, 2009 10:45:23 AM

Page 19 

© 2005 Mitchell Repair Information Company, LLC. 

1. Liftgate upper trim (See LIFTGATE UPPER TRIM REMOVAL/INSTALLATION .)  

2. PLG arm (See POWER LIFTGATE (PLG) DRIVE UNIT REMOVAL/INSTALLATION.)  

3. Liftgate side trim (See LIFTGATE SIDE TRIM REMOVAL/INSTALLATION .)  

4. Liftgate lower trim (See LIFTGATE LOWER TRIM REMOVAL/INSTALLATION .)  

3. Disconnect the PLG touch sensor connector.  

4. Remove the screws.  

5. Remove the PLG touch sensor.  

6. Install in the reverse order of removal. 

Fig. 19: Identifying PLG Touch Sensor, Connector & Screw 
Courtesy of MAZDA MOTORS CORP. 

POWER LIFTGATE (PLG) TOUCH SENSOR INSPECTION 

1. Verify that the resistance is as indicated in the table. 

If no as indicated in the table, replace the PLG touch sensor. 

Fig. 20: PLG Touch Sensor Resistance Chart 
Courtesy of MAZDA MOTORS CORP.


2008 Mazda CX-9 Grand Touring 

2008 BODY & ACCESSORIES Doors and Liftgate - Mazda CX-9


Microsoft 


Sunday, November 15, 2009 10:45:23 AM

Page 20 

© 2005 Mitchell Repair Information Company, LLC. 

Fig. 21: PLG Touch Sensor - Circuit Diagram 
Courtesy of MAZDA MOTORS CORP. 

POWER LIFTGATE (PLG) FRONT SWITCH REMOVAL/INSTALLATION 

1. Disconnect the negative battery cable.  

2. Remove the dashboard under cover. (Driver's side) (See DASHBOARD UNDER COVER 

REMOVAL/INSTALLATION .)  

3. Remove the hood release lever. (See HOOD LATCH AND RELEASE LEVER 

REMOVAL/INSTALLATION .)  

4. Remove in the order indicated in the table. 

Fig. 22: Identifying PLG Front Switch & Connector 
Courtesy of MAZDA MOTORS CORP. 

5. Install in the reverse order of removal.  

POWER LIFTGATE (PLG) FRONT SWITCH INSPECTION 

1. Verify that the continuity between the PLG front switch terminals is as indicated in the table. 

If not as indicated in the table, replace the PLG front switch. 


2008 Mazda CX-9 Grand Touring 

2008 BODY & ACCESSORIES Doors and Liftgate - Mazda CX-9


Microsoft 


Sunday, November 15, 2009 10:45:23 AM

Page 21 

© 2005 Mitchell Repair Information Company, LLC. 

Fig. 23: PLG Front Switch Continuity Chart 
Courtesy of MAZDA MOTORS CORP. 

Fig. 24: PLG Front Switch - Circuit Diagram 
Courtesy of MAZDA MOTORS CORP. 

POWER LIFTGATE (PLG) REAR SWITCH REMOVAL/INSTALLATION 

1. Disconnect the negative battery cable.  

2. Remove the liftgate recess. (See LIFTGATE LOWER TRIM REMOVAL/INSTALLATION .)  

3. Disconnect the connector from the PLG rear switch.  

4. Remove the PLG rear switch from the recess.  

5. Install in the reverse order of removal. 

Fig. 25: Identifying PLG Rear Switch & Connector 
Courtesy of MAZDA MOTORS CORP. 

POWER LIFTGATE (PLG) REAR SWITCH INSPECTION


2008 Mazda CX-9 Grand Touring 

2008 BODY & ACCESSORIES Doors and Liftgate - Mazda CX-9


Microsoft 


Sunday, November 15, 2009 10:45:23 AM

Page 22 

© 2005 Mitchell Repair Information Company, LLC. 


Content   ..  160  161  162  163   ..