Jeep Grand Cherokee (2019 year). Instruction - part 3
WARNING! (Continued)
• Never leave children alone in a vehicle, or with
access to an unlocked vehicle. Allowing children to
be in a vehicle unattended is dangerous for a number
of reasons. A child or others could be seriously or
fatally injured. Children should be warned not to
touch the parking brake, brake pedal or the gear
selector.
• Do not leave the key fob in or near the vehicle, or in
a location accessible to children, and do not leave the
ignition of a vehicle equipped with Keyless Enter-
N-Go in the ACC or ON/RUN mode. A child could
operate power windows, other controls, or move the
vehicle.
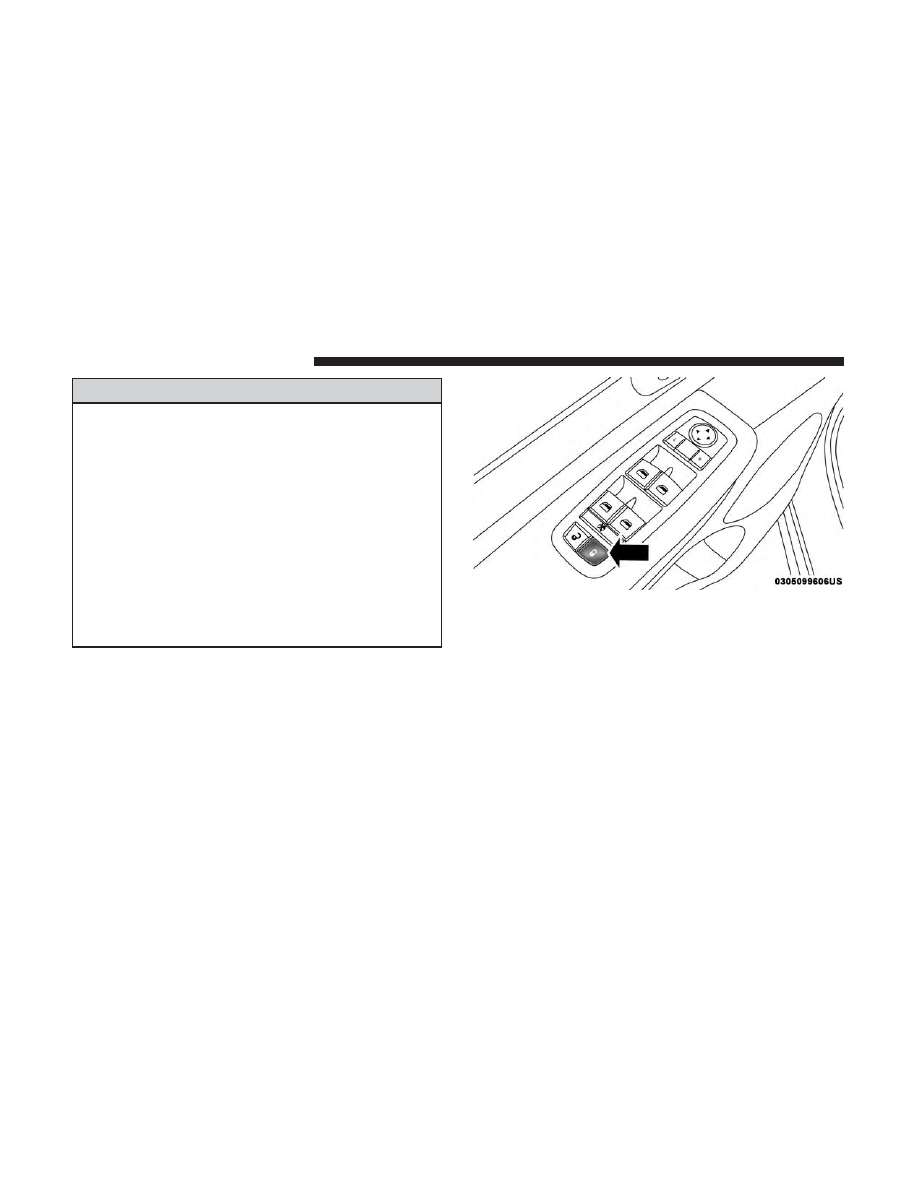
Power Door Locks
The power door lock switches are located on each front
door panel. Push the switch to lock or unlock the doors.
The driver’s door will unlock automatically if the keys are
found inside the car when door lock button on trim is used
to lock the door.
NOTE:
If the key fob is located next to a mobile phone,
laptop, or other electronic device, the wireless signal may
get blocked, and the driver’s door may not unlock auto-
matically.
At the third attempt, the doors will lock even if the key is
inside.
Power Door Lock Switch
36
GETTING TO KNOW YOUR VEHICLE