Content .. 1221 1222 1223 1224 ..
Jeep Liberty KJ. Manual - part 1223
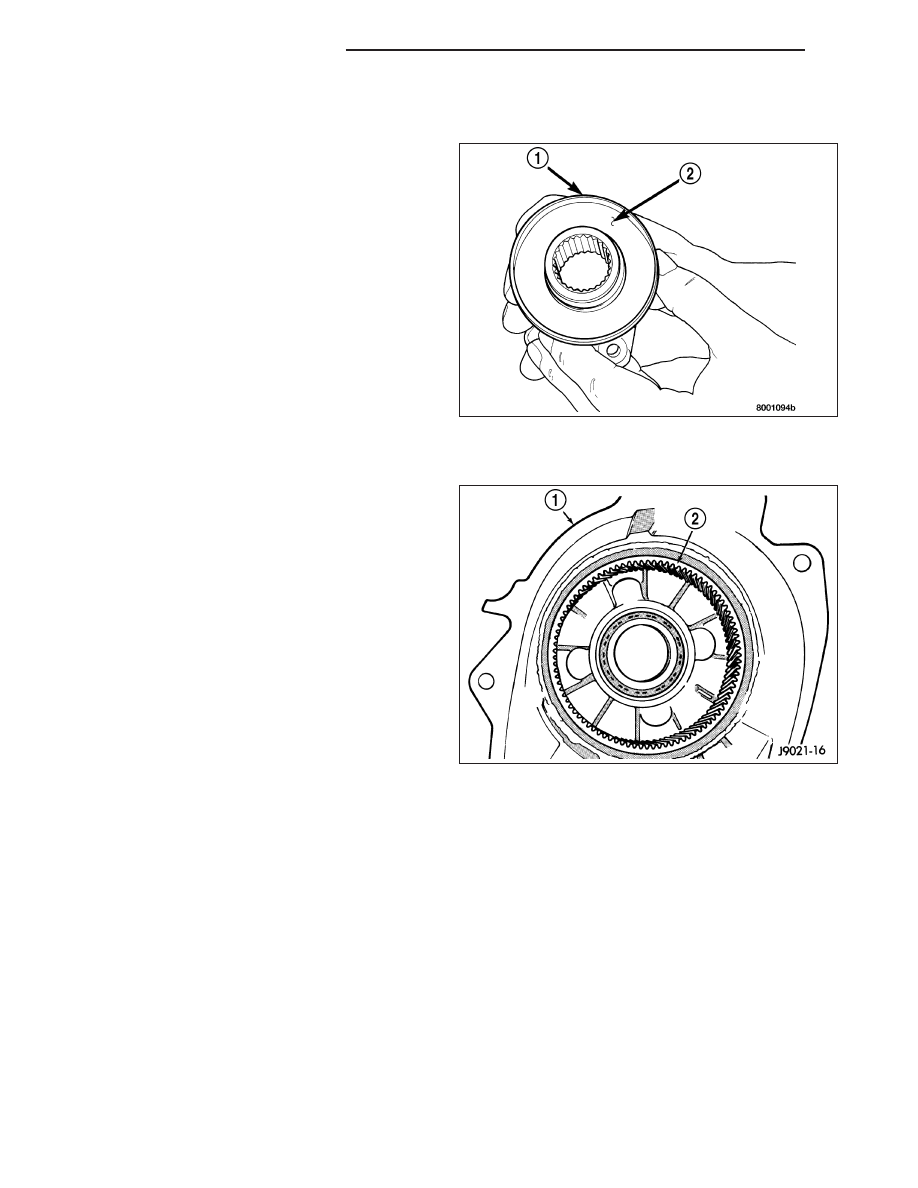
REAR OUTPUT SHAFT/YOKE/DRIVE CHAIN
Check condition of the seal contact surfaces of the
yoke slinger (2). This surface must be clean and
smooth to ensure proper seal life. Replace the yoke
nut and seal washer as neither part should be reused.
Inspect the shaft threads, sprocket teeth, and bearing
surfaces. Minor nicks on the teeth can be smoothed
with an oilstone. Use 320-400 grit emery to smooth
minor scratches on the shaft bearing surfaces. Rough
threads on the shaft can be chased if necessary.
Replace the shaft if the threads are damaged, bearing
surfaces are scored, or if any sprocket teeth are
cracked or broken.
Examine the drive chain and shaft bearings. Replace
the chain and both sprockets if the chain is stretched,
distorted, or if any of the links bind. Replace the bear-
ings if rough, or noisy.
LOW RANGE ANNULUS GEAR
Inspect annulus gear condition carefully. The gear is
only serviced as part of the front case. If the gear is
damaged, it will be necessary to replace the gear and
front case as an assembly. Do not attempt to remove
the gear (2)
FRONT/REAR CASES AND FRONT RETAINER
Inspect the cases and retainer for wear and damage. Clean the sealing surfaces with a scraper and 3M™ all pur-
pose cleaner. This will ensure proper sealer adhesion at assembly. Replace the input retainer seal; do not reuse it.
Check case condition. If leaks were a problem, look for gouges and severe scoring of case sealing surfaces. Also
make sure the front case mounting studs are in good condition.
Check the front case mounting studs and vent tube. The tube can be secured with Loctite™ 271 or 680 if loose.
The stud threads can be cleaned up with a die if necessary. Also check condition of the fill/drain plug threads in the
rear case. The threads can be repaired with a thread chaser or tap if necessary. Or the threads can be repaired with
Helicoil™ stainless steel inserts if required.
OIL PUMP/OIL PICKUP
Examine the oil pump pickup parts. Replace the pump if any part appears to be worn or damaged. Do not disas-
semble the pump as individual parts are not available. The pump is only available as a complete assembly. The
pickup screen, hose, and tube are the only serviceable parts and are available separately.
21 - 836
TRANSFER CASE - NV231
KJ