Jaguar X-Type Sedan and Estate (Wagon). Manual - part 184


  Index      Jaguar     Jaguar X-Type Sedan and Estate (Wagon) (2.0 L, 2.5 L and 3.0 L Gasoline; 2.0 L and 2.2 L, Diesel) - manual 2001-2009 year


Search            


Content   ..  182  183  184  185   ..


Jaguar X-Type Sedan and Estate (Wagon). Manual - part 184


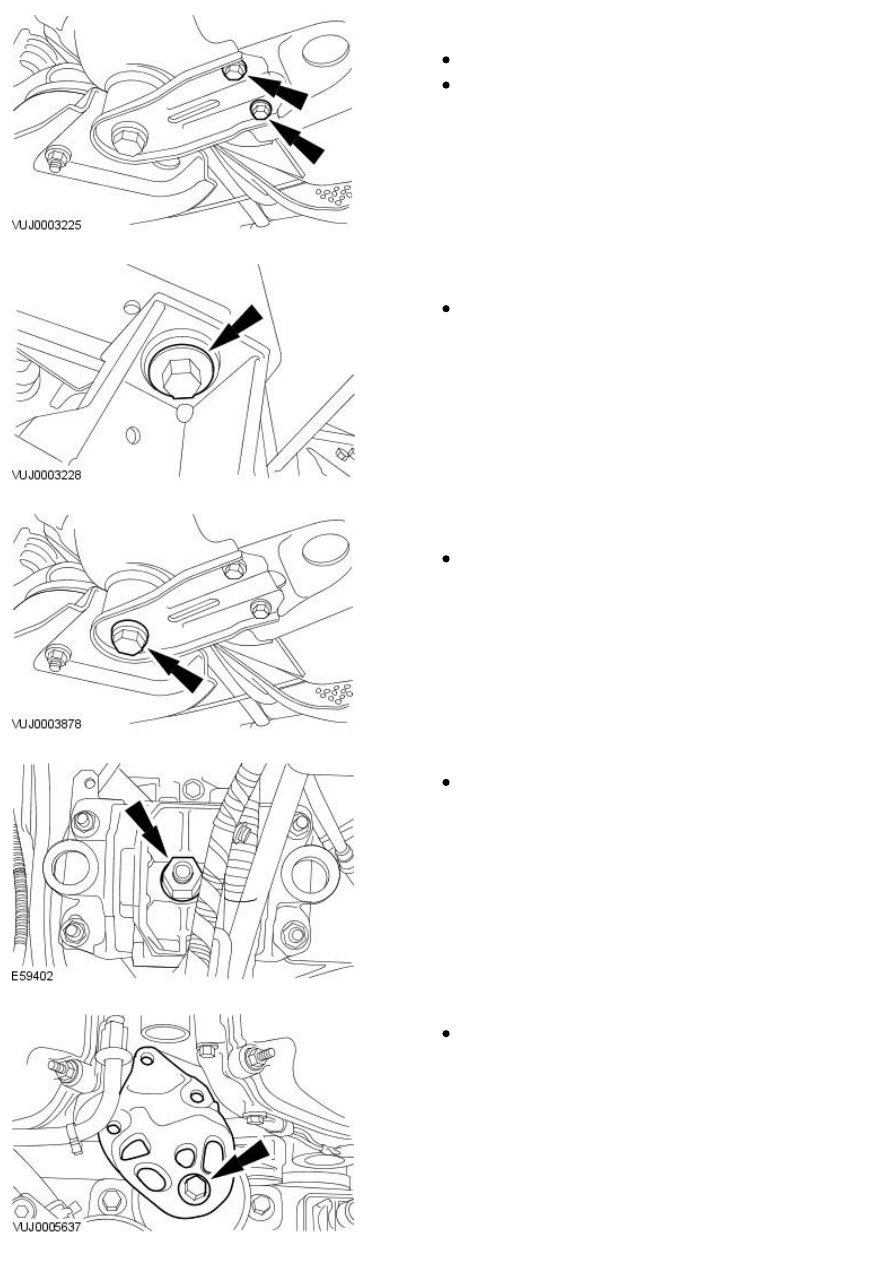
57. NOTE: Left-hand shown, right-hand similar.

Tighten the front subframe reinforcement bolts.

M8 to 35 Nm.

M10 to 70 Nm.

58. NOTE: Left-hand shown, right-hand similar.

Tighten the front subframe retaining bolt.

Tighten to 142 Nm.

59. NOTE: Left-hand shown, right-hand similar.

Tighten the front subframe rear retaining bolt.

Tighten to 142 Nm.

60. Install the transaxle mount bracket securing nut.

Tighten to 133 Nm.

61. Install the engine support bracket.

Tighten to 80 Nm.

62. Tighten the engine support bracket retaining bolts.

Tighten to 40 Nm.

• NOTE: If fixings can be re-used on vehicles built prior to VIN J24254, then the old torque must be used (48 Nm). If new fixings are used
on any vehicle use the new torque.

63. Remove the special tool.

64. Lower the vehicle.

65. NOTE: Right-hand shown, left-hand similar.

Attach the strut and spring assembly.

Tighten to 30 Nm.

66. Attach the coolant pipe.

Tighten to 9 Nm.

67. Connect the spring lock coupling.

For additional information, refer to: 

Spring Lock Couplings

 (310-00 Fuel

System - General Information, General Procedures).

68. NOTE: Remove the blanking plug from the hose.

Attach the power steering hose.

69. Connect the ground cable.

Tighten to 10 Nm.

70. Connect the engine control module (ECM) electrical connector.

Using special tool 418-535, tighten to 5 Nm.

71. Connect the electrical connector.

Tighten to 10 Nm.

72. Connect the reverse light switch electrical connector.

73. Install the clutch master cylinder to clutch slave cylinder high pressure

pipe support bracket.

74. 

CAUTION: If brake fluid is spilt on the paintwork, the affected

area must be immediately washed down with cold water.

• NOTE: Remove the tie straps.

• NOTE: Remove the blanking plugs from the pipe and slave cylinder.

Connect the clutch slave cylinder pipe.

1. Attach the clutch slave cylinder pipe to the slave cylinder.

2. Attach the clutch cylinder to the retaining bracket.

75. NOTE: Remove the tie straps.

Attach the selector cables.

Tighten to 25 Nm.

76. NOTE: Upper selector cable shown, lower selector cable similar.

Attach the selector cables.

77. Attach the battery cables.

Tighten to 10 Nm.


Content   ..  182  183  184  185   ..