Jaguar X-Type Sedan and Estate (Wagon). Manual - part 81


  Index      Jaguar     Jaguar X-Type Sedan and Estate (Wagon) (2.0 L, 2.5 L and 3.0 L Gasoline; 2.0 L and 2.2 L, Diesel) - manual 2001-2009 year


Search            


Content   ..  79  80  81  82   ..


Jaguar X-Type Sedan and Estate (Wagon). Manual - part 81


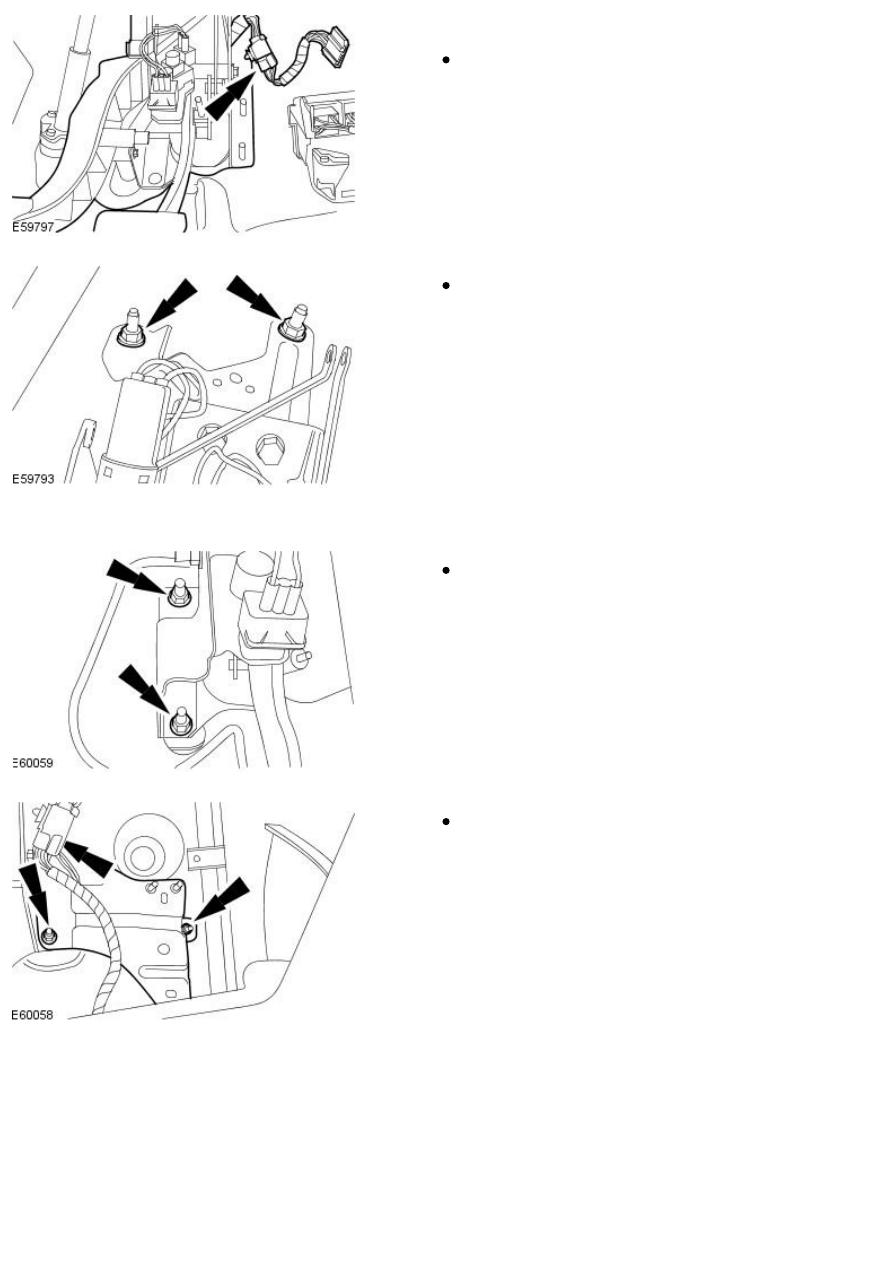
1. NOTE: Right-hand drive shown, left-hand drive similar.

Install the brake pedal and bracket.

Connect the electrical connector.

2. Install the brake pedal and bracket retaining nuts.

Tighten to 25 Nm.

Left-hand drive vehicles

3. Install the brake pedal and bracket retaining nuts.

Tighten to 25 Nm.

4. Install the accelerator pedal mount bracket.

Tighten to 25 Nm.

5. Install the brake booster push rod retaining clip.

Right-hand drive vehicles

6. Install the accelerator pedal mount bracket.

Tighten to 25 Nm.

7. Install the brake booster push rod retaining nut.

Tighten to 3 Nm.

All vehicles

8. Reposition the anti-collapse bracket.

9. Install the anti-collapse bracket clevis pin retaining clip.

1. Install the anti-collapse bracket clevis pin.

2. Install the anti-collapse bracket clevis pin retaining clip.

10. Attach the wiring harness.

11. Install the accelerator pedal.

For additional information, refer to: 

Accelerator Pedal

 (310-02

Acceleration Control, Removal and Installation).

Left-hand drive vehicles

12. Attach the steering column.

Install a new steering column lower retaining bolt.

Tighten to 25 Nm.

All vehicles

13. Install the support panel.

Vehicles with driver lower air bag

14. Install the driver lower air bag.

For additional information, refer to: 

Driver Lower Air Bag Module

(501-20B Supplemental Restraint System, Removal and Installation).

Vehicles without driver lower air bag

15. Install the driver side instrument panel lower trim panel.

Right-hand drive vehicles

16. Install the brake pedal and bracket retaining nuts.

Tighten to 25 Nm.

Vehicles with manual transmission

17. 

CAUTION: If brake fluid is spilt on the paintwork, the affected

area must be immediately washed down with cold water.

• NOTE: Remove the blanking plugs.

• NOTE: Reposition the retaining clip.

• NOTE: Right-hand drive shown, left-hand drive similar.

Connect the clutch slave cylinder supply line to the clutch master
cylinder.

18. 

CAUTION: If brake fluid is spilt on the paintwork, the affected

area must be immediately washed down with cold water.

• NOTE: Remove the blanking plugs.

• NOTE: Right-hand drive shown, left-hand drive similar.

Connect the clutch master cylinder supply line.


Content   ..  79  80  81  82   ..