Jaguar XJ (X350). Manual - part 768


  Index      Jaguar     Jaguar XJ (X350) - service repair manual 2003-2009 year


Search            


Content   ..  766  767  768  769   ..


Jaguar XJ (X350). Manual - part 768


G552799t11 : CHECK THE GLOW PLUG OUTPUT CIRCUITS FOR HIGH 
RESISTANCE  

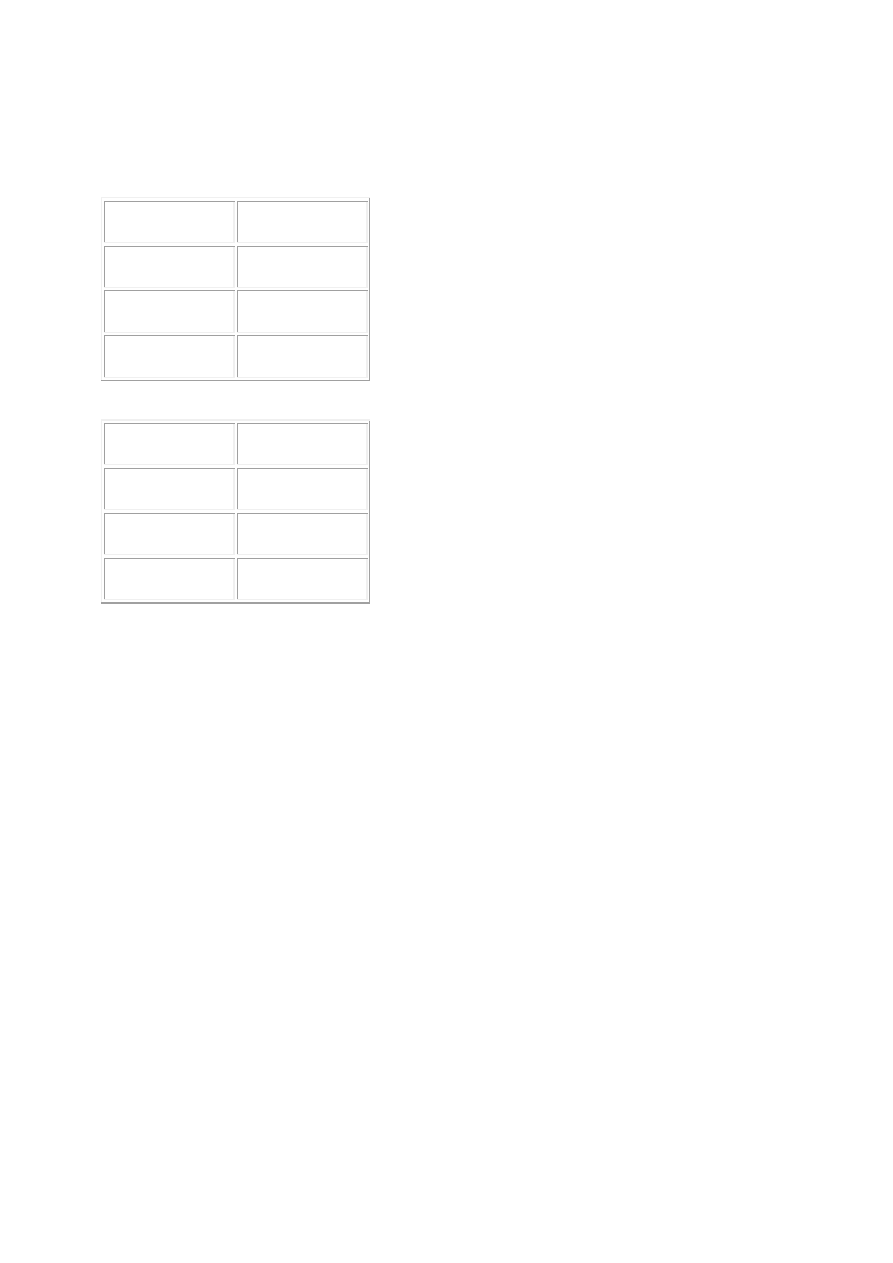
1. Measure the resistance between:  

EC74, harness side  EC76, harness side 

Pin 01 


Pin 01 


Pin 02 


Pin 02 


Pin 03 


Pin 03 


EC74, harness side  EC77, harness side 

Pin 04 


Pin 01 


Pin 05 


Pin 02 


Pin 06 


Pin 03 


Is the resistance less than 10 ohms?  

-> Yes  

If DTCs P0380 or P0382 are logged and the tests above have not identified a circuit fault, a control 

module may be at fault.  


-> No  

REPAIR the high resistance circuit. For additional information, refer to the wiring diagrams. Clear the 

DTC, test the system for normal operation. 


Removal and installation


Glow Plugs   

Removal  


1 . Remove the intake air shutoff throttle.  

For additional information, refer to Intake Air Shutoff Throttle  


2 . Remove the crankcase vent oil separator.  

For additional information, refer to Crankcase Vent Oil Separator  


NOTE:  


Remove and discard the O-ring seal. 


Remove the oil filter element housing.  


Rotate the oil filter element housing five complete turns counter-

clockwise.


Allow the engine oil to drain from the oil filter element housing for two 

minutes.


Remove the oil filter element housing.


4 . Detach the right-hand glow plug electrical connector. 

www.


5 . Detach the left-hand glow plug electrical connector. 


6 . Remove the right-hand bank glow plugs.  


7 . Remove the left-hand bank glow plugs.  


Installation  


NOTE:  


Make sure glow plug electrical connector is correctly fitted to all glow plugs on the left-

hand bank. 


To install, reverse the removal procedure.  


Tighten to 10 Nm.


NOTE:  


Make sure glow plug electrical connector is correctly fitted to all glow plugs on the right-

hand bank. 


Tighten to 10 Nm.  


3 . NOTE:  


Install a new O-ring seal. 


Tighten to 25 Nm.  

www.


Content   ..  766  767  768  769   ..