Jaguar XJ (X350). Manual - part 1502


  Index      Jaguar     Jaguar XJ (X350) - service repair manual 2003-2009 year


Search            


Content   ..  1500  1501  1502  1503   ..


Jaguar XJ (X350). Manual - part 1502


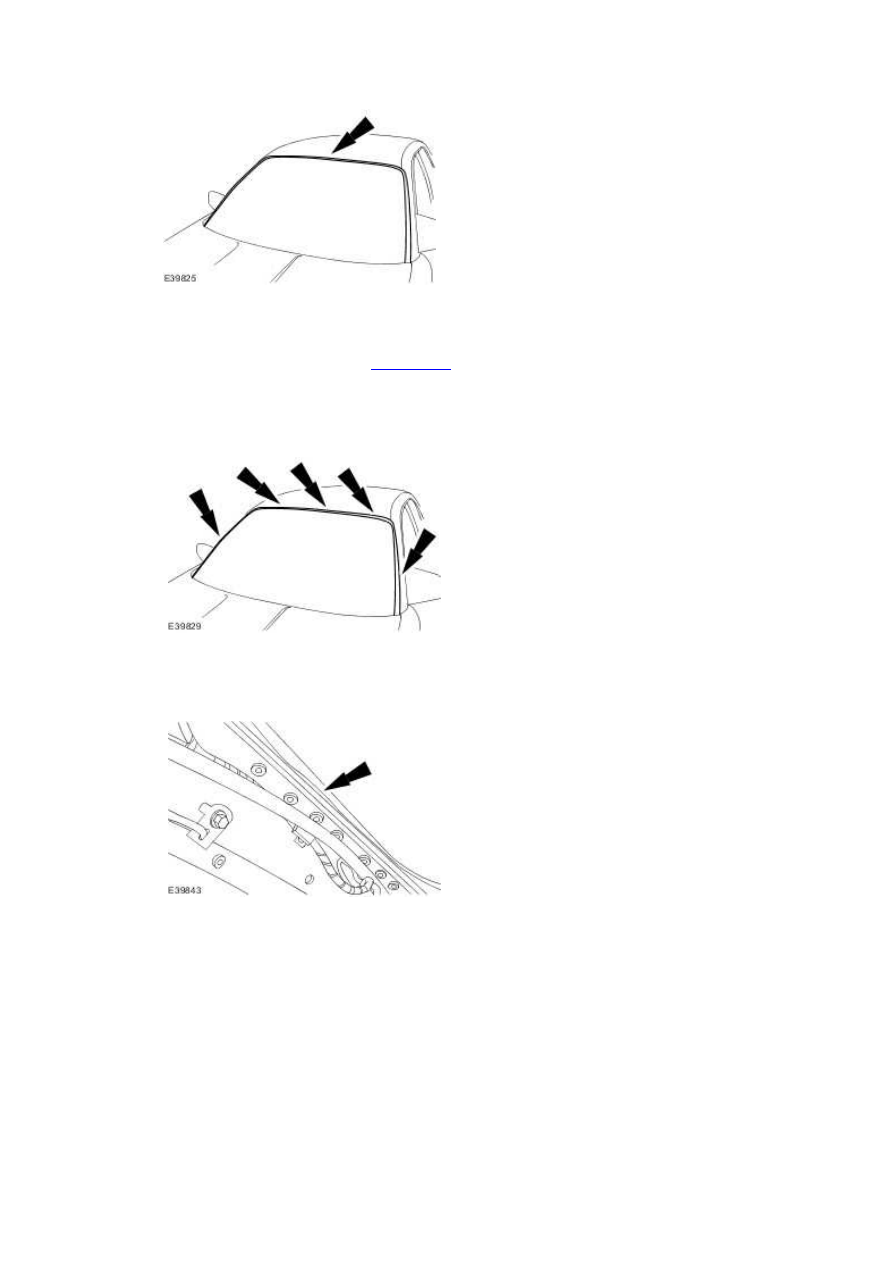
12 . Remove the cowl vent screen. <<501-02>> 


13 . Apply a suitable protective tape around windshield glass aperture to protect the paintwork. 


14 . Using a suitable long bladed tool, penetrate the windshield glass adhesive. 


15 . Place a suitable protective sheet over fascia and place a protecting board over sheet. 


16 


Dispense 20 ml of WK9L lubricant into the WK9 spray bottle, fill the spray bottle with water 

and mix. 


17 . Apply cutting lubricant to the windshield glass adhesive. 


18 . Prepare the cheese wire and cutting handle.  


Cut a suitable length of cheese wire.


Install one of the cutting handles to the cheese wire.


19 


Pass the free end of the cheese wire through the penetration and install the second cutting 

handle.  


20 


  WARNING: When removing the windshield glass, personal protection must be 

worn. Failure to follow this instruction may result in personal injury. 


  CAUTION: Make sure the cheese wire cannot contacted the paintwork while the 

the windshield adhesive is being cut. Failure to follow this instruction may result in 

damage to the vehicle. 


  CAUTION: Make sure the cheese wire cannot contacted the instrument panel while 

the the windshield adhesive is being cut. Failure to follow this instruction may result in 

damage to the vehicle. 


  CAUTION: Make sure the cheese wire passes the Vehicle Identification Number 

www.

(VIN) plate on the correct side. Failure to follow this instruction may result in damage to 

the component. 


NOTE:  


Apply cutting lubricant to the cheese wire frequently through out the cutting process. 


With assistance and exercising care to avoid damaging the paintwork, cut around the 

windshield glass commencing upwards and along the top.  


21 . With assistance and exercising care, remove the windshield glass. 


1) Attach lifting handles to the windshield glass.


2) Remove the windshield glass.


22 . Remove lifting handles from the windshield glass. 


  WARNING: If the windshield glass is being installed at a temperature of 23°C (73°F) 

or above make sure the vehicle is not driven for at least 1 hour after installation. Failure to 

follow this instruction, may result in personal injury. 


  WARNING: If the windshield glass is being installed at a temperature of 11°C (52°F) 

to 23°C (73°F), make sure the vehicle is not driven for at least 1.5 hours after installation. 

Failure to follow this instruction, may result in personal injury. 


  WARNING: If the windshield glass is being installed at a temperature of 5°C (41°F) to 

11°C (52°F), make sure the vehicle is not driven for at least 2 hours after installation. Failure 

to follow this instruction, may result in personal injury. 


  WARNING: If the windshield glass is being installed at a temperature below 5°C 

(41°F), use heat and make sure the windshield glass adhesive has set before the vehicle is 

driven. Failure to follow this instruction, may result in personal injury. 


  CAUTION: When installing the windshield glass, do not strike it in any way as this 

will crack the glass. Failure to follow this instruction may result in damage to the 

component. 


NOTE:  


Make sure the windshield glass does not move out of position in the windshield glass 

aperture. 


NOTE:  


If the original windshield glass is to be installed remove the residual adhesive from 

windshield glass mating surface. 


Using the special tool, remove any residual adhesive from the body.  

Installation  

www.


Content   ..  1500  1501  1502  1503   ..