Jaguar XJ (X350). Manual - part 68
pivot.
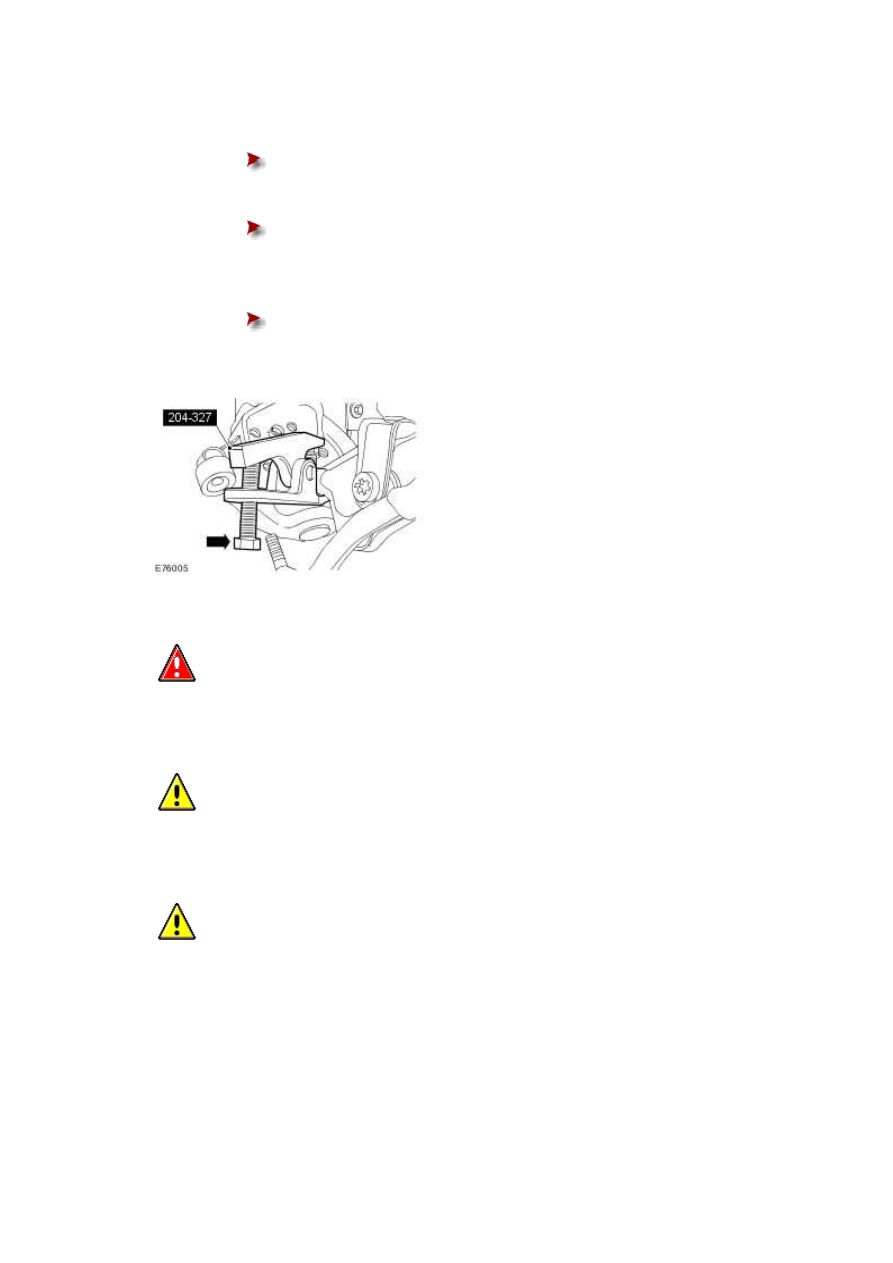
Tighten the special tool adjusting bolt to a maximum of 60 Nm.
If the rear lower arm ball joint releases from the wheel knuckle lower pivot
using no more than 60 Nm on the special tool adjusting bolt, proceed to
step 10.
If the rear lower arm ball joint does not release from the wheel knuckle
lower pivot using no more than 60 Nm on the special tool adjusting bolt,
proceed to step 9.
9
.
WARNING: Make sure the special tool is supported while carrying out the operation.
Failure to follow this instruction may result in personal injury.
CAUTION: Make sure the special tool is supported while carrying out the operation.
Failure to follow this instruction may result in damage to the special tool.
CAUTION: Make sure the special tool is correctly located and the lower ball joint
boot is not damaged while carrying out the operation. Failure to follow this instruction may
result in damage to the component.
NOTE:
Do not carry out this step if the rear lower arm ball joint released from the wheel
knuckle lower pivot in step 8.