JAC-J7. Manual - part 8
 

  Index      JAC     JAC-J7 - service repair manual


Search            


Content   ..  6  7  8  9   ..


JAC-J7. Manual - part 8


Notes

When the hazard warning flashing light
is connected, turning signal is unable to
be sent out.

Cruise indicator (if equipped)
If the 野CRUISE冶 indicator keeps on, it
indicates that the system is still working.
Close the cruise control and the
野CRUISE冶 indicator light will distinguish.
In case of any of the following situations,
it indicates that the cruise control sys鄄
tem has fault:
1. Indicator light fails to light on.
2. Indicator light flashes once more.
3. Indicator distinguishes after lit up.
Under such circumstance, please con鄄
tact with the dealer and have your car
checked.

Hazard warning flashing light

The hazard warning flashing light is
used to give off warning to other people
as well as to tell the police that you
have met with troubles. The turning sig鄄
nal lights in the front and rear part of the
car and the side turning light will flash.
The button for hazard warning flashing
light locates at the middle position of the
mid switch group assembly of instru鄄
ment desk.
Wherever the ignition switch locates and
even if the ignition key is not inserted,
the hazard warning light will work. By
pressing down this button, the front and
rear turning signal lights and the side
turning light will flash. The flashing lights
can be turned off if this button is
pressed once again.

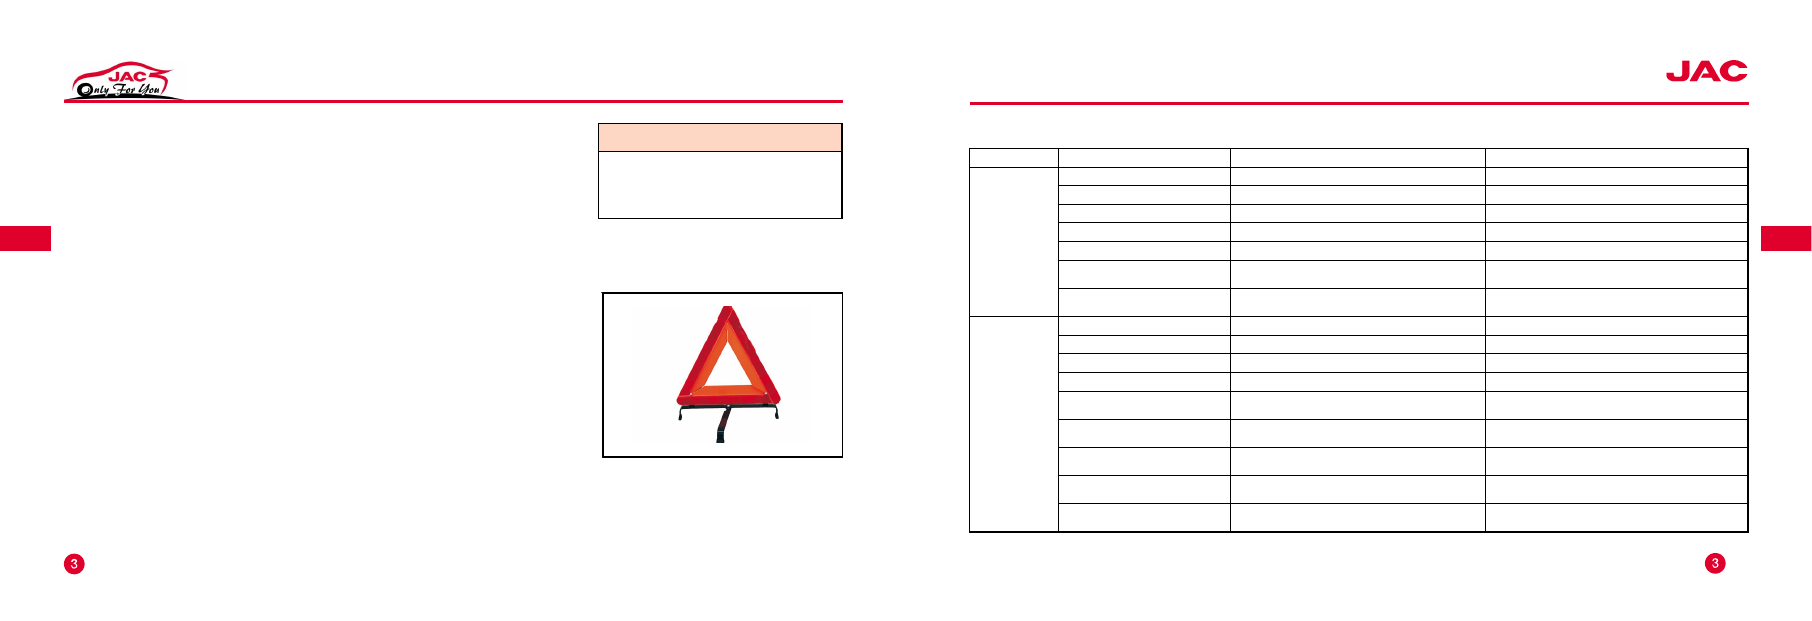
Other warning devices

If you take with reflective tripod, you can
set it at around 100 meters backwards
your car at the roadside.

-34

Turning signal/multi-function control lever (as follows)

Types

Switch position

Work shift and function

Description

Right handle

function

(windshield

wiper switch)

Inching position

Handle can automatically reset at this position Handle temporarily lifted

Close

Windshield wiper off

0 position

Intermittent

Windshield wiper works intermittently

Turn the handle downward to the 1st shift

Low speed

Windshield wiper works at low speed

Turn the handle downward to the 2nd shift

High speed

Windshield wiper works at high speed

Turn the handle downward to the 3rd shift

Intermittent shift

When at intermittent operation,

control the intermittence interval

Rotate the rotary button at the end of handle

Washing apparatus

Spraying water and then wipe it clean

Lift the handle towards the driver爷s direction

until the washing solution splashes out

Left handle

(light and signal

indicator light

switch)

Change lane leftward

Left turning light lights on

Temporarily turn the handle downward

Change lane rightward

Right turning light lights on

Temporarily turn the handle upward

Left turn

Left turning light lights on

Turn the handle downward to the locking

Right turn

Right turning light lights on

Turn the handle upward to the locking position

Close

Lights out

Rotate the rotary button at the end

of the handle to 0 position

Parking light

Parking light on

Rotate the rotary button at the end

of the handle to 1st shift

Headlight

Headlight and parking light on

Rotate the rotary button at the end

of the handle to 2nd shift

Change of high beam light

and dipped headlight

Realize the exchange of distant

and dipped beams

Pull the handle towards the driver爷s

direction until locking position

Headlight flash

Control the main beam

Pull the handle toward the driver爷s

direction slightly and then loosen

-35

MO TORS

Turning signal/Multi -function control
lever

Turning and lane changing signal

There are two upward positions (right
turning) ad two downward positions (left
turning) on the turning signal control
lever. These positions will be used to
send out signals for turning and lane
changing.

To send out the turning signal: push the
control lever upward or downward till
the end. And when the turning is termi鄄
nated, the control lever will return auto鄄
matically.
There is an arrow on the combined de鄄
vice of the console that will be flashing,
which indicates the direction of turning
or lane changing.
To send out the lane changing signal:
You need only lift or press down the
control lever until the arrow begins
flashing. Hold the control lever until the
lane changing is terminated. When you
loosen the lever, it will return automati鄄
cally. When you give off turning or lane
changing signals, if the arrow flashes
too quickly, the signal light may be
burnt and other drivers will be unable to

-36

observe the turning signals you sent
out.
If a certain bulb is burnt, it should be
replaced at once to avoid traffic acci鄄
dents. If the arrow fails to flash when
you send out the turning command, you
should firstly check whether the bulb is
burnt and then check the fuse.

Headlight/Dipped beam exchanger

When you want to change the headlight
from dipped beam to high beam, you
should push the turning signal/multi -
function control lever opposite you.
When high beam is connected, if the ig鄄
nition switch is on, the indicator light on
the combined device will also light on.
If you want to change the headlight from

high beam to dipped beam, you should
push the turning signal/multi -function
control lever towards you.
Front headlight flashing
This function enables you to send out
overtaking signal to the front drivers by
using the high beam headlight.
When using this function, pull the turn鄄
ing signal/multi -function control lever
towards you until the high beam of
headlight lights on. Then loosen the con鄄
trol lever and distinguish the headlight.

-37

MO TORS

Front windshield wiper

Operate the front windshield wiper by
using the control lever at the right side of
the steering column. The ignition switch
must be connected to operate the wiper.
Clearance: turn the handle downward to
the 1st shift and select one cycle of de鄄
layed wiping and washing.
Low: turn the handle downward to the
2nd shift and you can conduct stable

low speed wiping.
High: turn the handle downward to the
3rd shift and you can conduct stable
high speed wiping.
You can also control the intermittence
interval by rotating the rotary button at
the end of handle.
Stop: turn the control lever to 0 position,
and the front windshield wiper is shut off.
When lifting the control slightly from 0
position, the front windshield wiper will
act for one cycle.

Front windshield washing solution
To washing the front windshield, pull the
front windshield wiper washing solution
control lever toward the driver when the
ignition switch is connected. The wash鄄
ing solution will splashed out from the
front windshield spray nozzle.
When you loosen the lever, the washing
apparatus will stop working, but the
wiper will continue acting for another
two cycles. Then you can choose to
stop the wiping or recover to the wash鄄
ing speed previously.

Friendly Tips

In cold and freezing whether, you
should not start the wiper if the front
windshield is not preheated. Otherwise,
the washing solution will froze on the
front windshield and block your vision.

-38

Friendly Tips

When using the fog lamp, the ignition
switch must be placed at ACC (annex)
or ON (connecting) position.

Friendly Tips

When using the rear fog lamp, the front
fog light must be on.

Front fog lamp

Pres s the front fog lamp button on the
mid switch group assembly of instru鄄
ment desk, the front fog lamp will be
connected and the indicator light on the
button will light on. At the same time,
the front fog lamp indicator light on the
combined device will light on. Press the
button once again and the front fog
lamp will distinguish.

Rear fog lamp

When the front fog lamp is on, press the
rear fog lamp button on the mid switch
group assembly of instrument desk, the
front fog lamp will be connected and the
rear fog lamp indicator light on the
combined device will light on. The indi鄄
cator light on the button will light on.

-39

MO TORS

Panel board brightness

The third switch on the left switch group
assembly of instrument desk is the dim鄄
ming switch which can adjust the
brightness of the light on the console.
Toggle the thumbwheel switch of the
dimming switch upward to increase the
brightness of the light, and vice versa.

Illumination angle adjustment of di -
pped beam light and high beam light

The fourth switch on the left switch group
assembly on the instrument desk is the
dimming switch of headlight which could
adjust the illumination angle of the
dipped beam light and high beam light.
Toggle the thumbwheel switch of the
dimming switch upward to upper the
beam of dipped beam light and high
beam light and vice versa.

Glove compartment

The glove compartment is equipped
with locking core. You can lock and un鄄
lock the glove compartment by the igni鄄
tion key. To open the glove compart鄄
ment, just pull upward the glove com鄄
partment handle when the compartment
is at unlocking position.

-40

Notes

Do not put inflammable substances into
ash tray. If you put paper or other in鄄
flammable substances into the ash tray,
the un-extinct cigarette head may light
them up, which might damage your car.

Cigarette lighter and ash tray

The front cigarette lighter and ash tray
locate at the lower part of the central
console with an integrated protective
cover. Press at the bright stripe ornament
part on the cover and then release, the
protective cover will open automatically.
To take out the front ash tray for clean鄄
ing, pull out the ash tray and pour the
ash. When reassembling, just push the
ash tray back.

The rear ash tray locates at the rear part
of auxiliary facia console. Pull out the
rear ash tray for cleaning. When re鄄
assembling, just first clamp it on the
bottom tongue and then push it back.

-41

MO TORS


Content   ..  6  7  8  9   ..