Infiniti G37 Coupe (2012 year). Manual - part 27
8-20
Maintenance and do-it-yourself
ess. If the belt is in poor condition or
loose, have it replaced or adjusted by
an INFINITI retailer.
2. Have the belts checked regularly for
condition and tension in accordance
with the maintenance schedule in your
“INFINITI Service and Maintenance
Guide
”.
WARNING
Be sure the engine and the ignition switch
are off and that the parking brake is
engaged securely.
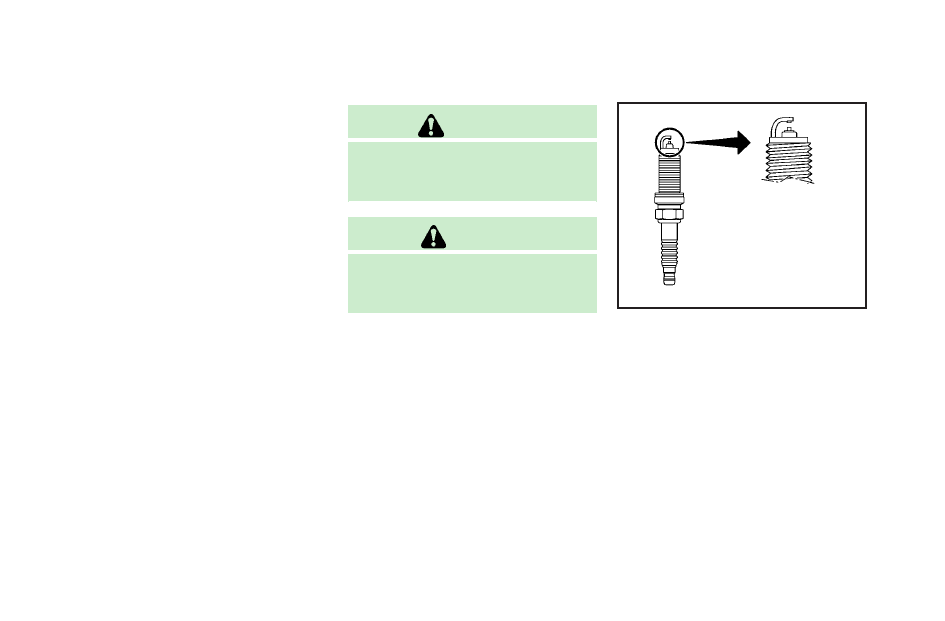
CAUTION
Be sure to use the correct socket to remove
the spark plugs. An incorrect socket can
damage the spark plugs.
SDI2020
REPLACING SPARK PLUGS
If replacement is required, see an INFINITI
retailer for servicing.
Iridium-tipped spark plugs
It is not necessary to replace the iridium-
tipped spark plugs as frequently as the
conventional type spark plugs since they
will last much longer. Follow the main-
tenance schedule in
“INFINITI Service and
Maintenance Guide
”, but do not reuse
them by cleaning or regapping.
SPARK PLUGS