Content .. 1349 1350 1351 1352 ..
Infiniti QX56 (Z62). Manual - part 1351
BLOWER UNIT
VTL-15
< REMOVAL AND INSTALLATION >
C
D
E
F
G
H
J
K
L
M
A
B
VTL
N
O
P
Removal and Installation
INFOID:0000000006276306
REMOVAL
1.
Remove A/C unit assembly. Refer to
HA-42, "HEATER & COOLING UNIT ASSEMBLY : Removal and
.
2.
Remove mounting bolts, and then disconnect heater & cooling unit assembly and blower unit assembly.
INSTALLATION
Install in the reverse order of removal.
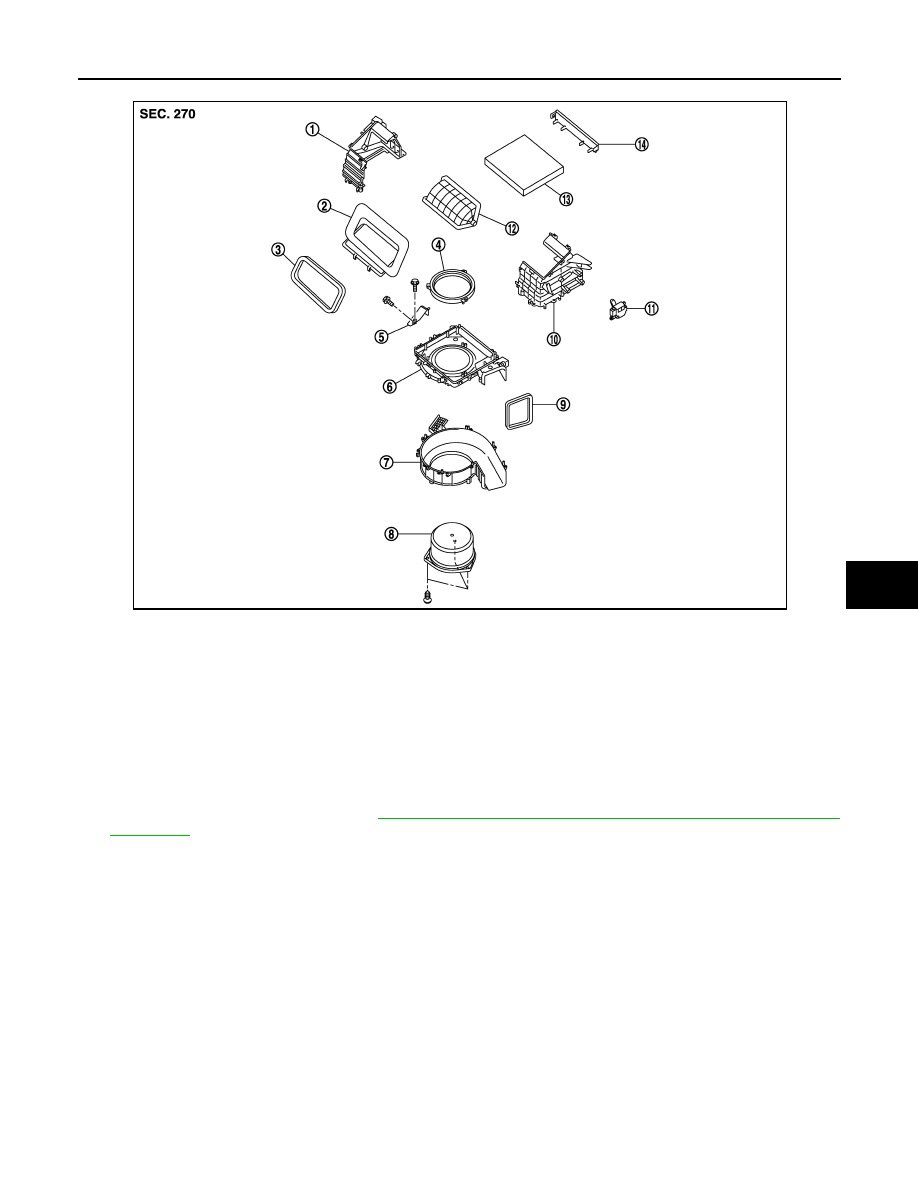
1.
Shutter box case RH
2.
Shutter box upper case
3.
Packing
4.
Bellmouth ring
5.
Blower unit bracket
6.
Intake upper case
7.
Intake lower case
8.
Blower motor assembly
9.
Packing
10. Shutter box case LH
11.
Intake door motor
12. Intake door
13. In-cabin microfilter
14.
Filter cover
JMIIA0642ZZ