Infiniti G37 Coupe. Manual - part 1060


  Index      Infiniti     Infiniti G37 Coupe - service repair manual 2008 year


Search            


Content   ..  1058  1059  1060  1061   ..


Infiniti G37 Coupe. Manual - part 1060


PREPARATION

RF-65

< PREPARATION >

C

D

E

F

G

H

I

J

L

M

A

B

RF

N

O

P

PREPARATION

PREPARATION

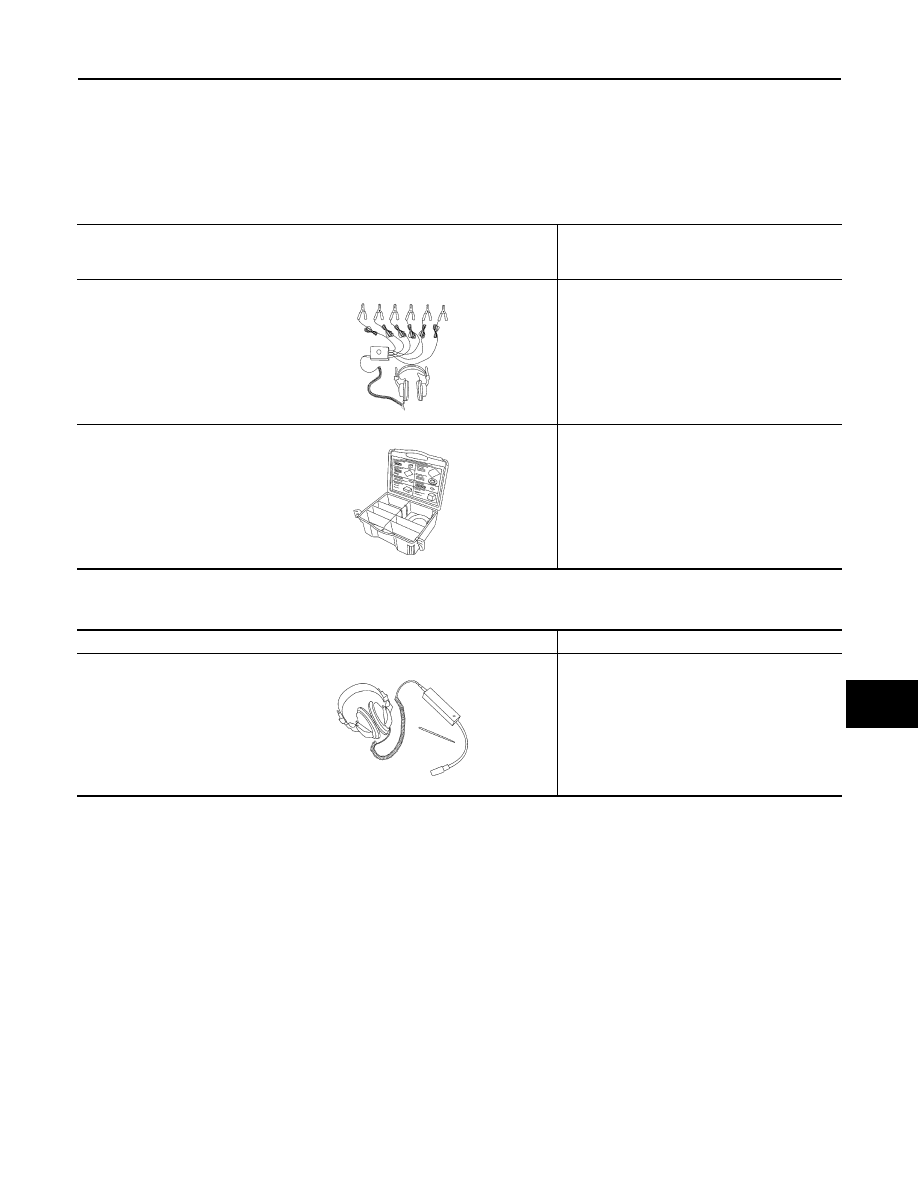
Special Service Tool

INFOID:0000000001693852

The actual shapes of Kent-Moore tools may differ from those of special service tools illustrated here.

Commercial Service Tool

INFOID:0000000001693853

Tool number
(Kent-Moore No.)
Tool name

Description

(J39570)
Chassis ear

Locating the noise

(J43980)
NISSAN Squeak and Rattle 
Kit

Repairing the cause of noise

SIIA0993E

SIIA0994E

Tool name

Description

Engine ear

Locating the noise

SIIA0995E

RF-66

< ON-VEHICLE REPAIR >

SUNROOF UNIT ASSEMBLY

ON-VEHICLE REPAIR

SUNROOF UNIT ASSEMBLY

Exploded View

INFOID:0000000001693856

REMOVAL

1.

Drain hose

2.

Side trim

3.

TORX bolt

4.

Glass lid

5.

TORX bolt

6.

Sunroof motor assembly

7.

Front sunroof bracket (LH/RH)

8.

Rear sunroof bracket (LH/RH)

9.

Sunroof unit assembly

10. Drain connector

JMKIA1266ZZ

SUNROOF UNIT ASSEMBLY

RF-67

< ON-VEHICLE REPAIR >

C

D

E

F

G

H

I

J

L

M

A

B

RF

N

O

P

DISASSEMBLY

Removal and Installation

INFOID:0000000001693857

REMOVAL

CAUTION:

• Always work with a helper.
• Fully close the glass lid assembly, before removal, then do not operate sunroof motor assembly after

removal.

1.

Sunshade stopper

2.

Rear drain assembly

3.

Sunshade

4.

Wind deflector

5.

Sunroof frame

JMKIA1267ZZ

RF-68

< ON-VEHICLE REPAIR >

SUNROOF UNIT ASSEMBLY

• When taking sunroof unit out, use cloths to protect the seats and trim from damage.
• After installing the sunroof unit and glass lid, perform the leak test and check that there is no mal-

function.

1.

Remove the headlining. Refer to 

INT-24, "SUNROOF : Removal and Installation"

2.

Disconnect drain hoses.

3.

Remove the glass lid. Refer to 

RF-70, "Removal and Installation"

.

4.

Remove sunroof motor assembly. Refer to 

RF-73, "Removal and Installation"

.

5.

Remove  assistance grip bracket.

6.

Remove sunroof bracket bolts and nuts.

7.

Remove nuts from the front end and side rail, and then remove sunroof unit assembly from roof panel.

8.

Remove sunroof unit assembly through the passenger compartment while being careful not to damage
the seats and trim.

INSTALLATION

1.

Bring sunroof unit assembly into passenger compartment.

2.

Temporarily tighten the mounting nuts to the side rail of sunroof unit assembly.

3.

Temporarily tighten the mounting nuts to the front end of sunroof unit assembly.

4.

Tighten the installation points diagonally excluding the installation point of the sunroof bracket around the
roof opening.

5.

Tighten the sunroof bracket bolts of the vehicle side, and then tighten the bolt of the rail side.

6.

Tighten the mounting nuts to the front end and side rail.

7.

Install the assistance grip bracket.

8.

Install the sunroof motor assembly. Refer to 

RF-73, "Removal and Installation"

.

9.

Install the glass lid. Refer to 

RF-70, "Removal and Installation"

.

10. Install the side trim.
11. Connect drain hoses.

12. Install the headlining. Refer to 

INT-24, "SUNROOF : Removal and Installation"

.

Disassembly and Assembly

INFOID:0000000001693858

DISASSEMBLY

1.

Remove sunshade stopper mounting from the rear end of sunroof frame.

2.

Remove rear drain assembly from sunroof frame.

3.

Remove sunshade from the rear end of sunroof frame.

4.

Remove wind deflector from sunroof frame.

ASSEMBLY

Assemble in the reverse order of disassembly.


Content   ..  1058  1059  1060  1061   ..