Infiniti G35 (V35) Sedan. Manual - part 693
EXT-10
< ON-VEHICLE REPAIR >
FRONT BUMPER
ON-VEHICLE REPAIR
FRONT BUMPER
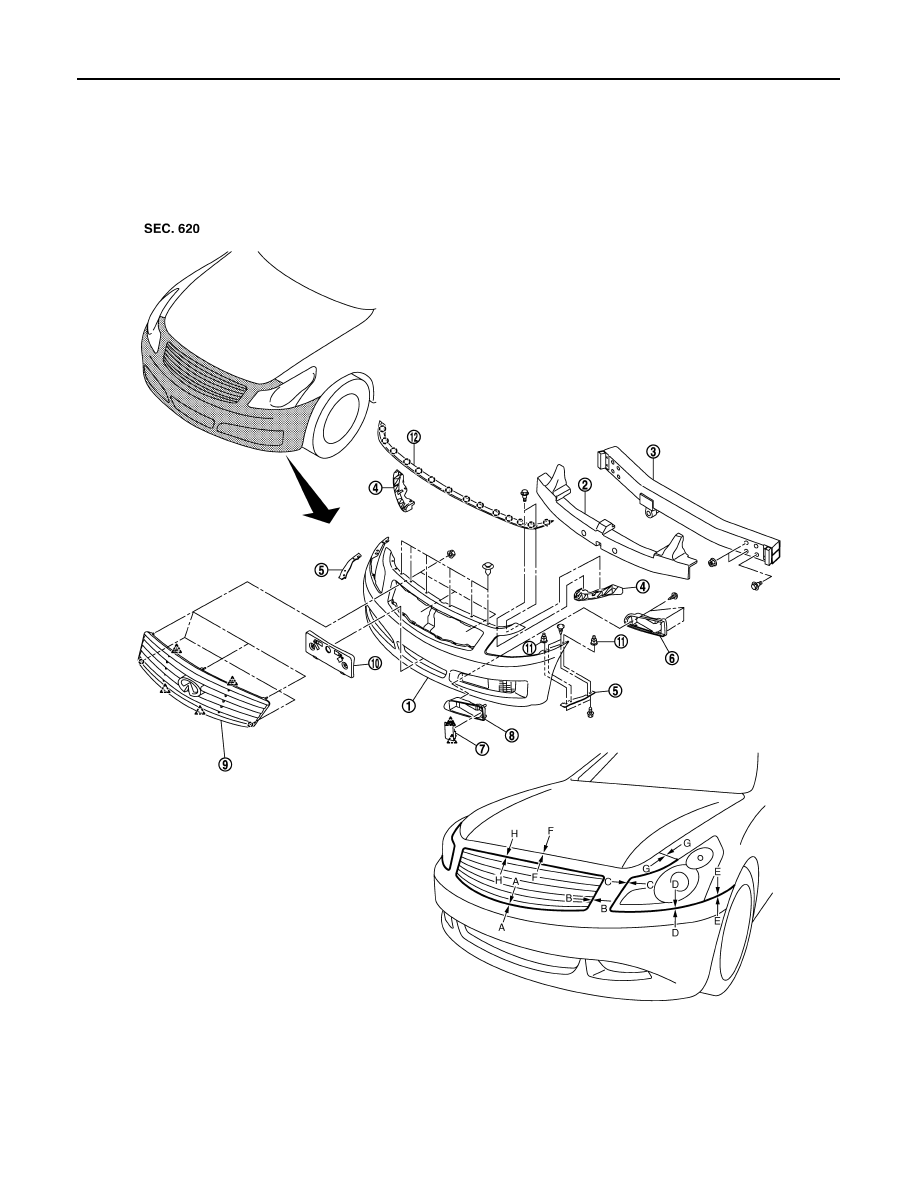
Exploded View
INFOID:0000000000961794
1.
Bumper fascia assembly
2.
Energy absorber
3.
Bumper reinforcement
4.
Bumper side stiffener
5.
Bumper side bracket
6.
Bumper finisher A
7.
Bumper finisher B
8.
Bumper finisher
9.
Front grille
10. License plate bracket
11.
Grommet
12. Hood seal assembly (front)
JMKIA0074GB