Hyundai Atos: Body Repair Manual - part 25
105
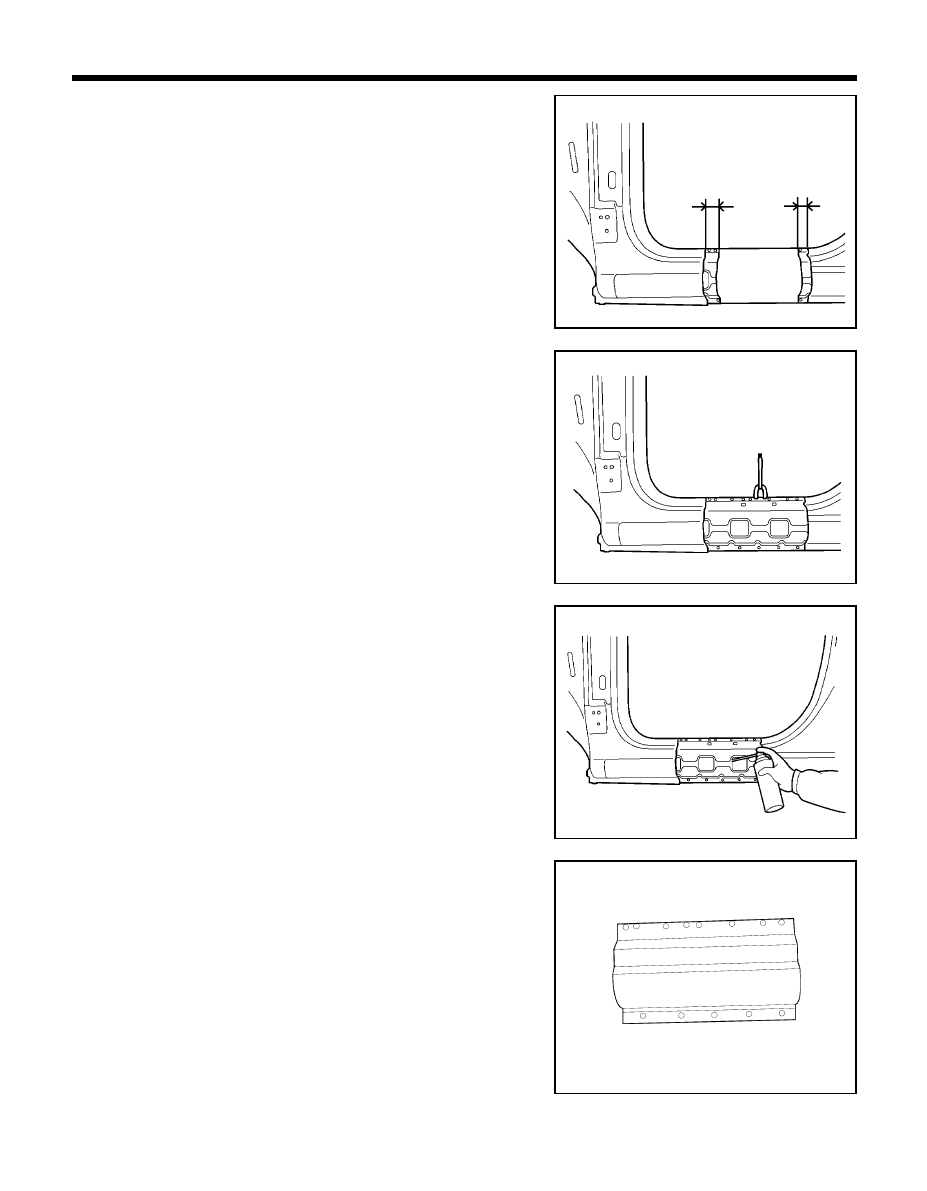
3.
Determine if the side sill outer reinforcement is damaged and
needs to be replaced. If replacing is necessary, mark out the
damaged portion of the side sill outer reinforcement.
Cut at cutlines and remove the damaged portion.
4.
Prepare all surfaces to be welded.
INSTALLATION
1.
Transcribe the cutline to the new side sill outer reinforcement,
adding 30 mm overlap to each end and cut to length.
2.
Drill 8 mm holes in overlap areas on each end and upper flange
of new side sill outer reinforcement and clamp.
3.
MIG plug weld all holes and MIG butt weld all seams.
NOTE
The reinforcement will be stronger if the weld traces are not
ground.
4.
Before welding the side sill outer panel, apply the two part epoxy
primer and anti-corrosion agent to the welded parts.
BODY PANEL REPAIR PROCEDURE - Side sill outer panel (Partial)
5.
Transcribe the side sill outer panel cutline to the new side sill,
adding 30 mm overlap to each end, cut and chamfer butt end to
improve weld surface.
6.
Drill 8 mm holes in overlap areas on each end and along upper
and lower flanges of the new side sill outer panel for MIG plug
welding.
PRO-1130
PRO-1140
PRO-1150
PRO-1160
50 mm
50 mm