Honda Prelude (2000 year). Instruction - part 10
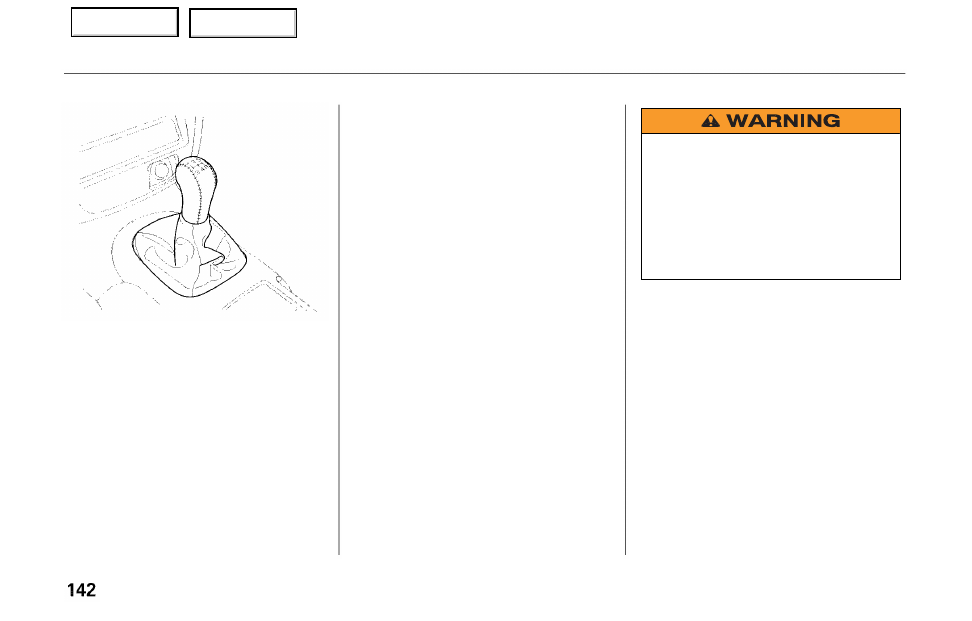
5-speed Manual Transmission
The manual transmission is syn-
chronized in all forward gears for
smooth operation. It has a lockout so
you cannot shift directly from Fifth
to Reverse. When shifting up or
down, make sure you push the clutch
pedal down all the way, shift to the
next gear, and let the pedal up
gradually. When you are not shifting,
do not rest your foot on the clutch
pedal. This can cause your clutch to
wear out faster.
Come to a full stop before you shift
into Reverse. You can damage the
transmission by trying to shift into
Reverse with the car moving. Push
down the clutch pedal, and pause for
a few seconds before shifting into
Reverse, or shift into one of the
forward gears for a moment. This
stops the gears so they won't "grind."
When slowing down, you can get
extra braking from the engine by
shifting to a lower gear. This extra
braking can help you maintain a safe
speed and prevent your brakes from
overheating while going down a
steep hill. Before downshifting,
make sure engine speed will not go
into the tachometer's red zone in the
lower gear.
Driving
Rapid slowing or speeding-up
can cause loss of control on
slippery surfaces. If you crash,
you can be injured.
Use extra care when driving on
slippery surfaces.
03/07/10 16:11:09 31S5A930 0021
03/07/10 16:11:09 31S5A930 0021
Main Menu
Table of Contents