Honda Civic Coupe (2019 year). Instruction - part 2
16
Quick
Referenc
e Guide
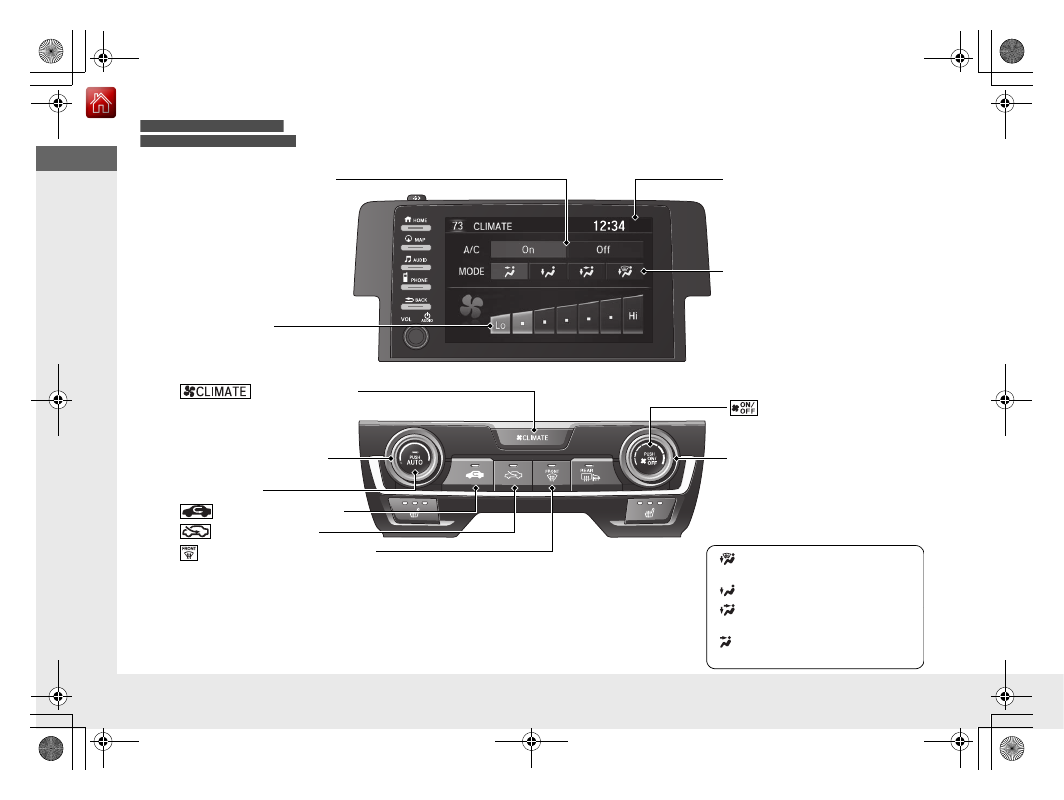
Models with Display Audio
Models without SYNC button
Fan Control Dial
(Windshield Defroster) Button
Temperature Control Dial
Air flows from floor and
windshield defroster vents.
Air flows from floor vents.
Air flows from floor and
dashboard vents.
Air flows from dashboard
vents.
(Recirculation) Button
(CLIMATE) Button
(Fresh Air) Button
(On/Off) Button
AUTO Button
Audio/Information Screen
MODE Control Icon
A/C (Air Conditioning) Icon
Fan Control Icon