Freightliner Century Class. Manual - part 14
26–04 Transmission Fluid
Level Inspection
Allison
NOTICE
Operating a transmission with the fluid level
higher or lower than recommended can result in
transmission damage. Do not overfill the transmis-
sion.
Do not mix types and brands of fluid, because of
possible incompatibility. Do not use fluid addi-
tives, friction modifiers, extreme-pressure gear
fluids, or multiviscosity lubricants.
Cold Check
Clean all dirt from around the end of the fluid fill tube
before removing the dipstick. Do not allow foreign
matter to enter the transmission. Dirt or foreign mat-
ter in the hydraulic system may cause undue wear of
transmission parts, make valves stick, and clog pas-
sages.
It is important to check the fluid level cold to deter-
mine if the transmission has a sufficient amount of
fluid to be safely operated until a hot check can be
performed.
1.
Park the vehicle on a flat, level surface.
2.
Apply the parking brakes and chock the rear
tires.
3.
Run the engine for at least one minute.
4.
Shift from DRIVE to NEUTRAL, and then shift to
REVERSE to fill the hydraulic system.
5.
Shift to NEUTRAL and allow the engine to idle at
500 to 800 rpm.
6.
With the engine running at idle, remove the dip-
stick from the tube and wipe it clean.
7.
Insert the dipstick into the tube and remove the
dipstick.
8.
Check the fluid level reading and repeat the
check procedure to verify the reading.
If the fluid level is within the COLD RUN band,
the transmission may be operated until the fluid
is hot enough to perform a hot check.
If the fluid level is not within the COLD RUN
band, add or drain fluid as needed to adjust the
fluid level to the middle of the COLD RUN band.
See
NOTICE
As the fluid temperature increases, so does the
fluid level. Do not fill above the COLD RUN band if
the transmission fluid is below normal operating
temperature.
NOTE: Perform a hot check at the first opportu-
nity after the normal operating temperature, 160
to 200°F (71 to 93°C), has been reached.
Hot Check
1.
Park the vehicle on a flat, level surface. Apply
the parking brakes and chock the rear tires.
2.
Shift the transmission to NEUTRAL.
3.
Operate the engine at idle (500 to 800 rpm) until
normal operating temperature is reached. Check
that the sump temperature is 160 to 200°F (71 to
93°C). Check that the converter-out temperature
is 180 to 220°F (82 to 104°C).
4.
With the engine idling, remove the dipstick from
the tube and wipe it clean.
5.
Insert the dipstick into the tube and remove the
dipstick.
6.
Check the fluid level reading and repeat the
check procedure to verify the reading. Safe oper-
ating level is within the HOT RUN band on the
dipstick. The HOT RUN band is between the
HOT FULL and HOT ADD marks.
12/01/97
A
B
f270002a
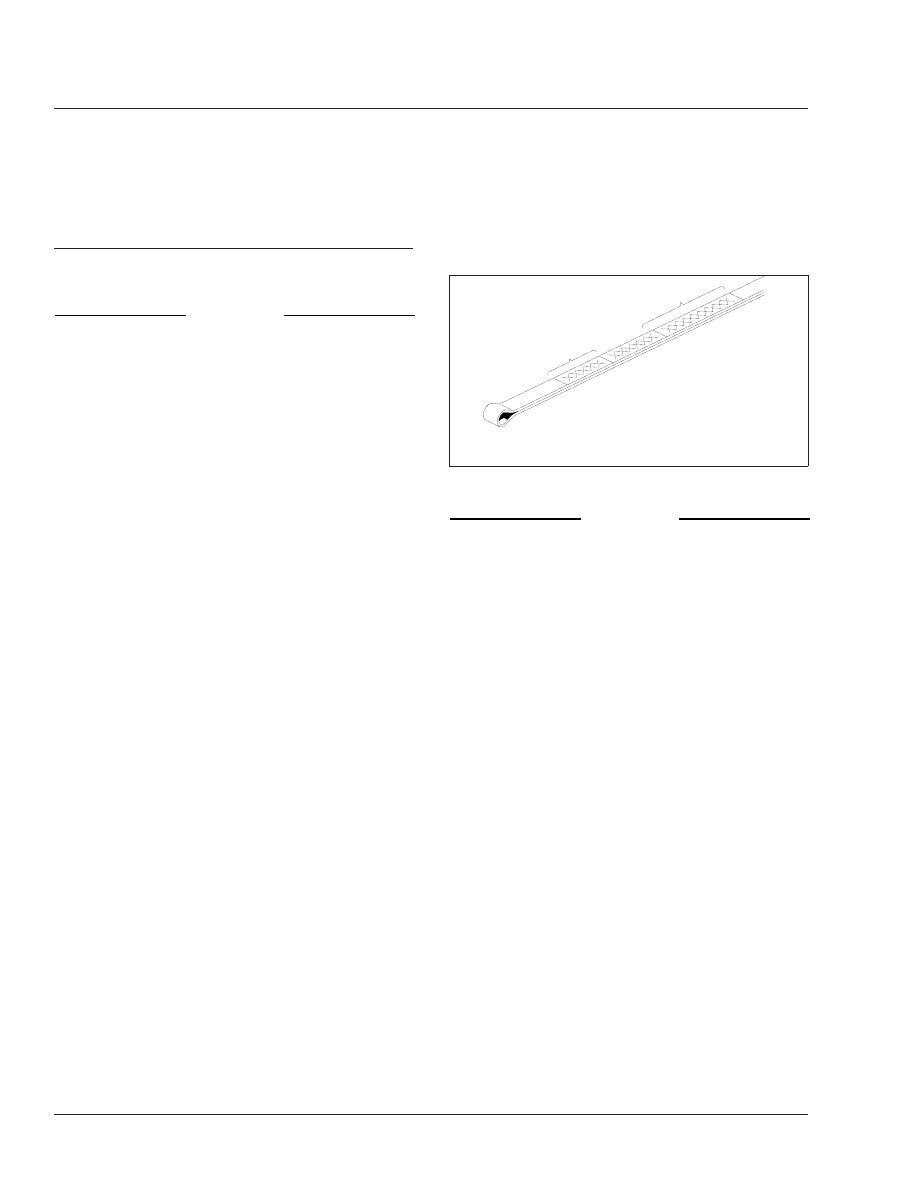
A. Cold Run Band
B. Hot Run Band
Fig. 5, Dipstick Markings
Transmission
26
26/6