Ford Ranger EV (2001 year). Manual - part 52
 

  Index      Ford     Ford Ranger EV - service repair manual 2001 year


Search            


Content   ..  50  51  52  53   ..


Ford Ranger EV (2001 year). Manual - part 52


303-01-2

303-01-2

Basic Motor/Transaxle

SPECIFICATIONS

General Specifications

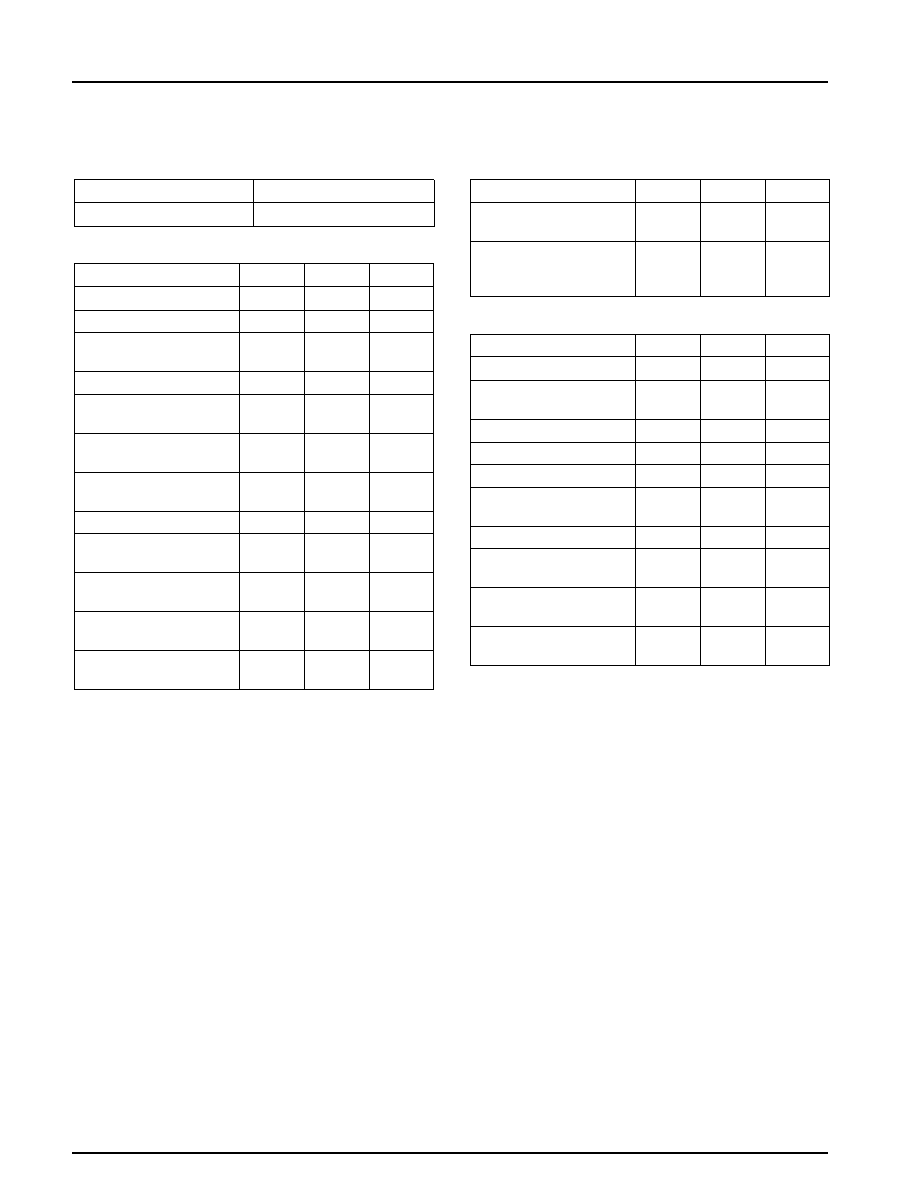
Torque Specifications

Item

Specification

Description

Nm

Lb-Ft

Lb-In

TIM +,-Cable Sleeve

5

—

44.5

Tribolube L-6 Pro Gear 21

F8AZ-19M544-A

Nuts

Torque Specifications

Traction Inverter Motor

5

—

44.5

Controller (TIM) Cover

Description

Nm

Lb-Ft

Lb-In

Plate Bolts

Cross Bar Bolts

47

34.5

— 

Torque Specifications

Ground Strap Bolt

12

—

107

Halfshaft Flange to

49

36

—

Description

Nm

Lb-Ft

Lb-In

Motor/Transaxle Bolts

Backing Plate Bolts

15

11

— 

Lug Nuts

115

84.5

—

Brake Line Bracket to

12

—

107

Motor/Transaxle LH and

130

96

—

Axle Bolt

RH Mount Bolts

Caliper Adapter Bolts

55

40.5

—

Motor/Transaxle Rear

115

85

—

Caliper Bolts

25

18.5

—

Mount Bolts

Hub Nut

252

186

—

Shift Cable Bracket

20

15

—

Lower Shock Absorber

62.5

46

—

Bolts

Nut

Shock Absorber Nut

62

45.5

—

Lug Nuts

115

85

—

TIM A,- Cable

15

11

—

Rear Spring Mounting

116

85

—

Connector Nuts

Bolts

TIM B,+ Cable

30

22

—

Spring Clamp Plate

103

43

—

Connector Nuts

Bolts

TIM C Cable Connector

20

14.5

—

Upper Shock Absorber

55

40.5

—

Nut

Nut

TIM A,B,C Cable

3

—

26

Connector Nut

(Continued)

The motor/transaxle is lubricated with Tribolube -

DESCRIPTION AND OPERATION

L6 (Pro Gear 21) F8AZ-19M544-A oil. The oil is

Basic Motor/Transaxle

pumped throughout the motor/transaxle by a

The Electric Ranger uses a combination four-pole,

twelve-volt direct current oil pump located inside

three-phase alternating current (A/C) motor and

the motor/transaxle case. Operation of the oil pump

single speed transaxle to drive the vehicle. The

is controlled by the TIM. Oil pressure is kept at

motor/transaxle is located between the rear wheels

83-124 kPa (12-18 psi). If oil pressure drops below

and transfers power to the rear wheels through  two

27.5 kPa (4 psi), the low oil pressure warning

halfshafts. The motor provides a peak output of 67

indicator will illuminate.

kW (90 hp) and 190 Nm (140 lb-ft) of torque.
A shift cable is connected to the motor/transaxle to
transmit driver gear selection. The cable operates a
digital transmission range (TR) sensor that feeds
information to the traction inverter module (TIM).
The shift cable does not operate any mechanical
devices in the motor/transaxle other than a parking
pawl.

303-01-3

303-01-3

Basic Motor/Transaxle

Electrical Schematic

DIAGNOSIS AND TESTING

Motor/Transaxle Lubrication System

Refer to Electrical and Vacuum Troubleshooting
Manual, Cell 26, Motor/Transaxle Control
 for

Diagnostic Trouble Code (DTC) Definition

schematic and connector information.

The following DTC relates to the Motor/Transaxle

Inspection and Verification

Lubrication System:

Refer to 

 Section 100-07

.

•

DTC C1284 Oil Pressure Switch Failure 
— The normal operating pressure of the oil pump

is approximately 103 kPa (15 psi). The oil
pressure switch provides a digital input to the
traction inverter module (TIM) to indicate the
status of the motor/transaxle oil pressure.
Under normal operating pressure, the oil
pressure switch is closed to provide a ground
input to the TIM. If the motor/transaxle oil
pressure drops below 28 kPa (4 psi), the oil
pressure switch opens and signals the TIM of
a low oil pressure condition. DTC C1284  is
set if the TIM detects the oil pressure switch
open for more than 10 minutes while traveling
faster than 3.2 km/h (2 mph). If this failure
occurs at key START, the power limit
warning indicator and low oil pressure
warning indicator illuminate and the TIM
reduces power to the motor/transaxle. If the
oil pressure  switch opens while driving, only
the low oil pressure indicator illuminates. 

Symptom Chart

Symptom Chart

Condition

Possible Sources

Action

•

DTC C1284 Oil Pressure

•

Fuse. 

•

GO to Pinpoint Test A.

Switch Failure 

•

Low motor/transaxle fluid

level. 

•

Motor/transaxle. 

•

Oil pressure switch. 

•

Circuit(s). 

•

Traction inverter module

(TIM). 

•

Oil pump relay. 

Pinpoint Tests

Special Tool(s)

104-Pin Breakout Box (BOB) 418-049 (014-00950) or

equivalent 

BCM/TIM Breakout Box (BOB) Adapter Cable

418-F212

BCM/TIM Breakout Box (BOB) Overlay 418-F220

Electric Motor/Transaxle Test Box 418-F211

303-01-4

303-01-4

Basic Motor/Transaxle

DIAGNOSIS AND TESTING (Continued)

PINPOINT TEST A: DTC C1284 OIL PRESSURE SWITCH FAILURE

TEST STEP

ACTION TO TAKE

A1 CHECK FUSE

•

Check 20A fuse 19 in the electric vehicle power distribution box

Yes =

GO to A2.

(EVPDB). 

•

Is the fuse OK?

No =

REPLACE the fuse.

A2 CHECK TRANSAXLE FLUID LEVEL

•

Check the transaxle fluid level. Refer to 

Oil Level Check Procedure

 in

Yes =

GO to A3.

this section. 

•

Is the fluid level OK?

No =

FILL the motor/transaxle to

the appropriate fluid level.

REFER to 

Oil Level Check

Procedure

 in this section

A3 CHECK OIL PUMP CURRENT

•

With key OFF, disconnect oil pump C4992 and oil pressure switch

Yes =

GO to A4.

C4997. 

•

Connect Electric Motor/Transaxle Test Box to the oil pump, oil pressure

No =

REPLACE the

switch and cigar lighter socket. 

motor/transaxle.

•

Set the oil pump power switch on Electric Motor/Transaxle Test Box to

the ON position. 

NOTE: Set the multimeter to voltage measurement. The Electric

Motor/Transaxle Test Box measures current that is proportional to the

voltage.

•

Connect a multimeter to the oil pump current ports on Electric

Motor/Transaxle Test Box and measure the voltage. 

•

Is the voltage between 2.5 and 6.5 volts?

•

A4 CHECK OIL PRESSURE SWITCH

•

Observe the oil pump pressure LED on Electric Motor/Transaxle test

Yes =

GO to A5.

box. 

•

Is the oil pump pressure LED on?

No =

REPLACE the oil pressure

switch.

A5 CHECK OIL PRESSURE SWITCH STATUS

•

Disconnect Electric Motor/Transaxle Test Box from the motor/transaxle

Yes =

System OK. CHECK wiring

and reconnect oil pump C4992 and oil pressure switch C4997. 

for intermittent connections.

•

With key ON, monitor the traction inverter module (TIM) PID OILPSWI No =

GO to A6.

while turning the ignition key to the START position. 

•

Wait approximately 10 seconds. 

•

Does the OILPSWI PID indicate ACTIVE?

A6 CHECK GROUND TO OIL PRESSURE SWITCH

•

With key OFF, disconnect oil pressure switch C4997 and measure the

Yes =

GO to A7.

resistance between the BK wire on oil pressure switch C4997 and

ground. 

•

Is the resistance less than 5 ohms?

No =

REPAIR the BK wire.

A7 CHECK CIRCUIT 3605 (DB/W) FOR OPEN

•

Connect 104-Pin Breakout Box (BOB) to TIM C4998, C4999 using the

Yes =

GO to A8.

BCM/TIM BOB Adapter Cable and Overlay; leave the TIM

disconnected. 

•

With key OFF, measure the resistance of the DB/W wire between BOB

No =

REPAIR the DB/W wire.

pin B12 and ground (BOB pin A29). 

•

Is the resistance less than 5 ohms?

A8 CHECK CIRCUIT 3605 (DB/W) FOR SHORT TO POWER

(Continued)

303-01-5

303-01-5

Basic Motor/Transaxle

DIAGNOSIS AND TESTING (Continued)

PINPOINT TEST A: DTC C1284 OIL PRESSURE SWITCH FAILURE

TEST STEP

ACTION TO TAKE

•

With key ON, measure the voltage between BOB pin B12 and ground

Yes =

REPAIR the DB/W wire.

(BOB pin A29). 

•

Is the voltage greater than 0 volts?

No =

GO to A9.

A9 CHECK POWER TO OIL PUMP

•

With key OFF, connect TIM to BOB; leave BOB connected to TIM

Yes =

System OK. CHECK wiring

C4998 and C4999. 

for intermittent connections.

•

With key OFF, disconnect oil pump C4992. 

No =

GO to A10.

•

Enter the TIM active command mode FLUID CONTROL and set the

active command PUMP to ON. 

•

Measure the voltage between pin 2 (P/LG wire) and pin 3 (BK wire) on

oil pump C4992. 

•

Is the voltage greater than 10 volts?

A10 CHECK GROUND TO OIL PUMP

•

With key OFF, measure the resistance between the BK wire on oil pump

Yes =

GO to A11.

C4992 and ground. 

•

Is the resistance less than 5 ohms?

No =

REPAIR the BK wire.

A11 CHECK OIL PUMP RELAY CONTROL CIRCUIT

•

With key OFF, remove the oil pump relay from the relay box. 

Yes =

GO to A12.

•

Enter the active command mode FLUID CONTROL, set the active

No =

REPLACE the TIM. REFER

command PUMP to ON, and measure the resistance between BOB pin

to

 Section 303-14

.

A37 and ground (BOB pin A29). 

•

Is the resistance less than 5 ohms?

A12 CHECK CIRCUITS 3004 (P/LG) AND 3005 (P/LG) FOR OPEN(S)

•

With key OFF, disconnect the TIM from the BOB; leave BOB connected Yes =

GO to A13.

to TIM C4998, C4999. 

•

With key OFF, measure the resistance of the P/LG wire between pin 2

No =

REPAIR the P/LG wire(s) in

on the oil pump relay connector and BOB pin A37. 

question.

•

With key OFF, measure the resistance of the P/LG wire between pin 5

on the oil pump relay connector and pin 2 on oil pump C4992. 

•

Are the resistances less than 5 ohms?

A13 CHECK POWER TO OIL PUMP RELAY

•

With key ON, measure the voltage between pins 1, 3 on the oil pump

Yes =

REPLACE the oil pump

relay connector and ground. 

relay.

•

Are the voltages greater than 10 volts?

No =

REPAIR the LB/O wire(s)

in question.

PINPOINT TEST B: CHECK TRANSAXLE OIL PRESSURE

TEST STEP

ACTION TO TAKE

B1 CHECK TRANSAXLE OIL PRESSURE

•

Remove the plug from the left rear bottom corner of the transaxle. 

Yes =

The transaxle lubrication

•

Install an oil pressure gauge. 

system has an intermittent

•

Set parking brake and turn the key to start position and release. 

fault.

•

With the transaxle enabled, check the oil pressure. 

•

Oil pressure switch 

•

Oil switch circuit 

•

Oil pump relay 

•

Oil pump relay circuit 

•

TIM module 

•

Transaxle 

•

Does the oil pressure stay steady (within 3 psi) and above 15 psi for

No =

Call the Electric Vehicle

30 minutes?

Hotline 1-800-826-4694.


Content   ..  50  51  52  53   ..