Fiat Doblo Panorama (2019 year). Manual - part 3
KNOWING YOUR VEHICLE
42
32)
Be careful working inside engine
compartment when the engine is hot to
avoid burning yourself. Do not place your
hands near the engine fan as it may be
activated even when the key is removed.
Wait until the engine has cooled.
33)
Be very careful not to allow scarves,
neckties and other loose articles of
clothing from touching, even accidentally,
any moving parts. This may cause the
clothing to be pulled into the part, resulting
in serious injury to the wearer.
34)
For safety reasons, the bonnet
must always be properly closed while
driving. Make sure that the bonnet is
properly closed and that the lock is
engaged. If you notice when driving that
the bonnet has not been properly locked,
stop immediately and close the bonnet
correctly.
LUGGAGE
COMPARTMENT
35) 36) 37) 38)
OPENING/CLOSING THE
TAILGATE FROM THE
OUTSIDE
The tailgate (when unlocked) can only
be opened from the outside of the car
using the electric opening handle (A)
fig. 78 located under the handle. The
tailgate can be opened at any time if
the doors are unlocked.
To open it the handle must be enabled
by opening the driver side front door or
operating the remote control unlocking
button (for Doblò/Doblò Combi
versions).
On Cargo versions, the opening of the
tailgate is subject to the enabling of the
handle.
78
F0V0370
The handle is enabled after pressing
the third button on the remote control
or by operating the unlocking button
from the interior of the vehicle. Opening
can also take place by using the
mechanical key or the metal insert of
the remote control key in the driver side
door pawl.
9)
79
F0V0340
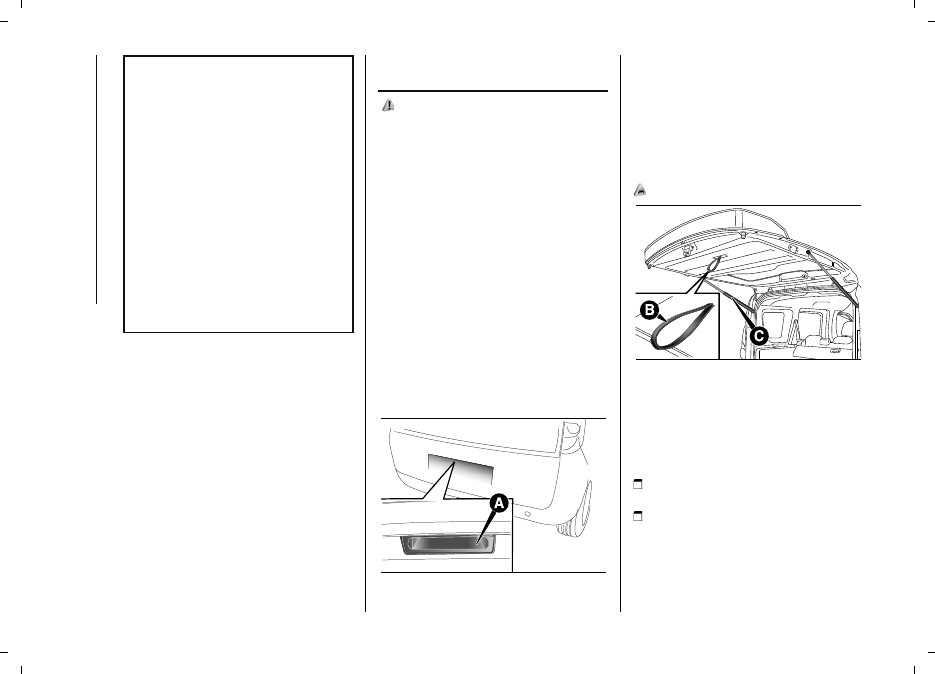
EMERGENCY OPENING
FROM THE INSIDE
In the event of an emergency, you can
open the boot from inside the vehicle
as follows:
open the sliding side door and fully
fold the rear seats;
from inside the boot, press lever (A)
fig. 80 and open the tailgate.