Fiat Abarth (2018 year). Manual - part 1
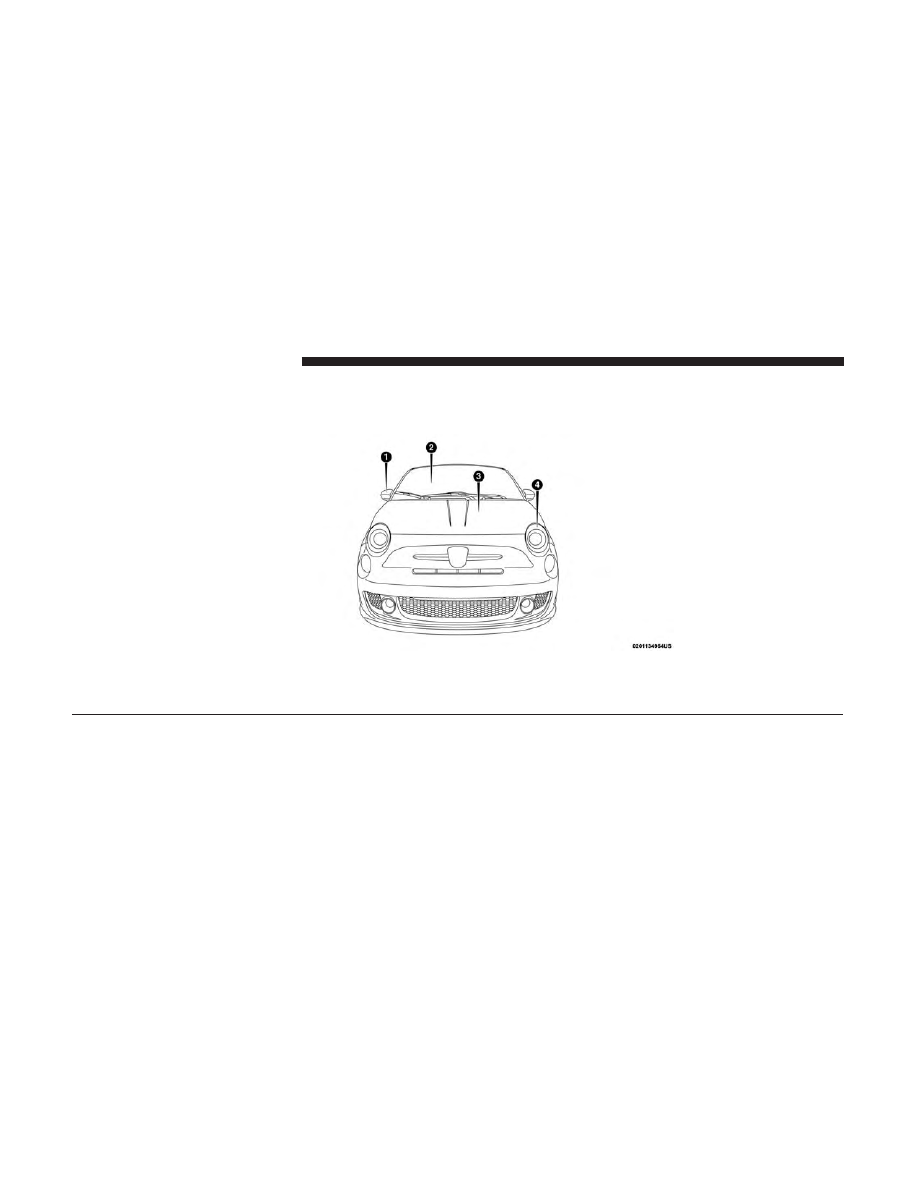
FRONT VIEW
Front View
1 — Exterior Mirrors
3 — Hood / Engine Compartment
2 — Windshield
4 — Headlights
8
GRAPHICAL TABLE OF CONTENTS
|
|
|
FRONT VIEW Front View 1 — Exterior Mirrors 3 — Hood / Engine Compartment 2 — Windshield 4 — Headlights 8 GRAPHICAL TABLE OF CONTENTS |