Dodge Durango (2019 year). Manual - part 6
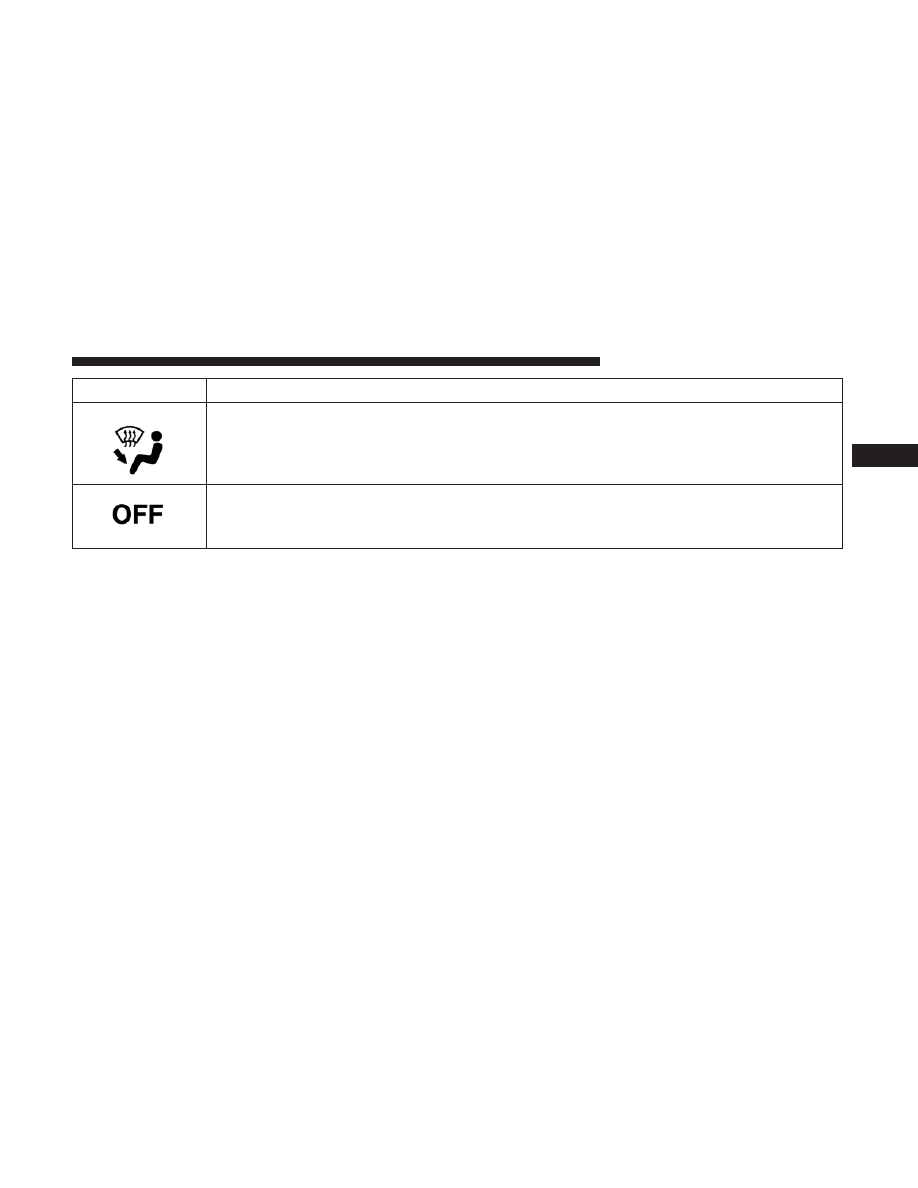
Icon
Description
Mix Mode
Mix Mode
Air is directed through the floor, defrost, and side window demister outlets. This setting works
best in cold or snowy conditions that require extra heat to the windshield. This setting is good
for maintaining comfort while reducing moisture on the windshield.
Climate Control OFF Button
Press and release this button to turn the Climate Control ON/OFF.
3
GETTING TO KNOW YOUR VEHICLE
93