Dodge Challenger (2019 year). Manual - part 30
The Paddle Shifters may be enabled or disabled while in
this mode.
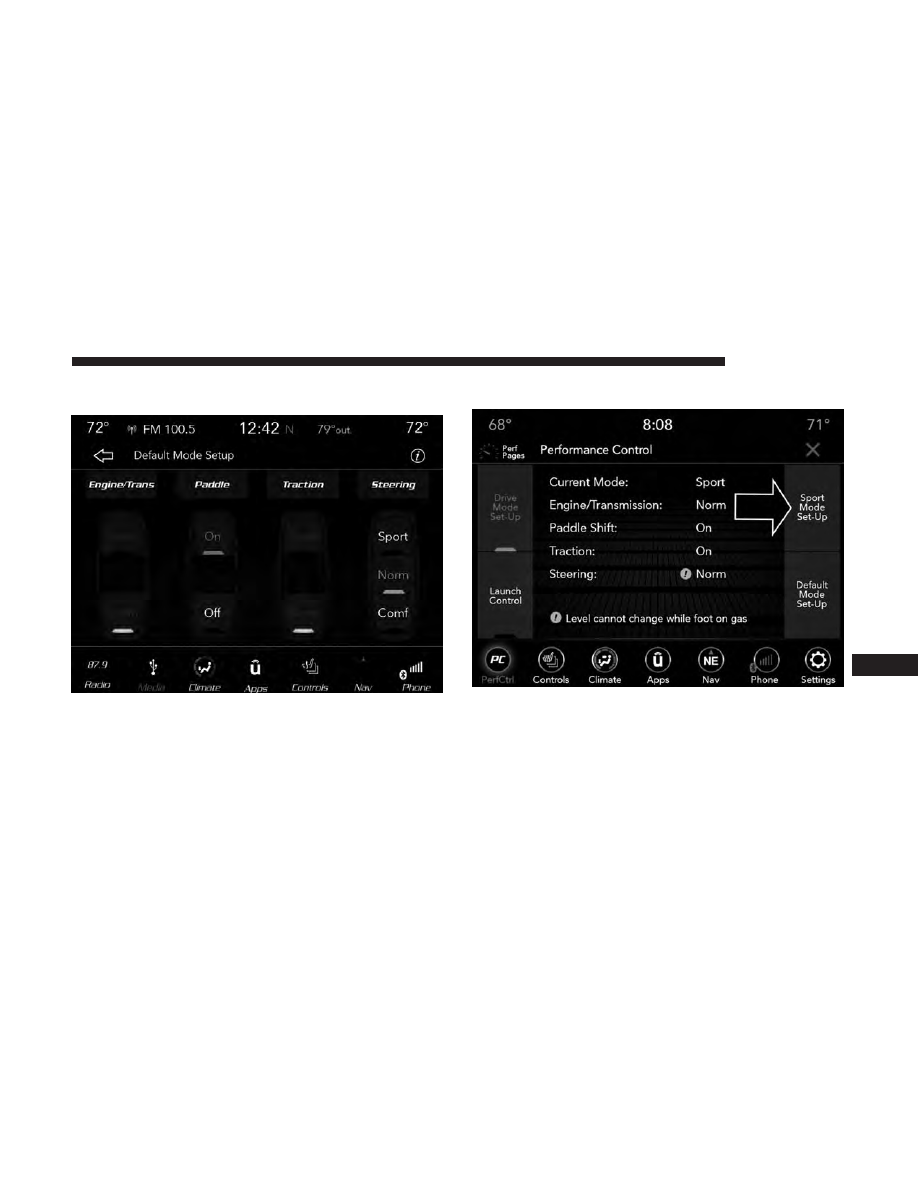
Sport Mode
Sport Mode is a configuration set-up for typical enthusiast
driving. The Transmission and Steering are both set to their
Sport settings. The steering wheel paddle switches are
enabled. The Traction Control defaults to Normal. Any of
these four settings may be changed to the driver’s prefer-
ences by pressing the buttons on the touchscreen. Push the
Sport button on the instrument panel switch bank to put
Default Mode Set-Up
Sport Mode
10
MULTIMEDIA
477