Chrysler Pacifica Hybrid (2019 year). Manual - part 8
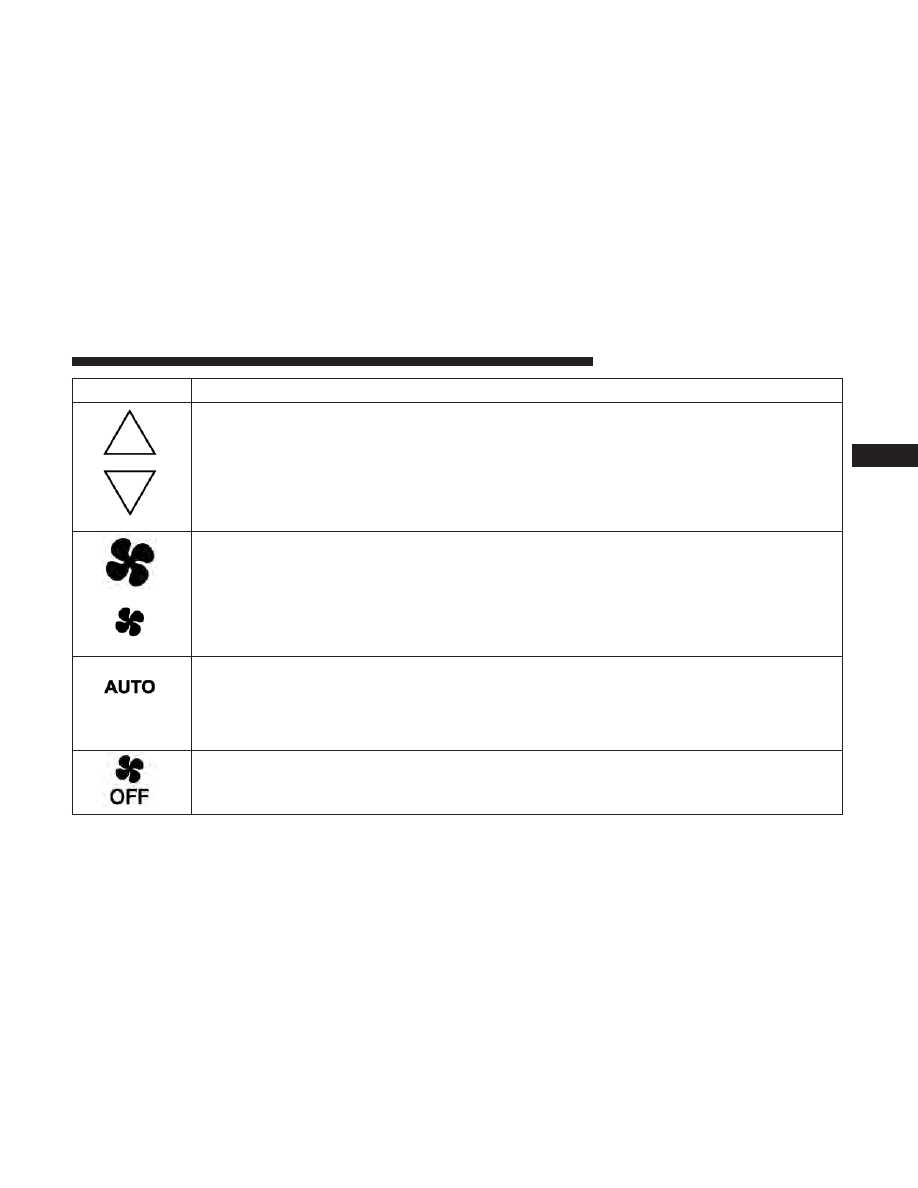
Icon
Description
Rear Temperature Control
• Rear Passenger Temperature Up Button To change the temperature in the rear of the vehicle,
push temperature control up button to raise the temperature. The rear temperature settings are
displayed in control head.
• Rear Passenger Temperature Down Button To change the temperature in the rear of the ve-
hicle, push temperature control down button to lower the temperature. The rear temperature
settings are displayed in control head.
Rear Blower Control
The rear blower control can be manually set to off, or any fixed blower speed by pushing the
blower control buttons. This allows the rear seat occupants to control the volume of air circulated
in the rear of the vehicle. The larger of the two icons increases blower speed, whereas the smaller
of the two icons decreases the blower speed.
AUTO Button
Automatically controls the interior cabin temperature by adjusting airflow distribution and
amount. Performing this function will cause the system to switch between manual mode and auto-
matic modes.
Refer to “Automatic Operation” within this section for more information.
Rear Climate Control/Blower Off
To manually set the rear blower controls to off, press the Rear Climate Control/Blower Off button.
3
GETTING TO KNOW YOUR VEHICLE
121