Content .. 1635 1636 1637 1638 ..
Chrysler 300/300 Touring/300C, Dodge Magnum. Manual - part 1637
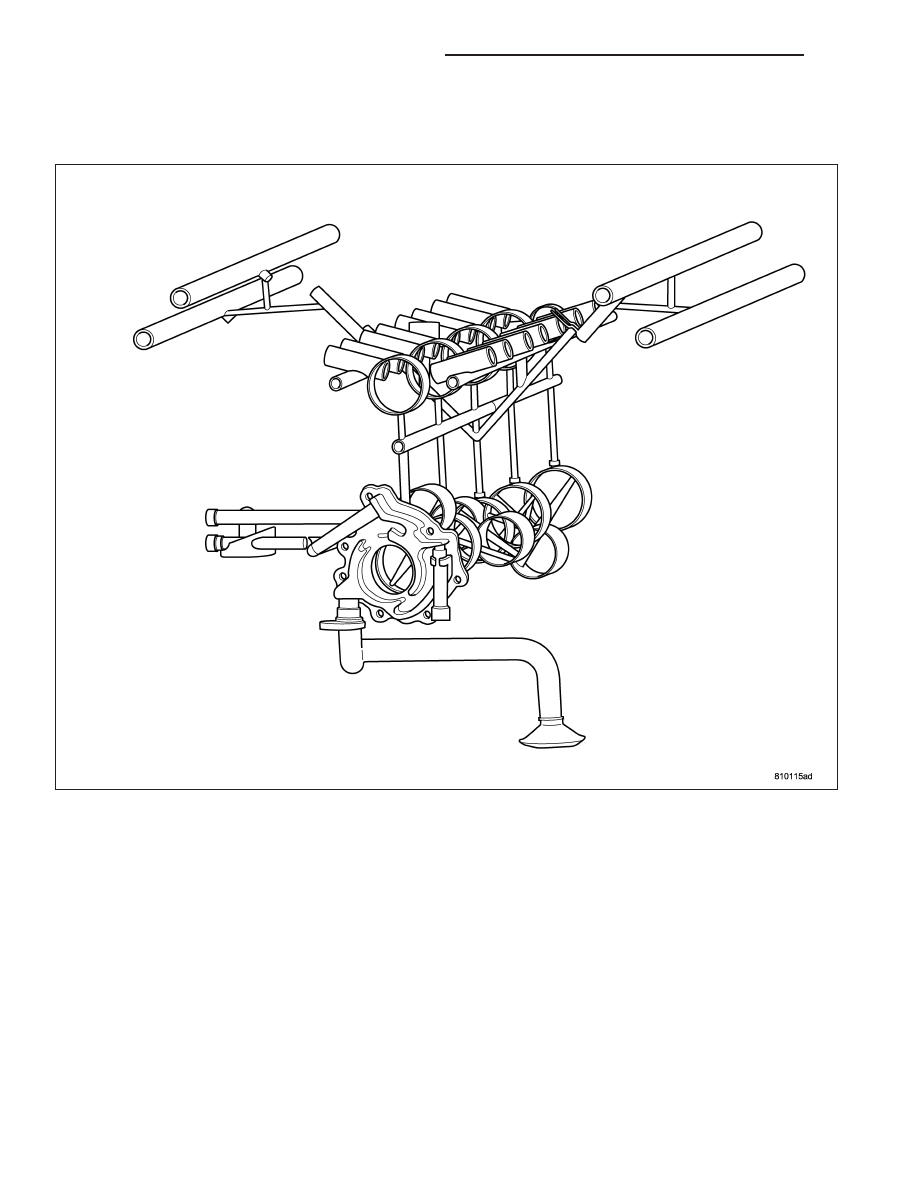
LUBRICATION
DESCRIPTION
The lubrication system is a full flow filtration pressure feed type.
DIAGNOSIS AND TESTING
DIAGNOSIS AND TESTING - CHECKING ENGINE OIL PRESSURE
1. Remove oil pressure sending unit and install gauge assembly C-3292.
2. Run engine until thermostat opens.
3. Oil Pressure:
•
Curb Idle–25 kPa (4 psi) minimum
•
3000 rpm–170 - 758 kPa (25 - 110 psi)
4. If oil pressure is 0 at idle, shut off engine. Check for a clogged oil pick-up screen or a pressure relief valve stuck
open.
DIAGNOSIS AND TESTING - ENGINE OIL LEAK
Begin with a thorough visual inspection of the engine, particularly at the area of the suspected leak. If an oil leak
source is not readily identifiable, the following steps should be followed:
9 - 2572
ENGINE - 6.1L SERVICE INFORMATION
LX