Chevrolet Silverado / GMC Sierra. Manual - part 949
Fig. 367: Removing Intermediate Carrier Bushing Using J 43785 & J 8092
Courtesy of GENERAL MOTORS CORP.
1. Position the intermediate carrier assembly (3) on wooden blocks on the press with the
external splines facing up.
2. If the bushing will be removed with out a press, install the short end of J 43785 (2) onto J
8092 (1). See Special Tools.
3. Using J 43785 (2), press or drive the bushing (4) out of the carrier (3). See Special Tools.
2008 Chevrolet Silverado 1500
2008 TRANSMISSION Automatic Transmission - Allison - Cab & Chassis Sierra, Cab & Chassis Silverado, Sierra &
Silverado

Fig. 368: Intermediate Carrier Bushing
Courtesy of GENERAL MOTORS CORP.
4. Position the intermediate carrier assembly (4) on wooden blocks on the press with the
external splines facing down.
5. If the bushing will be installed without a press, install the long end of J 43785 (2) onto J
8092 (1). See Special Tools.
6. Install a new bushing (3) onto J 43785 (2). See Special Tools.
2008 Chevrolet Silverado 1500
2008 TRANSMISSION Automatic Transmission - Allison - Cab & Chassis Sierra, Cab & Chassis Silverado, Sierra &
Silverado
7. Using J 43785 (2), press or drive the bushing into of the carrier until J 43785 (2) seats. See
Special Tools.
INTERMEDIATE CARRIER ASSEMBLY ASSEMBLE
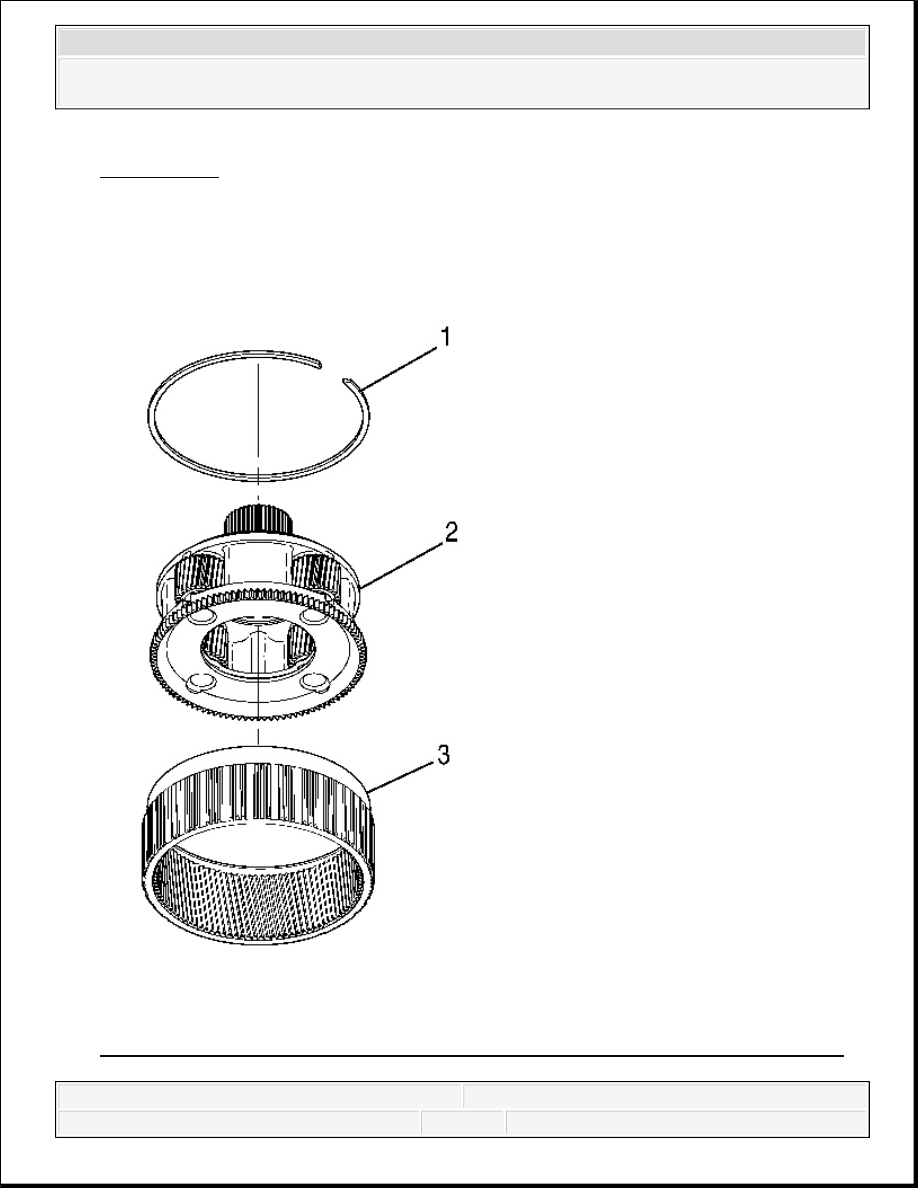
Fig. 369: View Of Intermediate Carrier Assembly & Output Carrier Internal Gear
Courtesy of GENERAL MOTORS CORP.
2008 Chevrolet Silverado 1500
2008 TRANSMISSION Automatic Transmission - Allison - Cab & Chassis Sierra, Cab & Chassis Silverado, Sierra &
Silverado
1. Position the output carrier internal gear (3) on the work table so that the outer splines are
facing down.
2. Install the intermediate carrier assembly (2) into the output carrier internal gear (3). Make
sure the splines are engaged.
3. Install the retaining ring (1) into the output carrier internal gear (3) so that the intermediate
carrier assembly is retained.
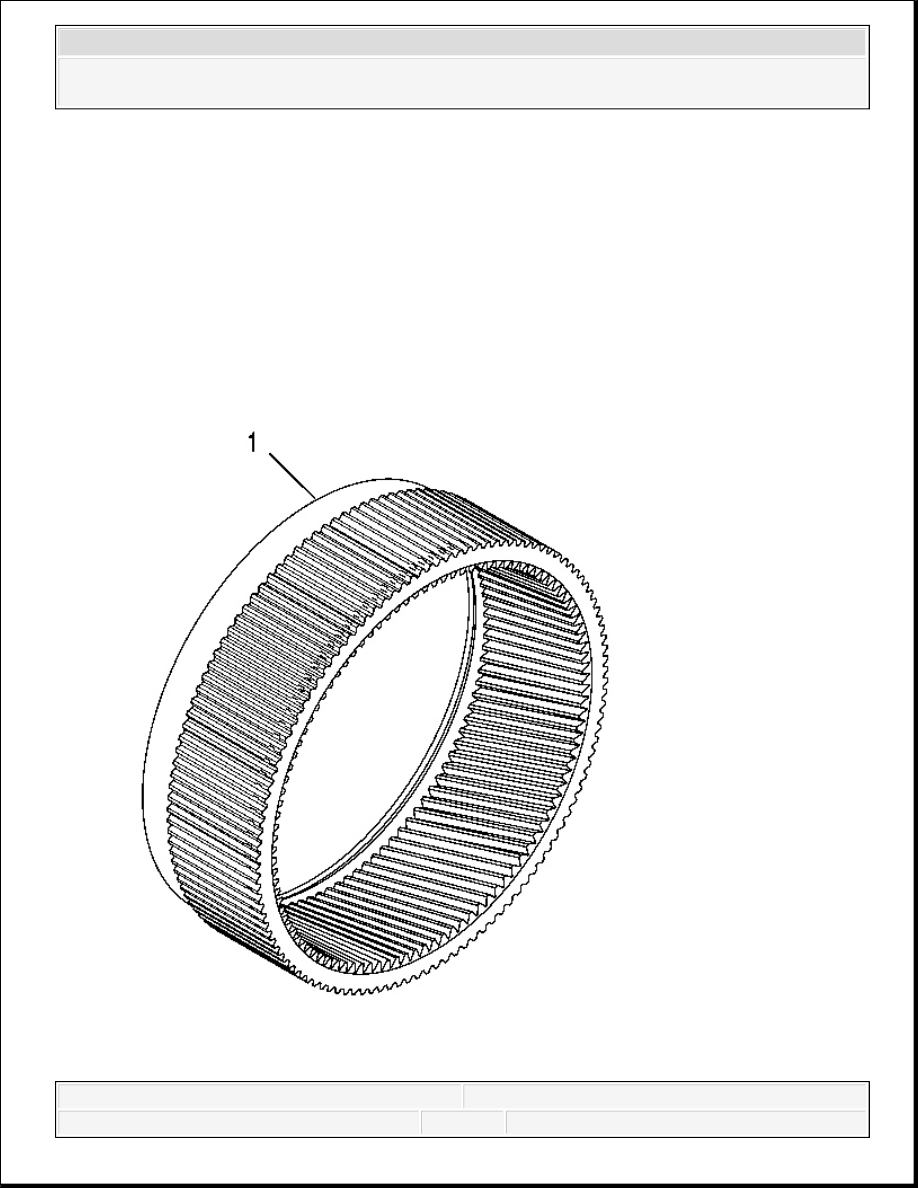
OUTPUT CARRIER INTERNAL GEAR INSPECTION
2008 Chevrolet Silverado 1500
2008 TRANSMISSION Automatic Transmission - Allison - Cab & Chassis Sierra, Cab & Chassis Silverado, Sierra &
Silverado