Content .. 2328 2329 2330 2331 ..
Chevrolet Silverado / GMC Sierra. Manual - part 2330
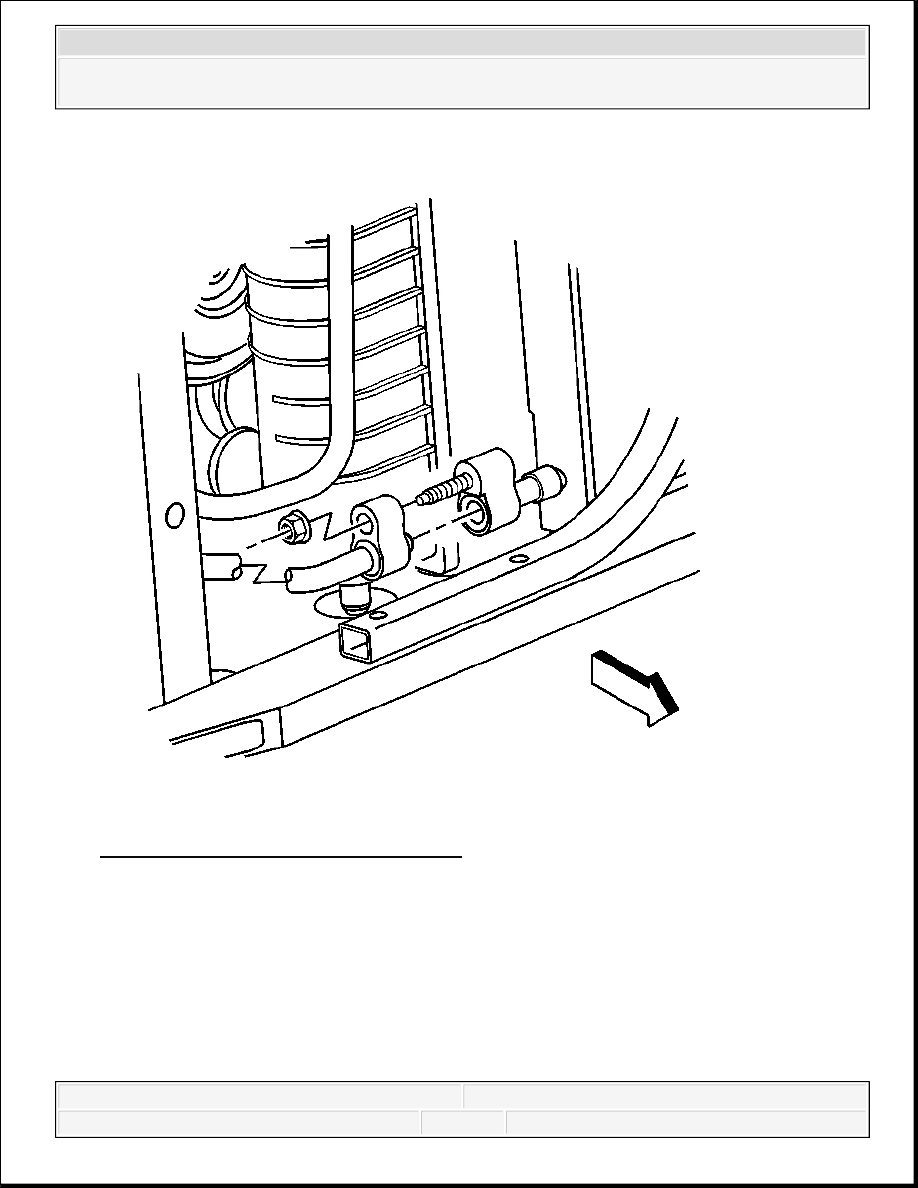
Fig. 66: Evaporator Tube To Condenser
Courtesy of GENERAL MOTORS CORP.
7. Remove the evaporator tube nut from the condenser.
8. Disconnect the evaporator tube from the condenser.
9. Remove the insulator retainer bolts and the upper insulator retainers.
10. Remove the condenser from the vehicle.
Installation Procedure
2008 Chevrolet Silverado 1500
2008 HVAC Heating, Ventilation, and Air Conditioning - Cab & Chassis Sierra, Cab & Chassis Silverado, Sierra &
Silverado
1. Install the condenser to the vehicle.
2. Install the upper insulator retainers and the insulator retainer bolts.
Tighten: Tighten the bolts to 2.4 N.m (21 lb in).
IMPORTANT: If replacing the condenser, add the refrigerant oil to the
condenser. Refer to Refrigerant System Capacities for
system capacity information.
NOTE:
Refer to Fastener Notice .
2008 Chevrolet Silverado 1500
2008 HVAC Heating, Ventilation, and Air Conditioning - Cab & Chassis Sierra, Cab & Chassis Silverado, Sierra &
Silverado

Fig. 67: Evaporator Tube To Condenser
Courtesy of GENERAL MOTORS CORP.
3. Connect the evaporator tube to the condenser using new sealing washers. Refer to Sealing
Washer Replacement.
4. Install the evaporator tube nut to the condenser.
Tighten: Tighten the nut to 16 N.m (12 lb ft).
2008 Chevrolet Silverado 1500
2008 HVAC Heating, Ventilation, and Air Conditioning - Cab & Chassis Sierra, Cab & Chassis Silverado, Sierra &
Silverado
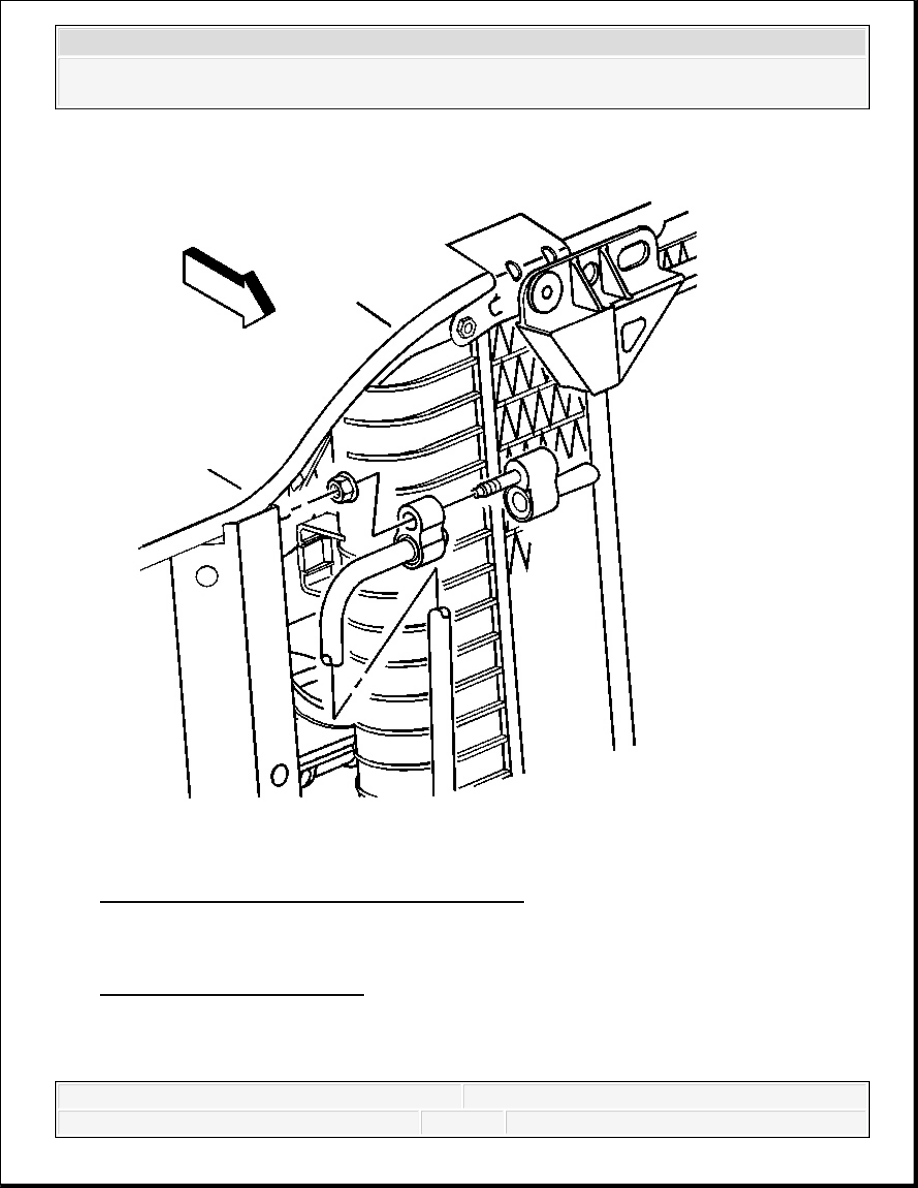
Fig. 68: View Of Discharge Hose At Condenser
Courtesy of GENERAL MOTORS CORP.
5. Connect the compressor discharge hose to the condenser using new sealing washers. Refer to
Sealing Washer Replacement.
6. Install the compressor discharge hose nut to the condenser.
Tighten: Tighten the nut to 16 N.m (12 lb ft).
2008 Chevrolet Silverado 1500
2008 HVAC Heating, Ventilation, and Air Conditioning - Cab & Chassis Sierra, Cab & Chassis Silverado, Sierra &
Silverado
Content .. 2328 2329 2330 2331 ..